
Category: Networking
Network Configuration for a Wi-Fi Access Point
This page describes how to configure the network interfaces for a Raspbery Pi running as a Wi-Fi Access Point (AP). This is just one step in a larger list of instructions, which can be found on the pa... Read More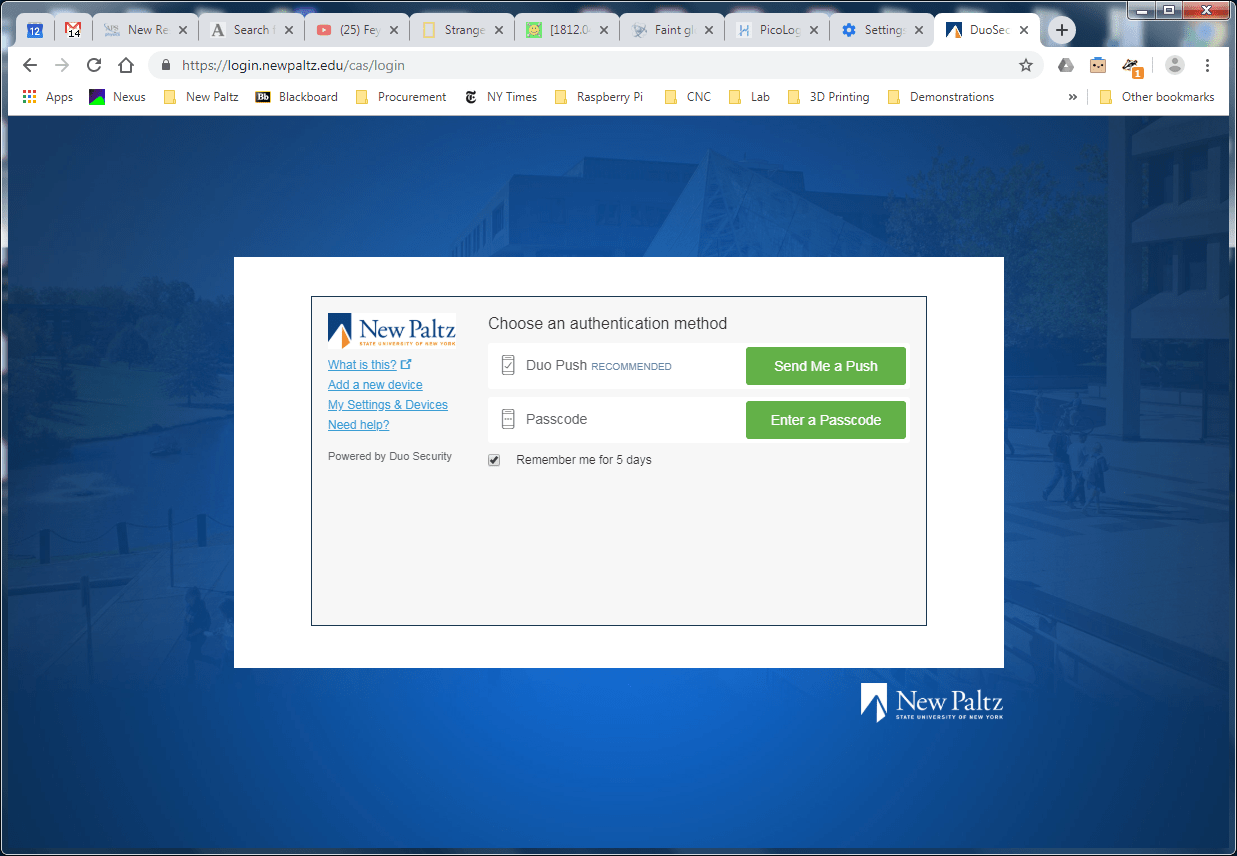
Using Duo Security Two-Factor Security at SUNY New Paltz
SUNY New Paltz is in the process of adding Two-Factor Authentication (2FA) to their adminstrative computer systems, and I have been trying it out. This is a report on some of the things I’ve l... Read More
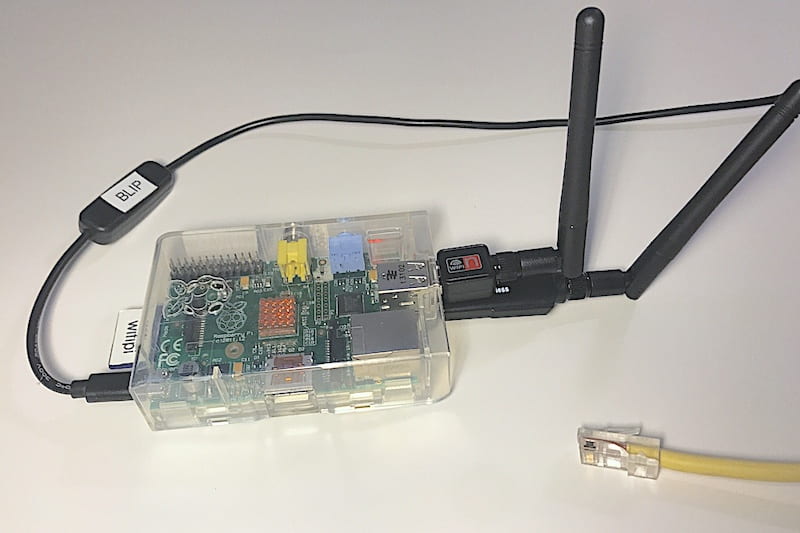
Raspberry Pi WiFi Access Point
I have an old iPad which has been dropped so many times that a piece of wire fell out the side, and I think that wire was the WiFi antenna. The iPad can only connect to WiFi when it’s close to t... Read More
Raspberry Pi Access Point Routing
This is the last step required to turn a Raspberry Pi into a WiFi Access Point. If you want to see all the previous steps, start with “Raspberry Pi Wifi Access Point“. When you get to ... Read More
DHCP daemon on Raspberry Pi
DHCP stands for “Dynamic Host Configuration Protocol”. The DHCP daemon is the process which assigns IP addresses to computers when they join a network, and gives them other important ... Read More