


WordPress comes with a navigation menu system that makes it quite easy for beginner users to create and manage menus. The location of the menus can vary from theme to theme. Some WordPress themes come with multiple menu locations but almost all have a Primary Menu which is located on the top of your website below the website name.
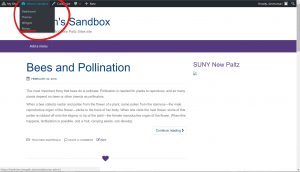
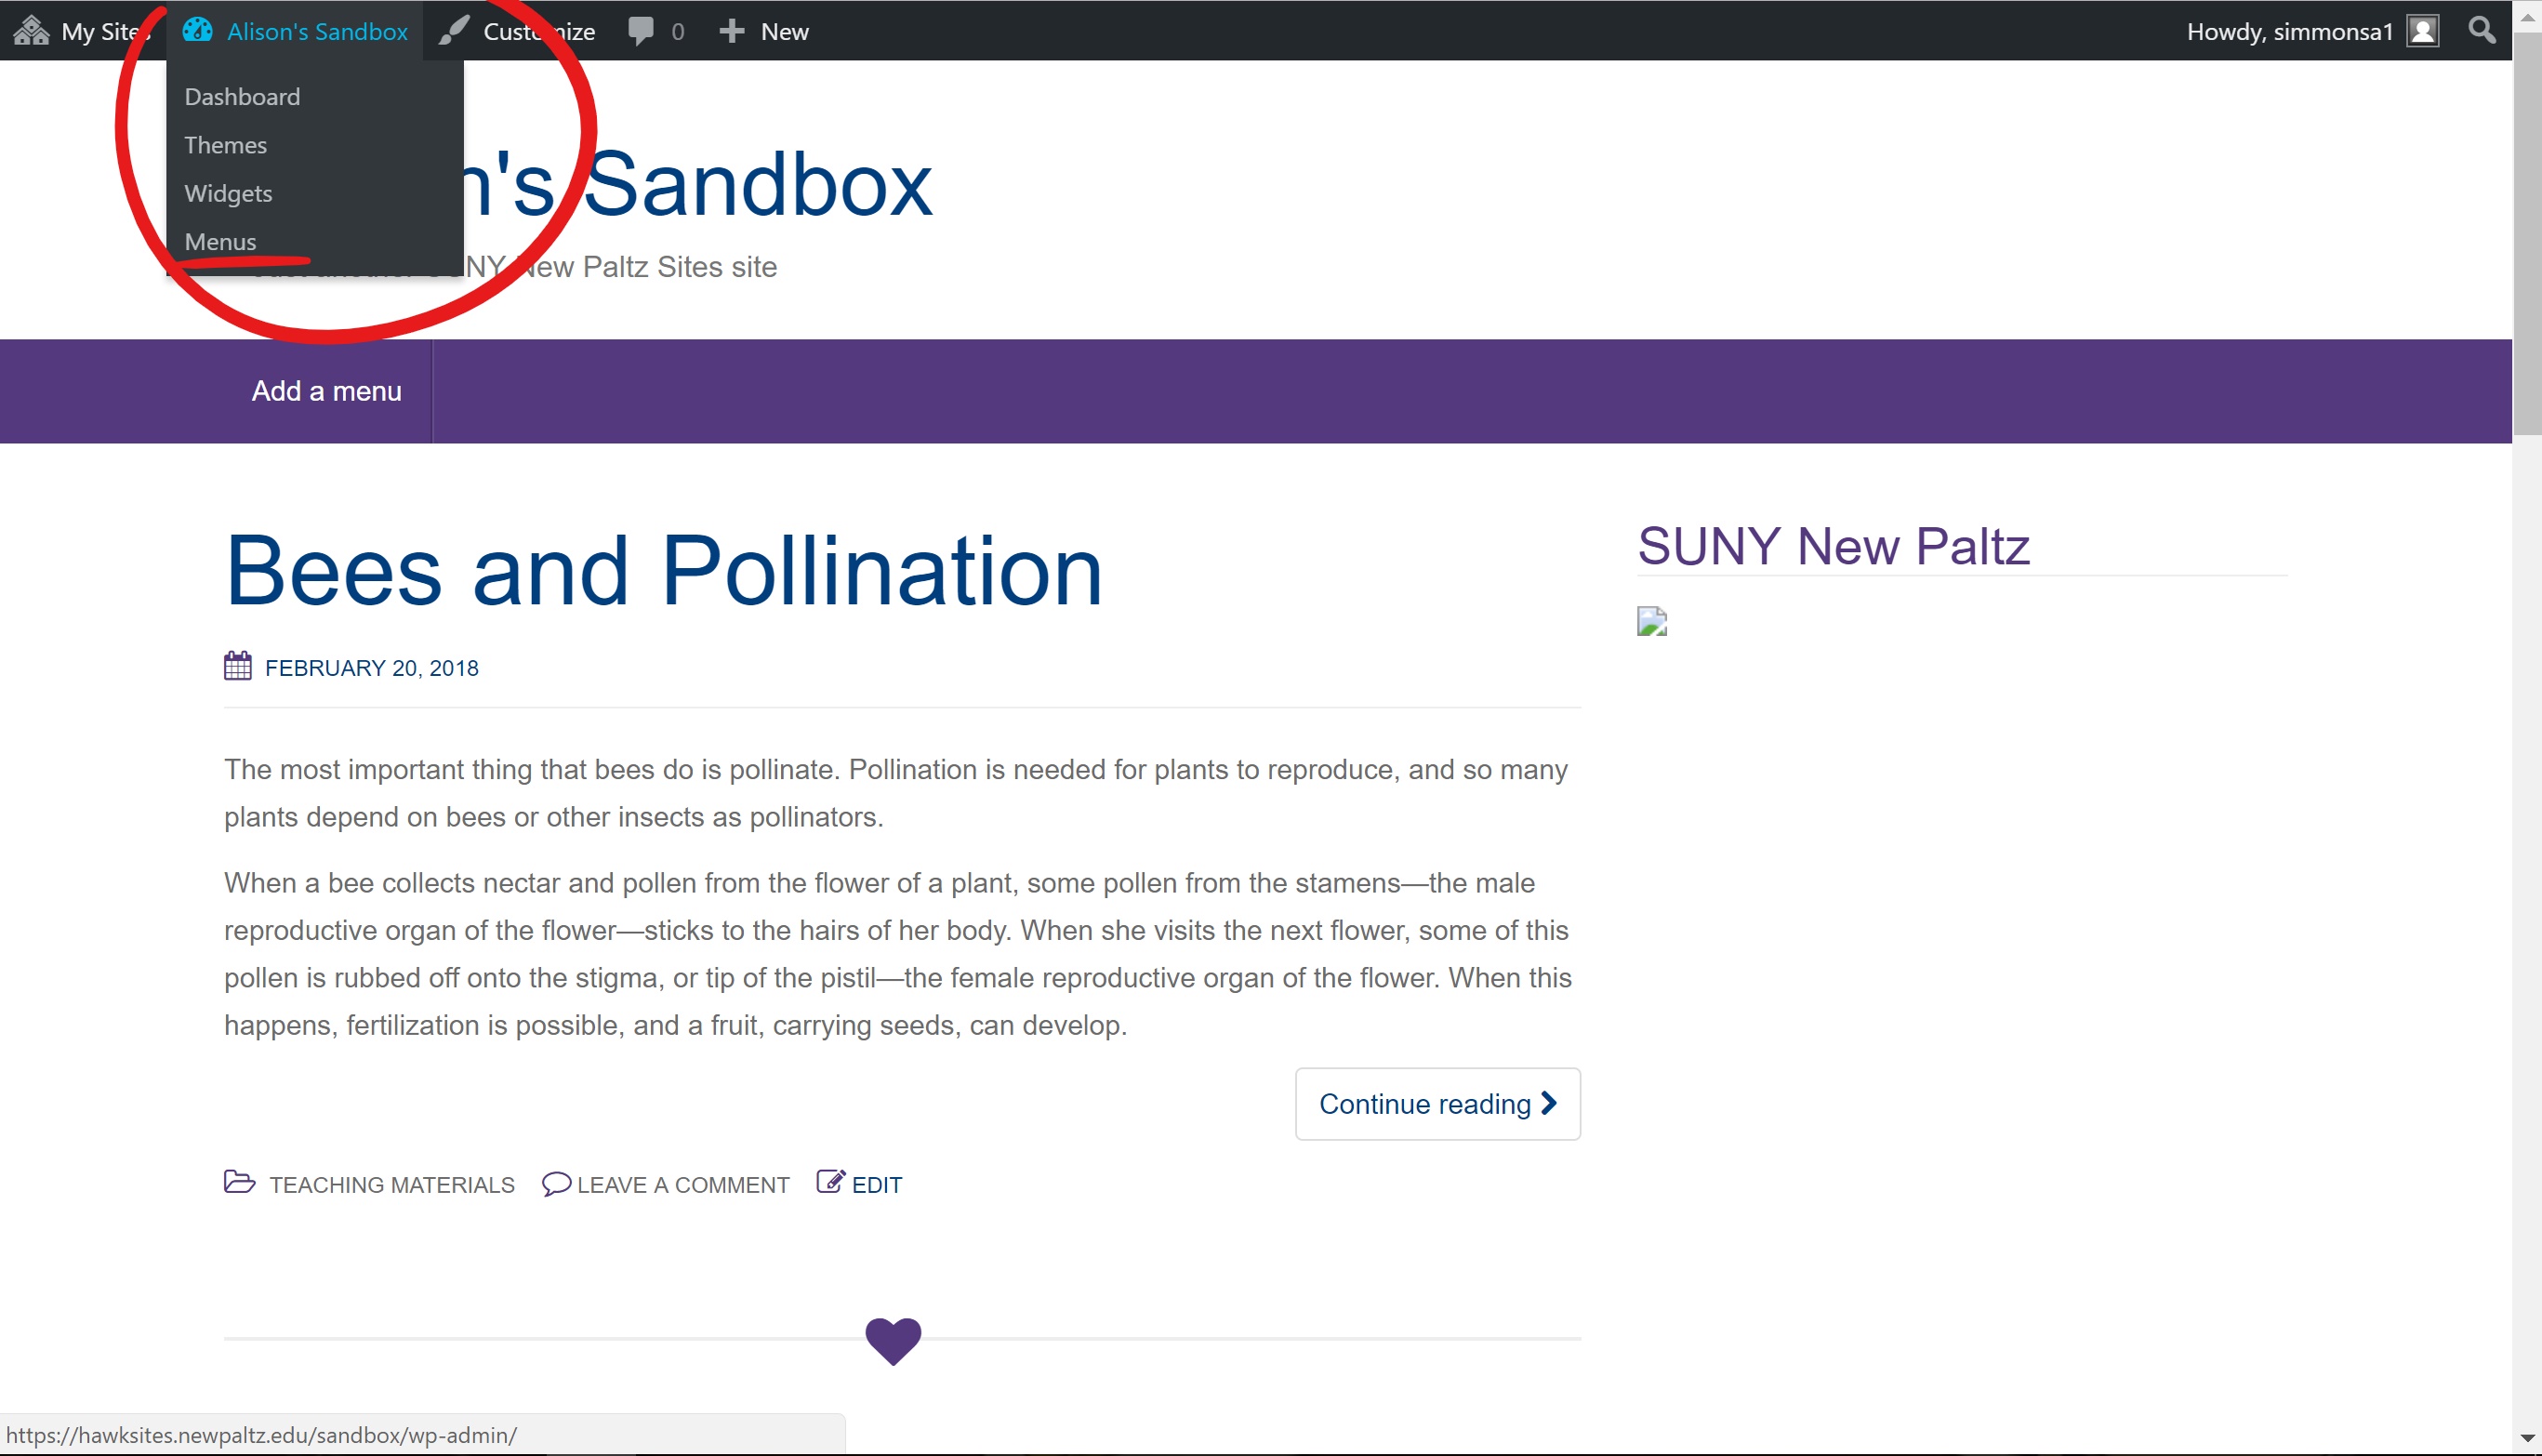
- To make a Menu go to your Admin bar on the top of your webpage, hover over your website name and click on Menus.
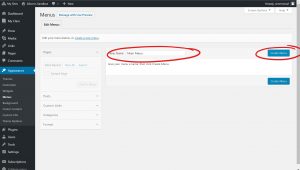
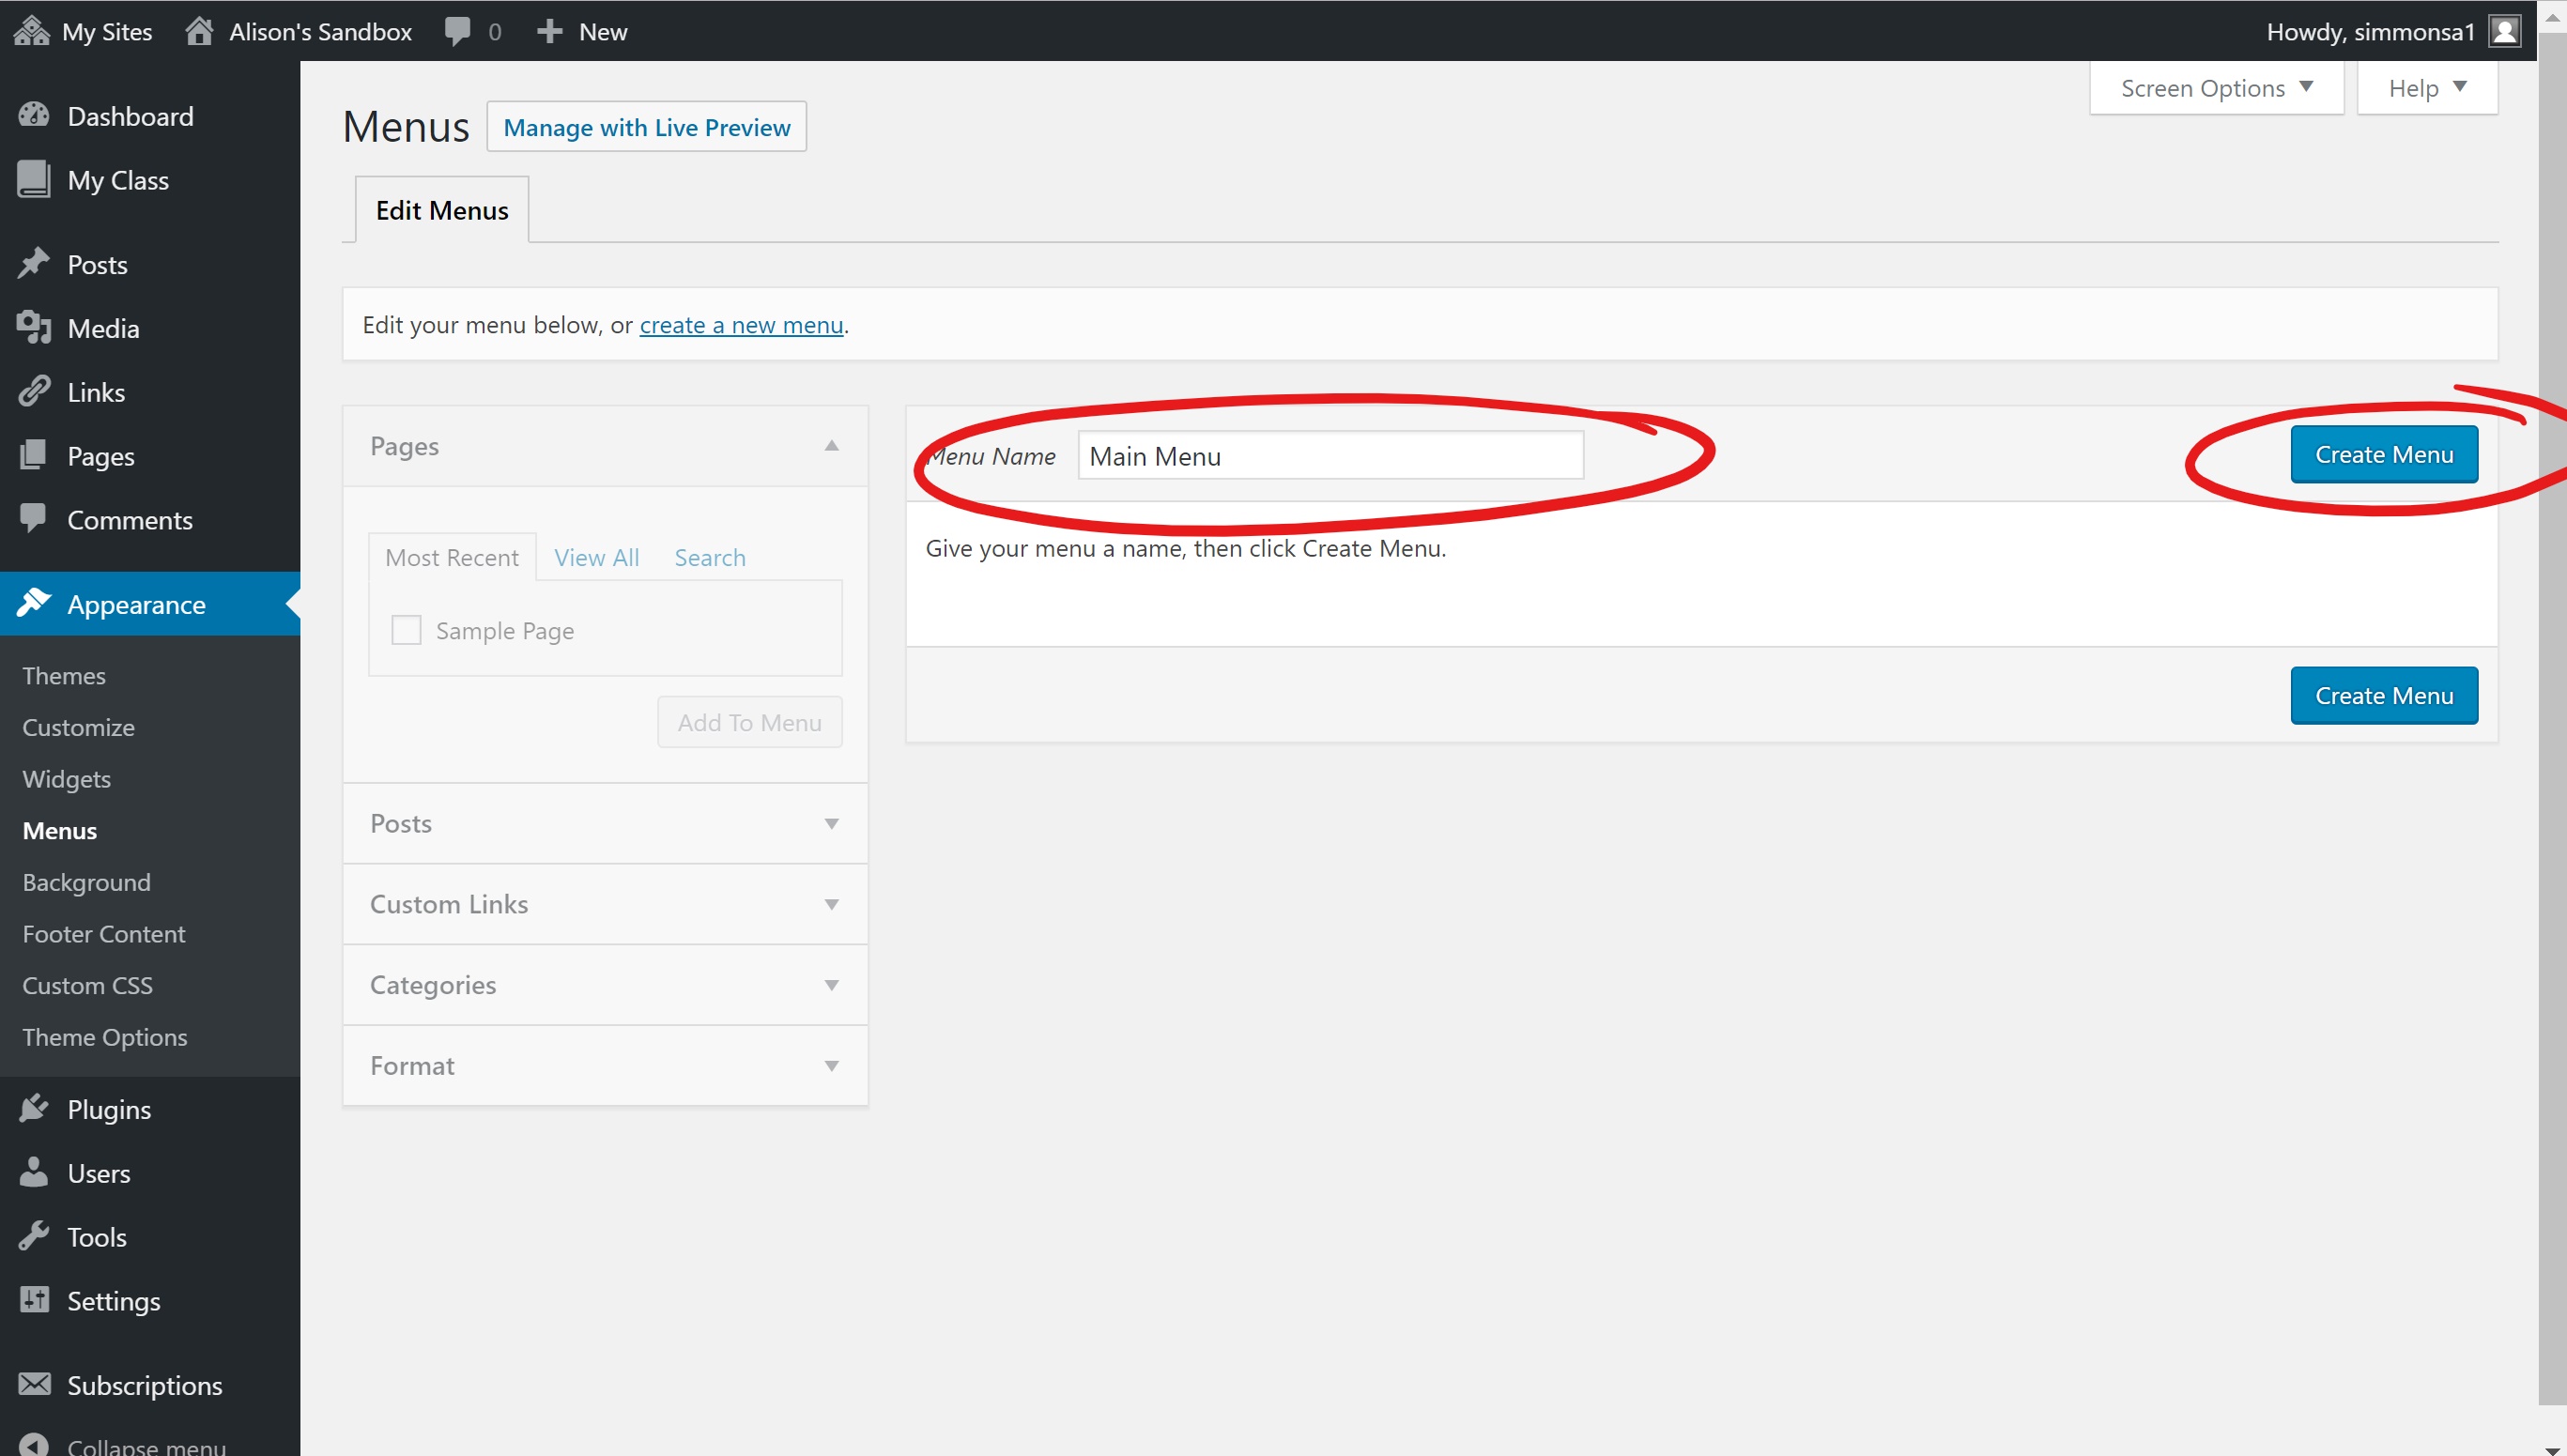
- The first thing you’ll do on this new menu page is title your Menu; this title will not appear to the viewers on the website, this will only be a distinction between other menus if you have them. After you name it, click on Create Menu.
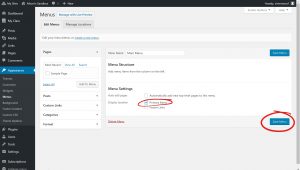
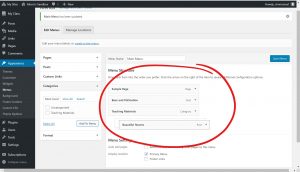
- Next, choose the Display location. Again, depending on your theme you may have multiple location options. We want to make it the Primary Menu. Select the location and click on the Save Menu button.
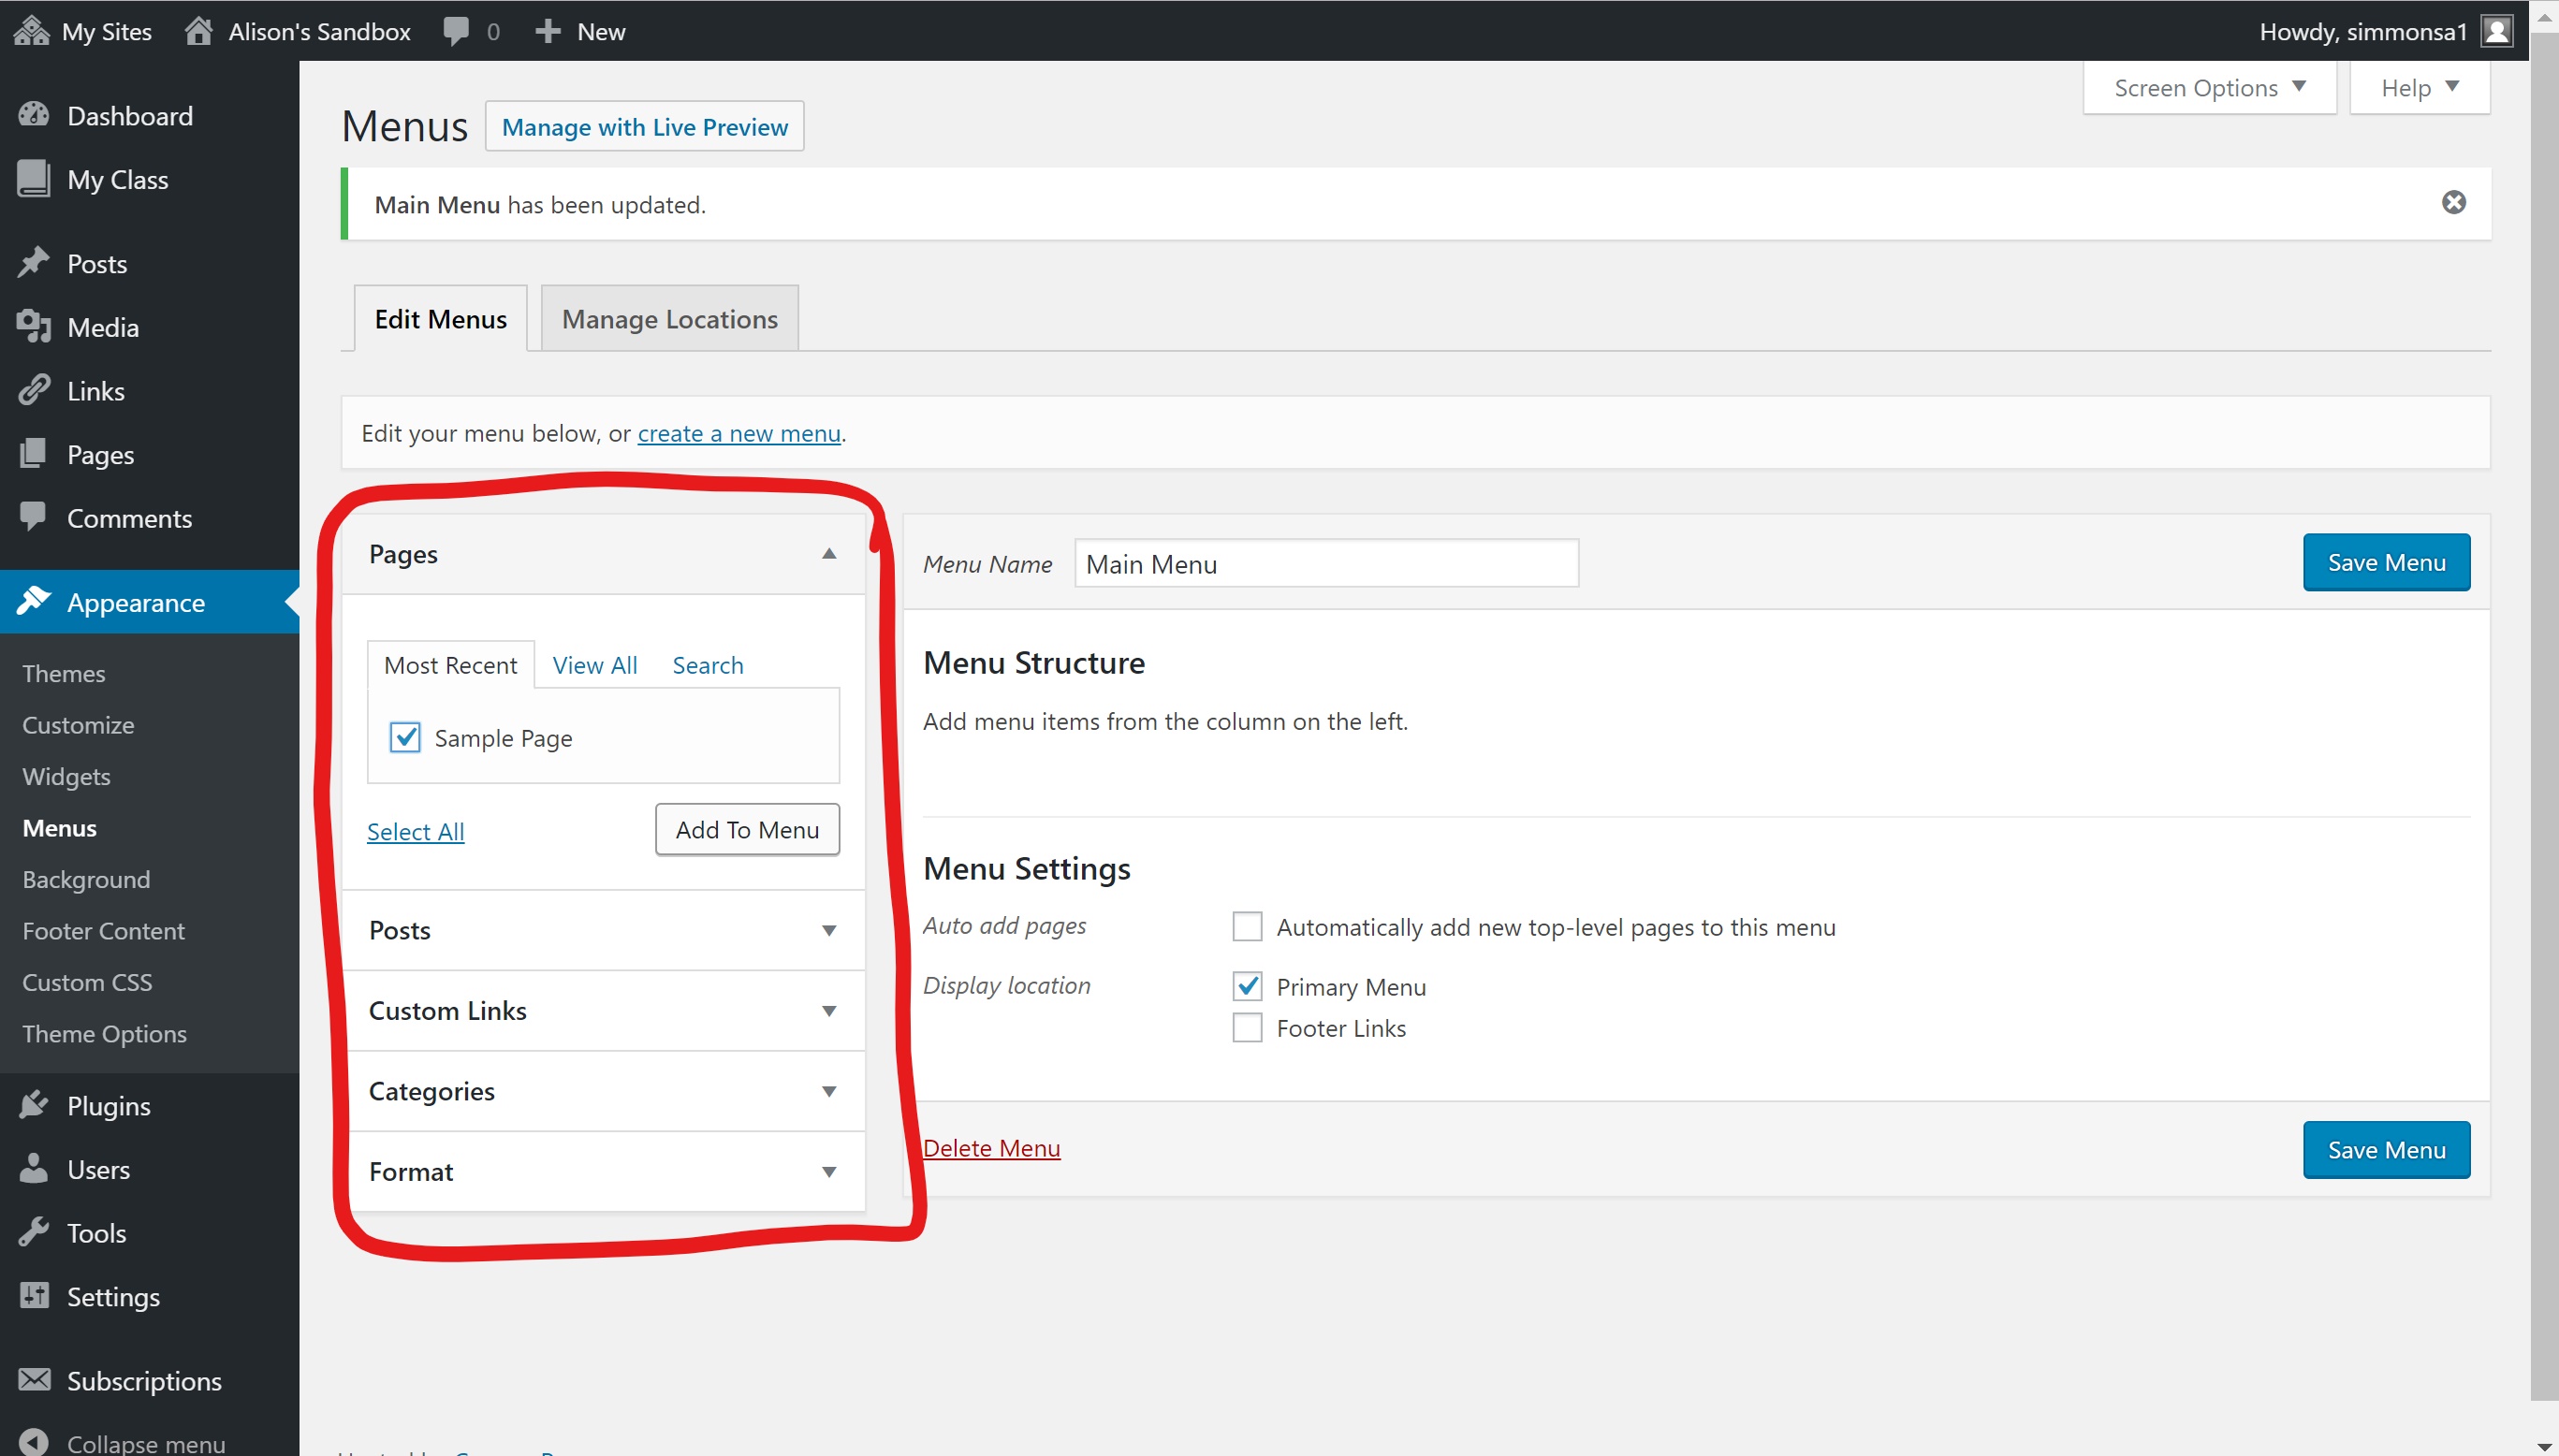
- Now we’ll need some content for our Menu. There are multiple things we can add to the Menu from Pages, Posts, Custom Links, Categories, and Formats. Pages and Posts must be made beforehand.
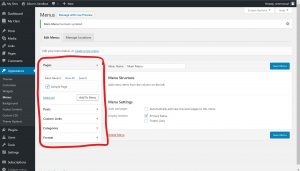
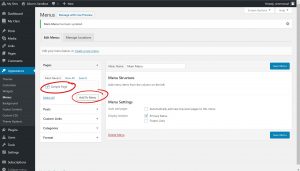
- First, we will be adding a Page to our Menu. We don’t have any pages created yet so we will be clicking Sample Page and click on Add to Menu.
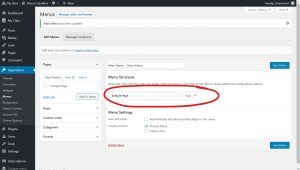
- Anything added to your Main Menu will be listed like this.
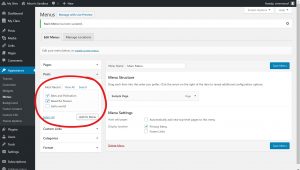
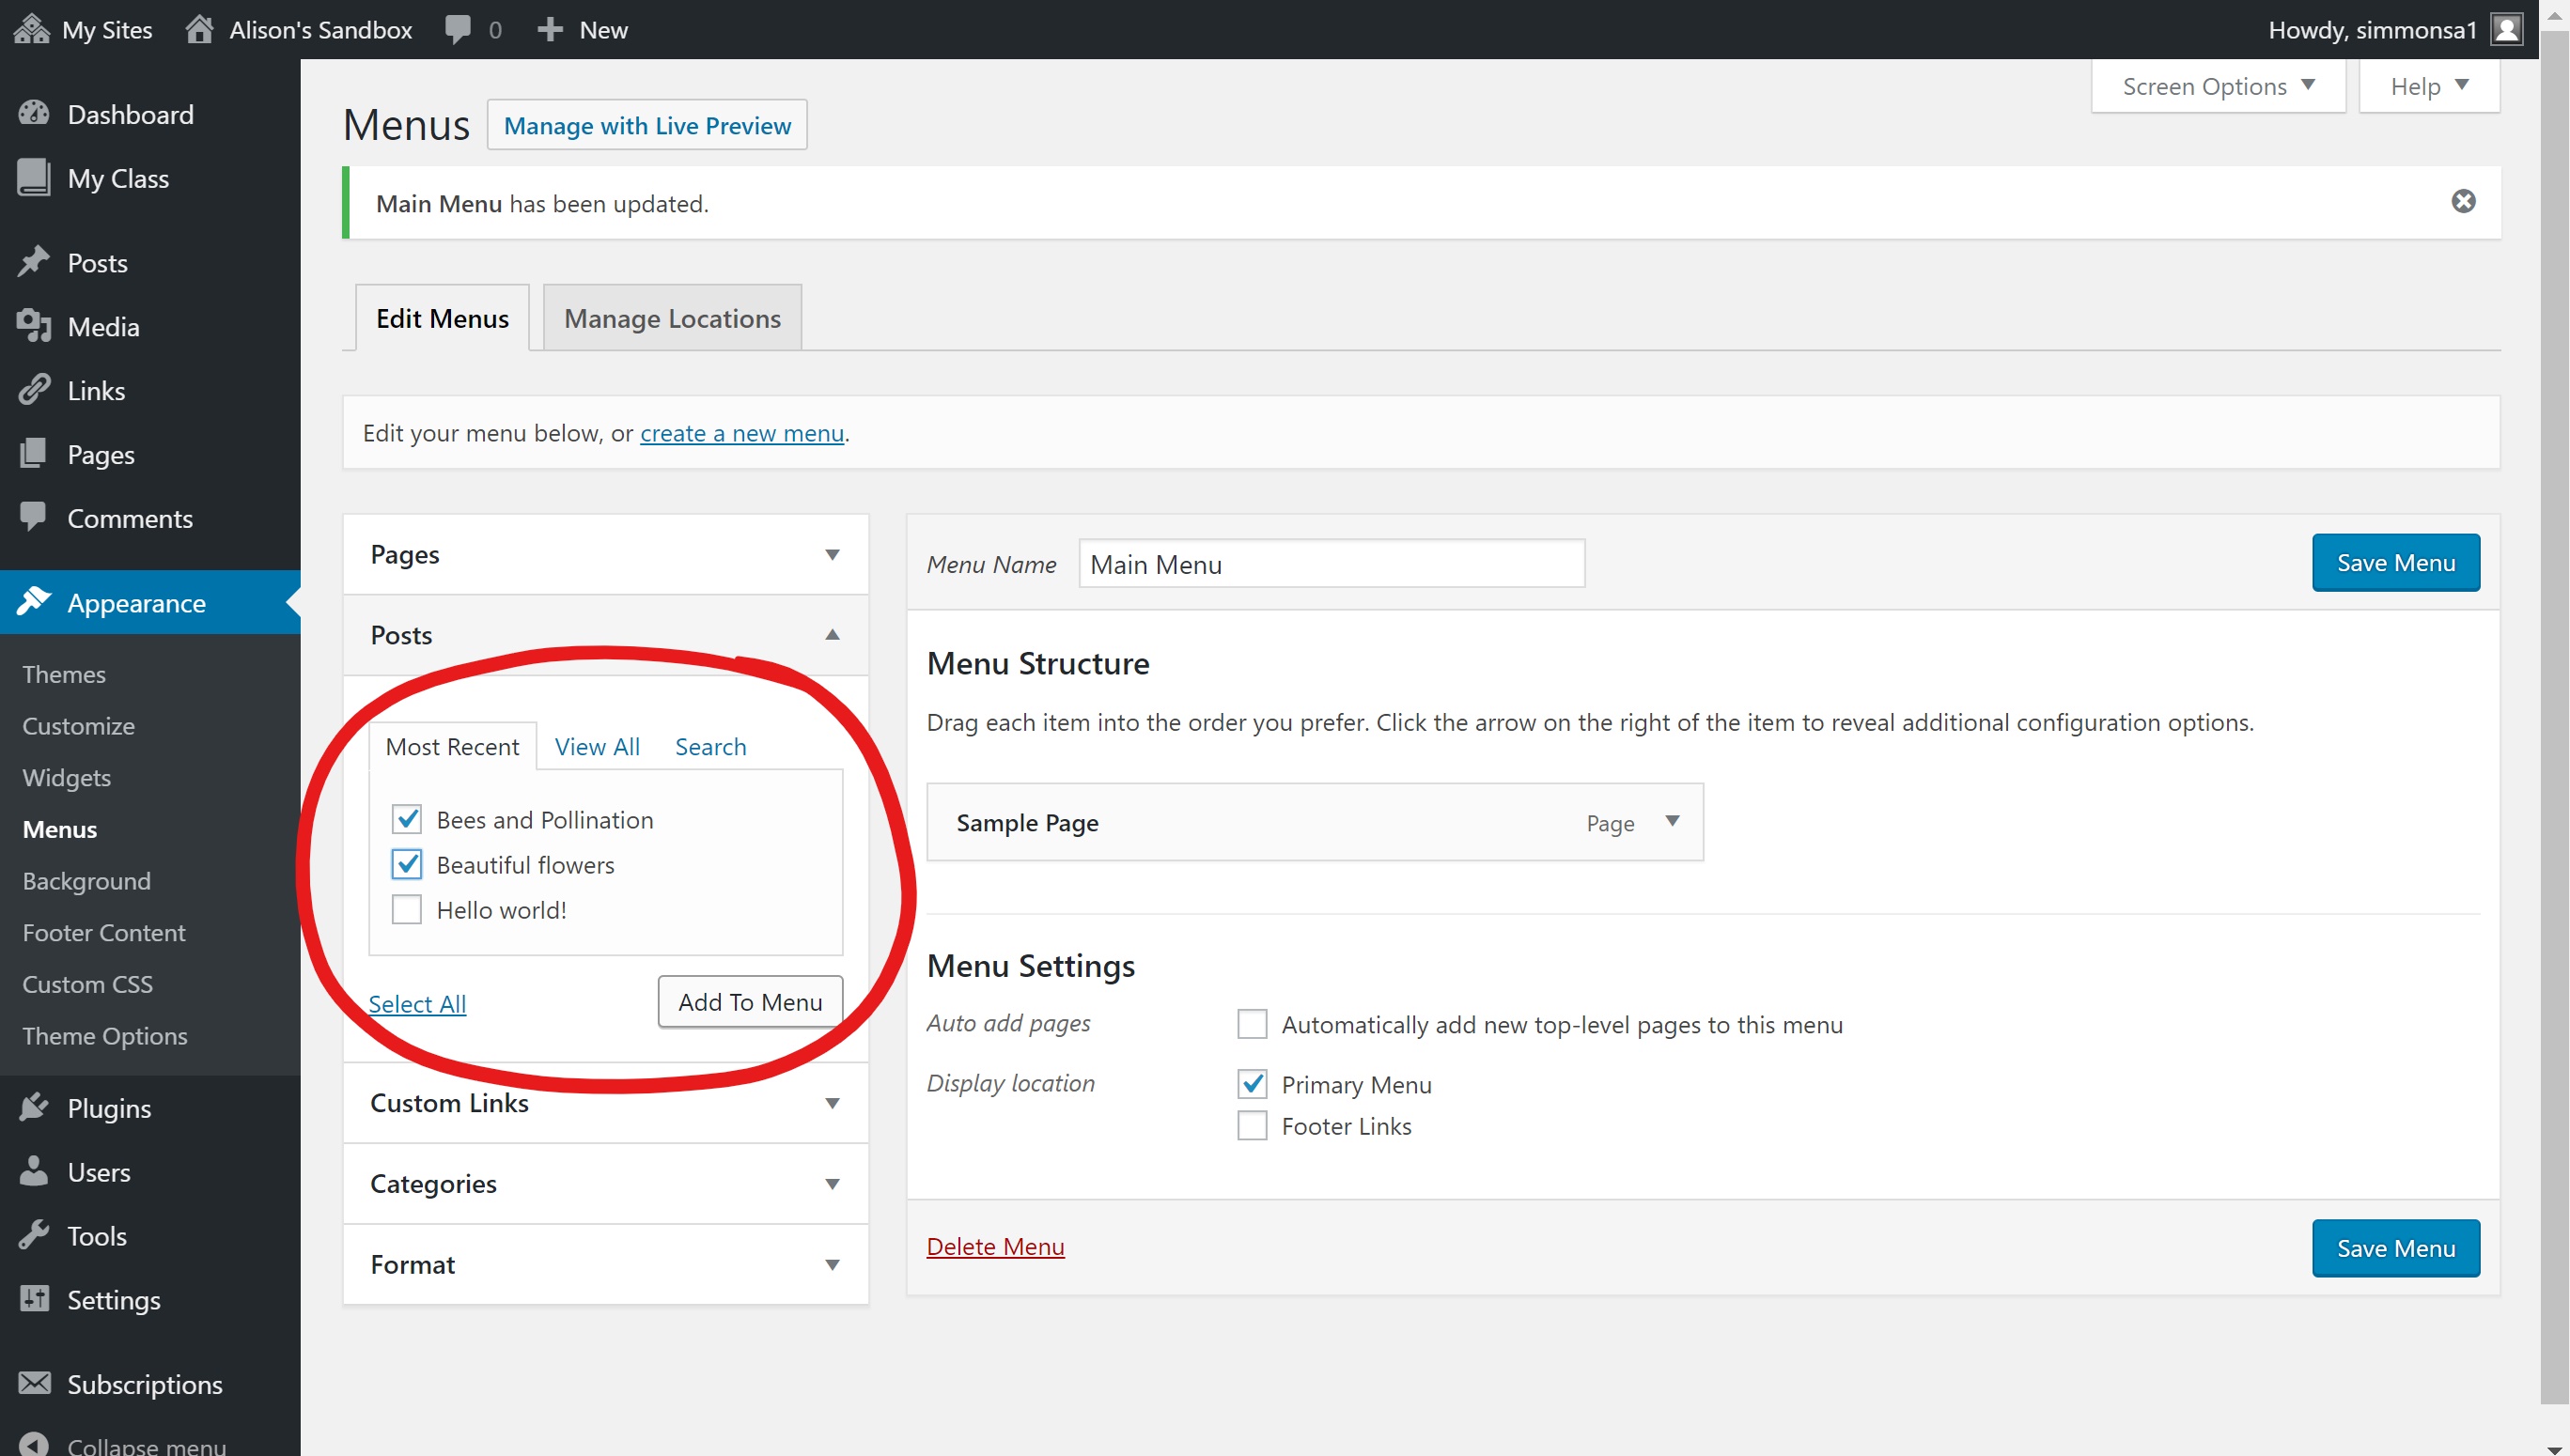
- We will be repeating step 5. to add the rest of our content to our menu. All you have to do is click on the specific tab you want to look at.
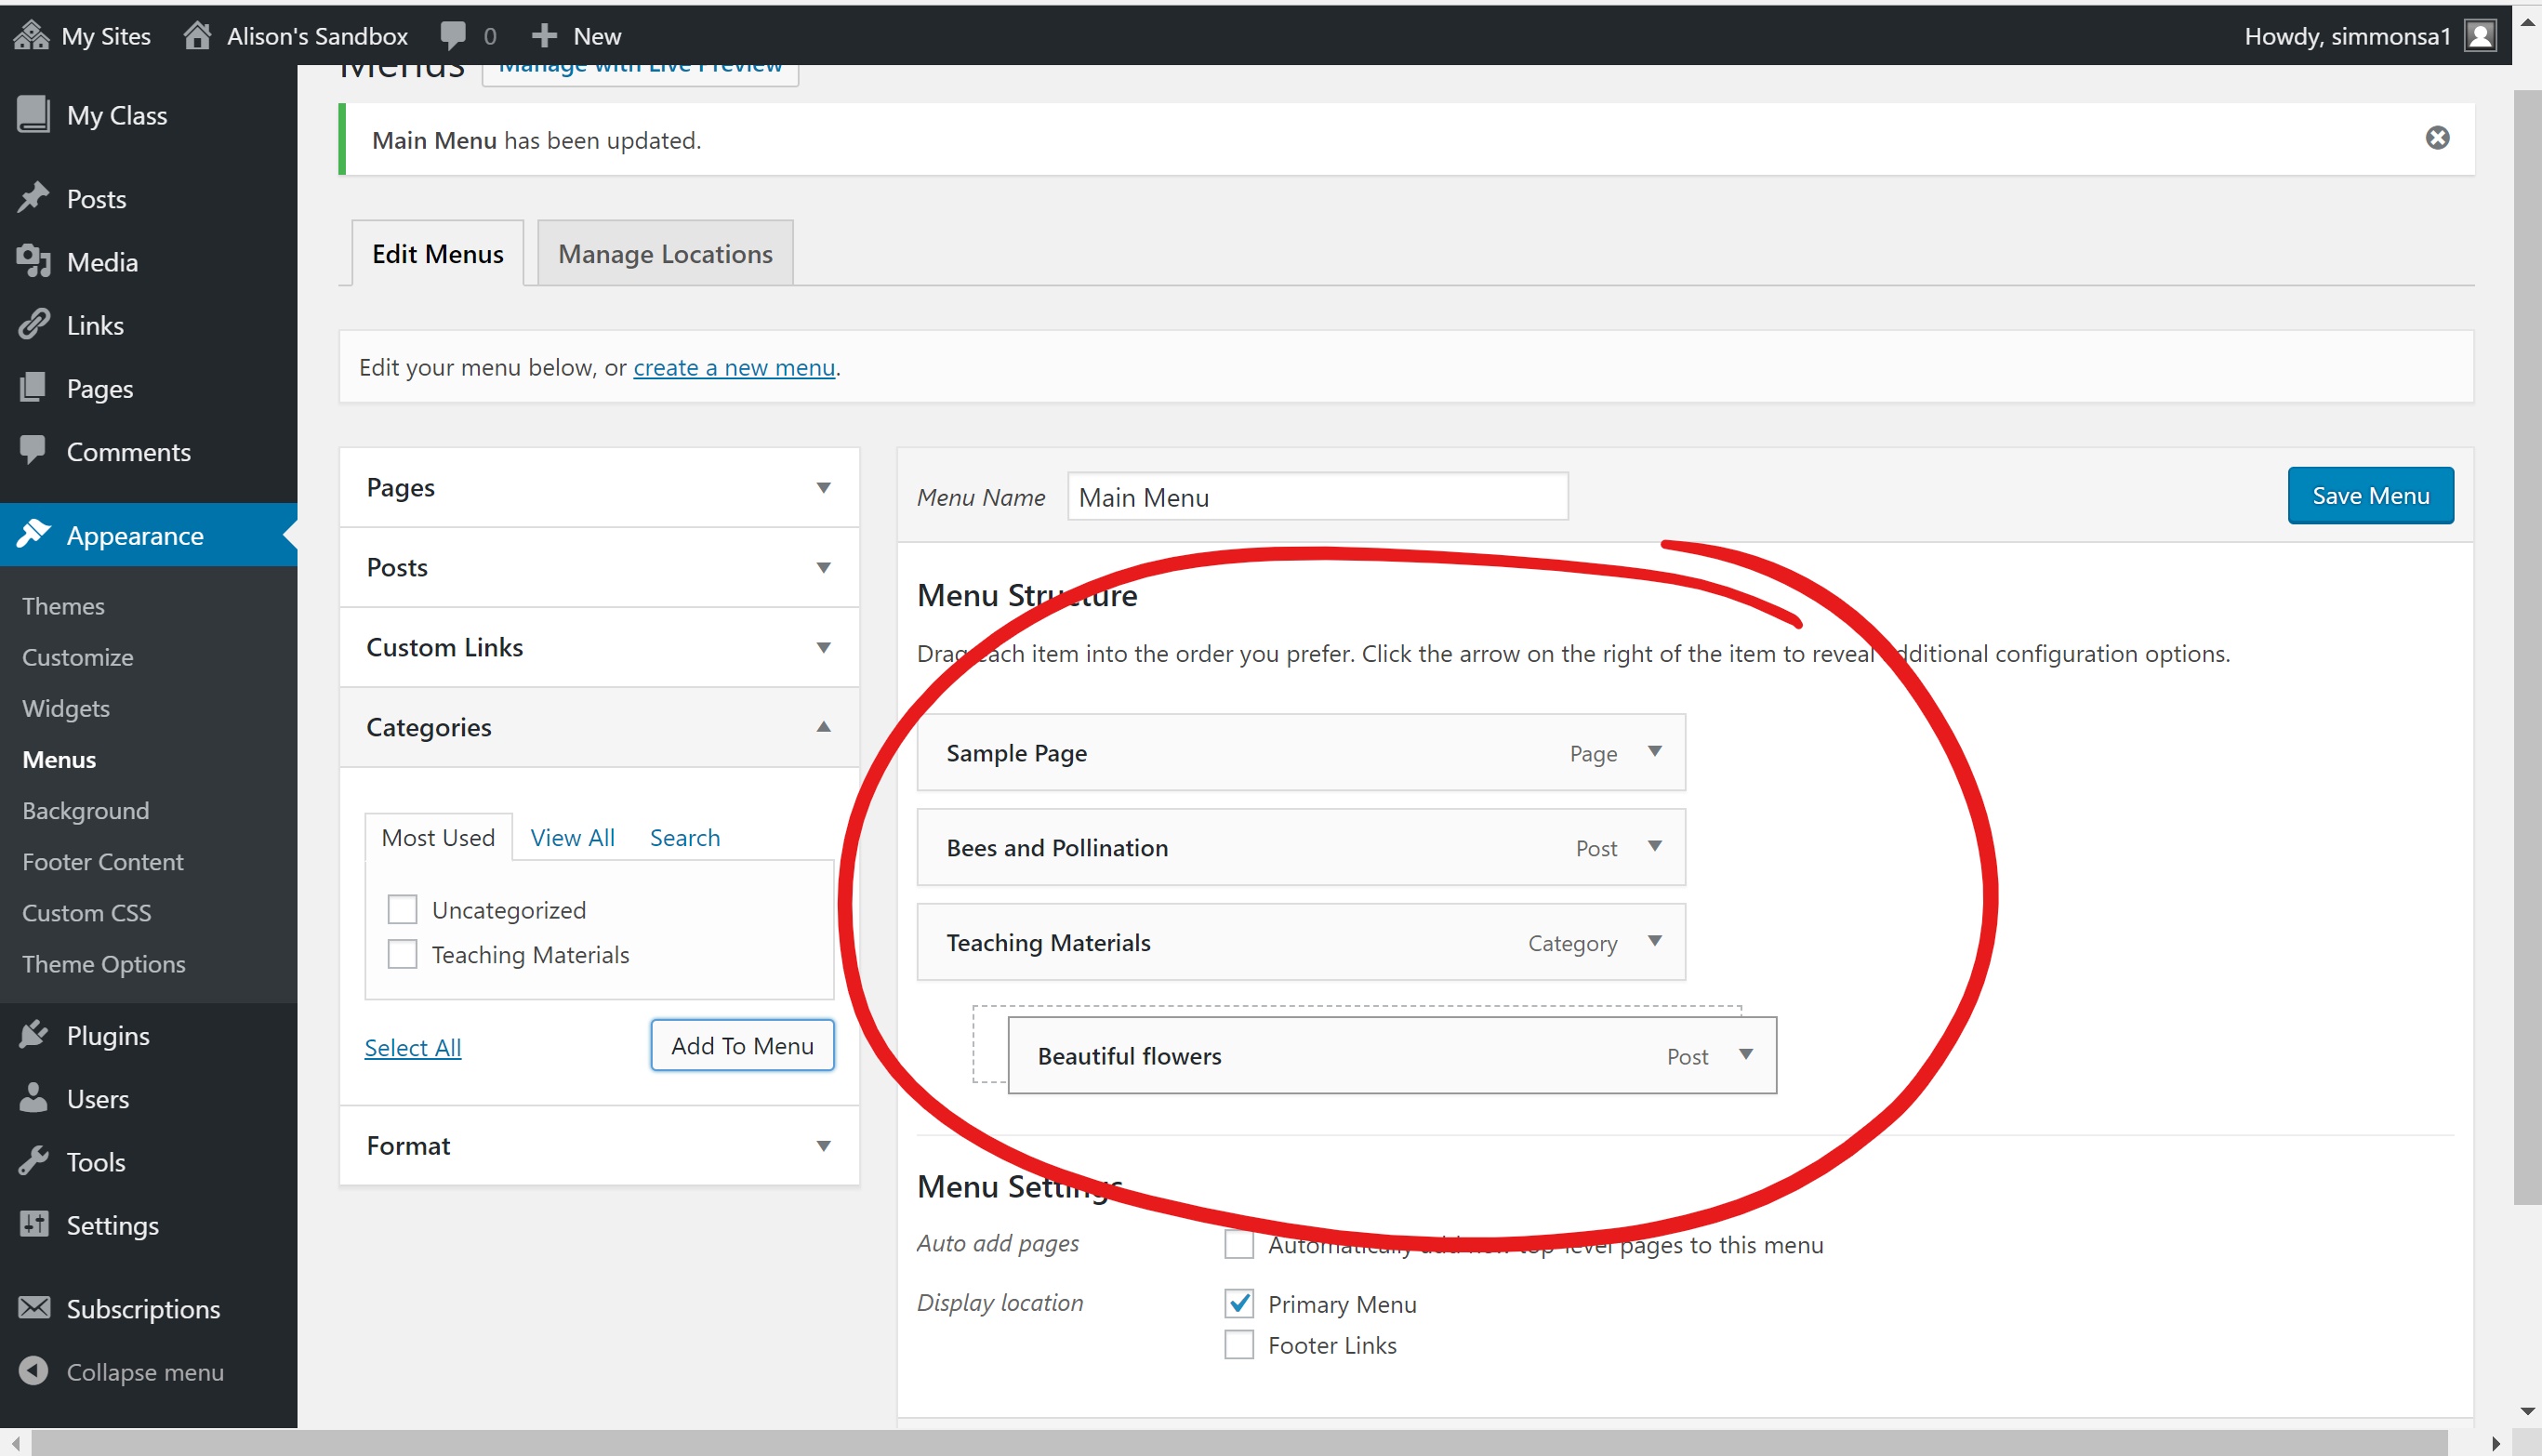
- All this content will appear on the list that will be placed on the menu, however, we want our Teaching Materials Category to have a drop down tab with the two blog posts we added to the Menu. To make a sub item we will want to click and drag the posts below Teaching Materials and slightly to the right, it’ll snap into place.
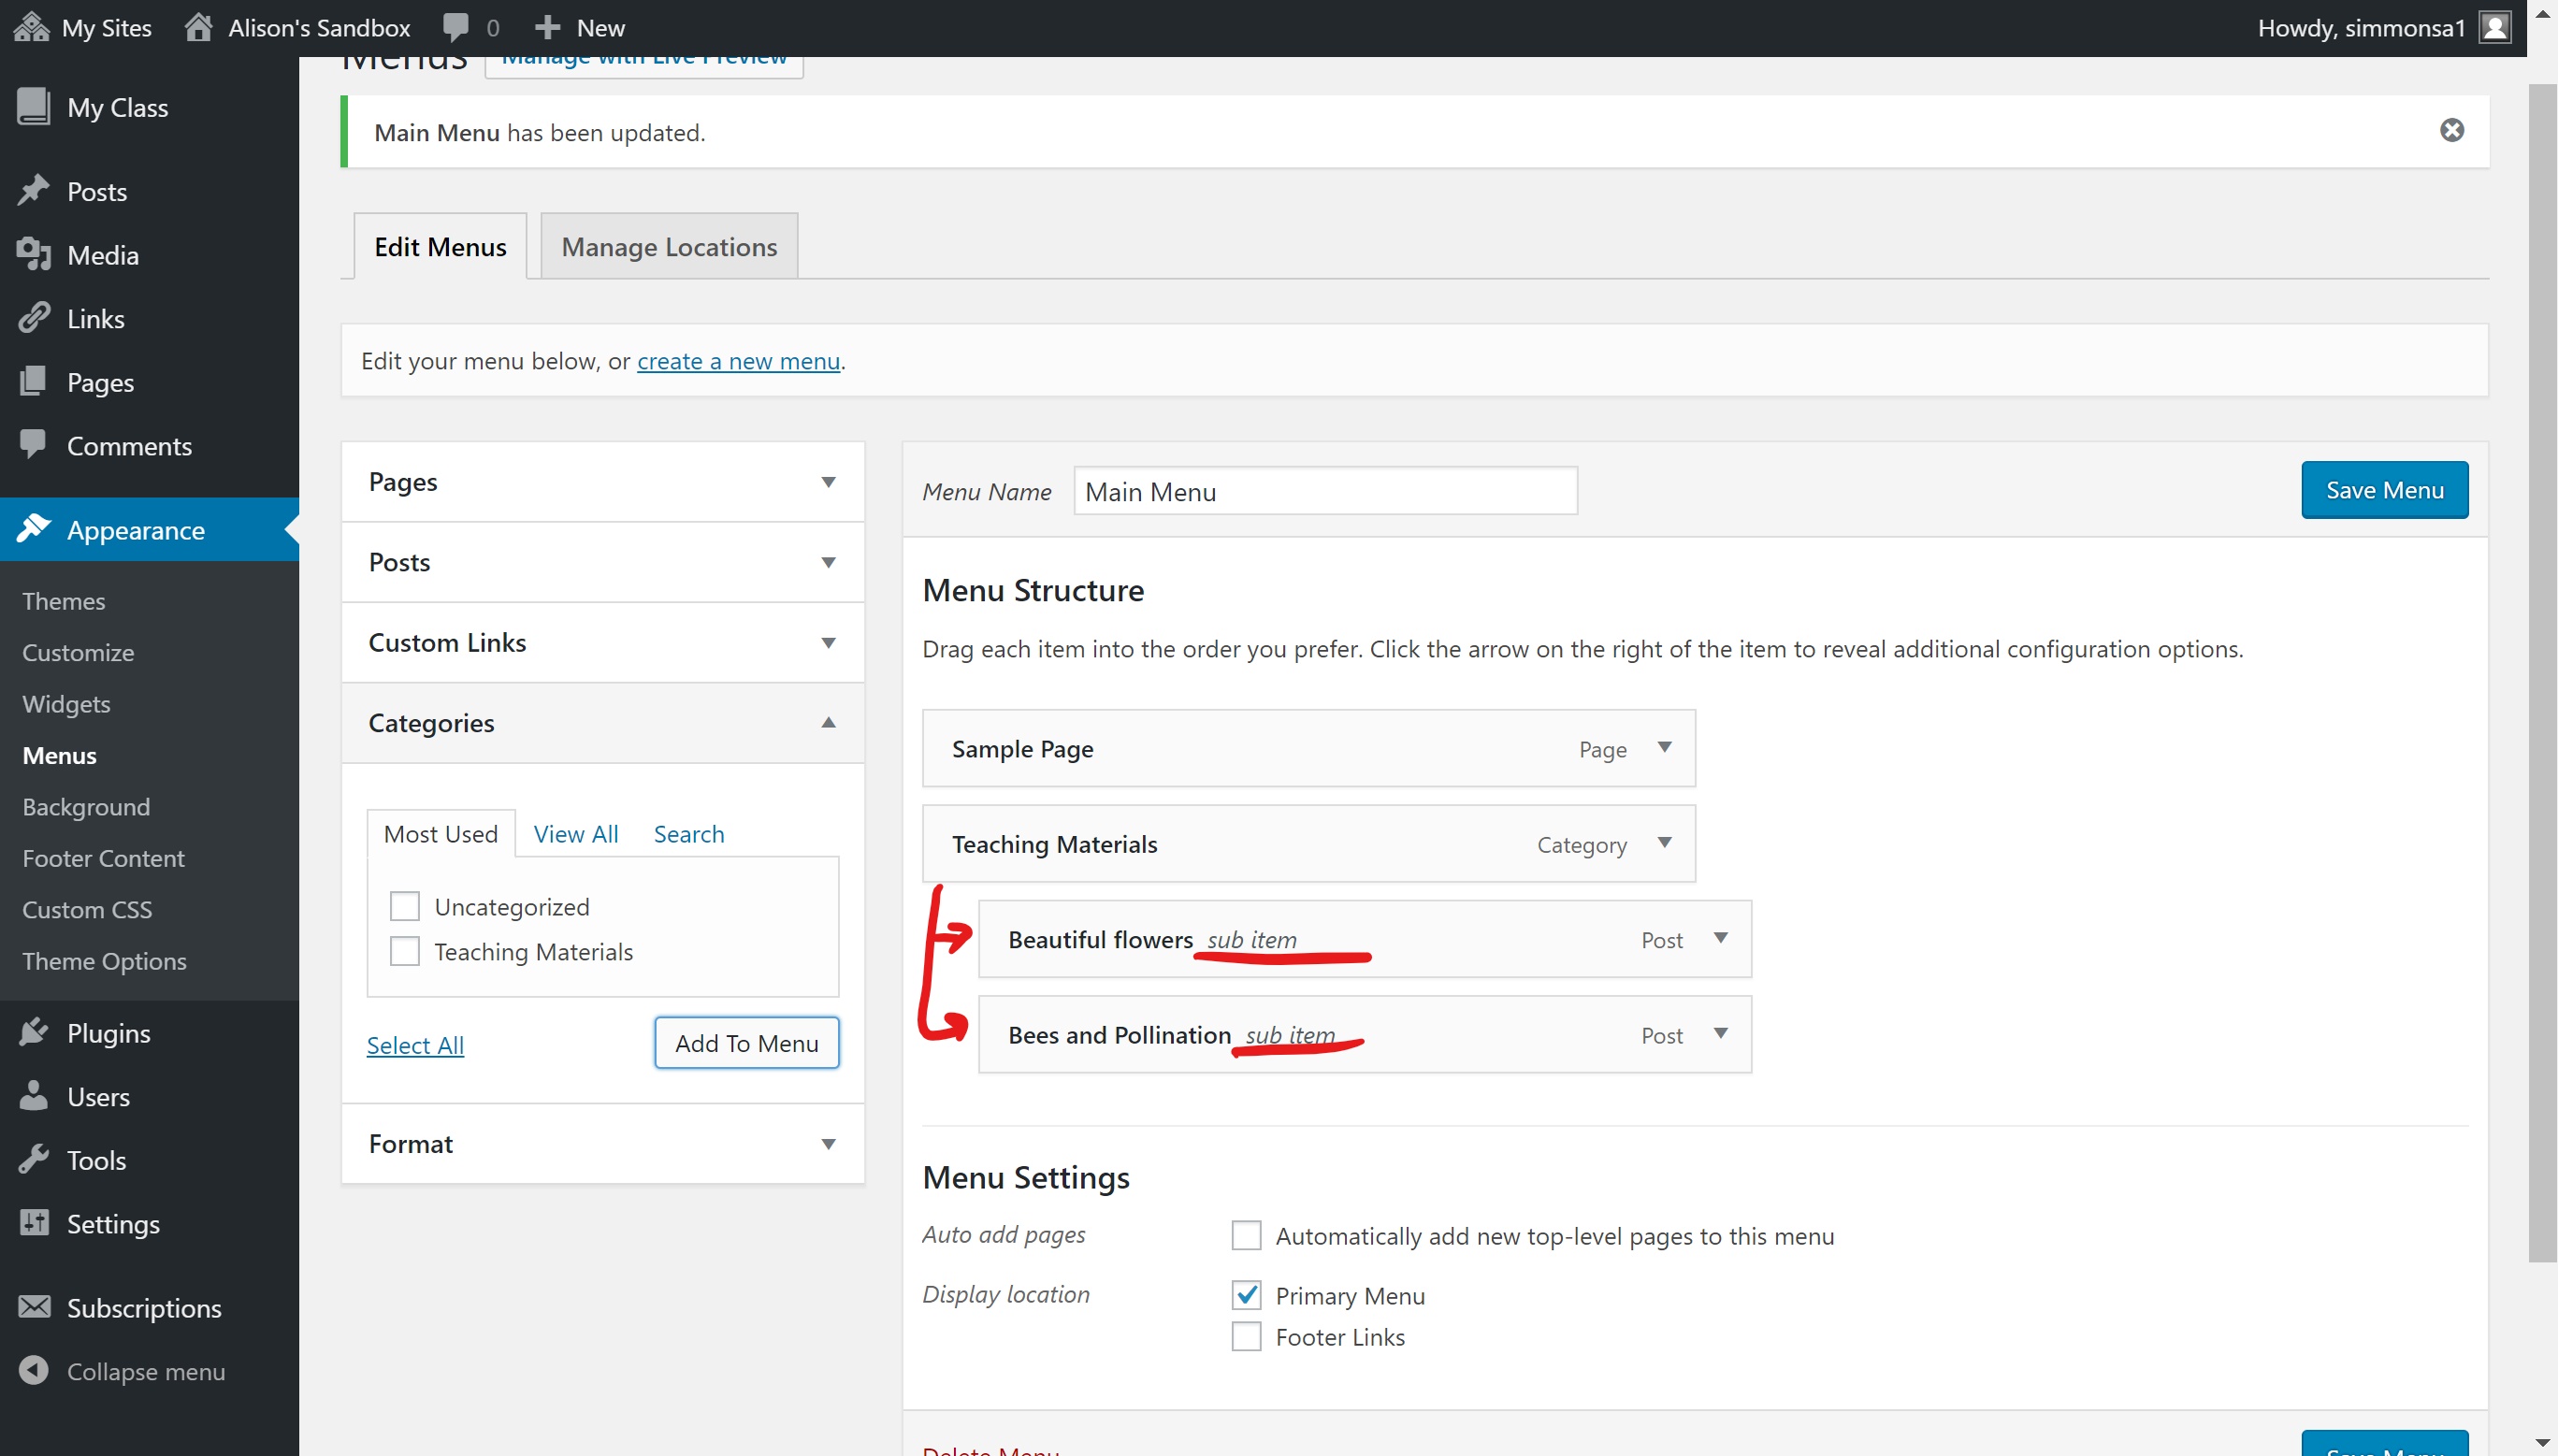
- Once both blog posts are listed underneath the Category, Teaching Materials, and are listed as sub item they will only appear underneath the Teaching Materials tab on the Main Menu.

- Click Save Menu when you are satisfied and then go back to your webpage by clicking on your website name on the Admin Bar.

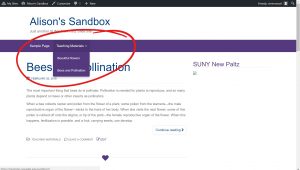
- Our new Menu will be on our Website. You can click on the Teaching Materials tab that has a small arrow indicating there are subcategories in it. Click once on the Parent tab (in our case Teaching Materials) to open the drop down menu with our two blog posts or double-click to load the Teaching Materials category.


You must be logged in to post a comment.