


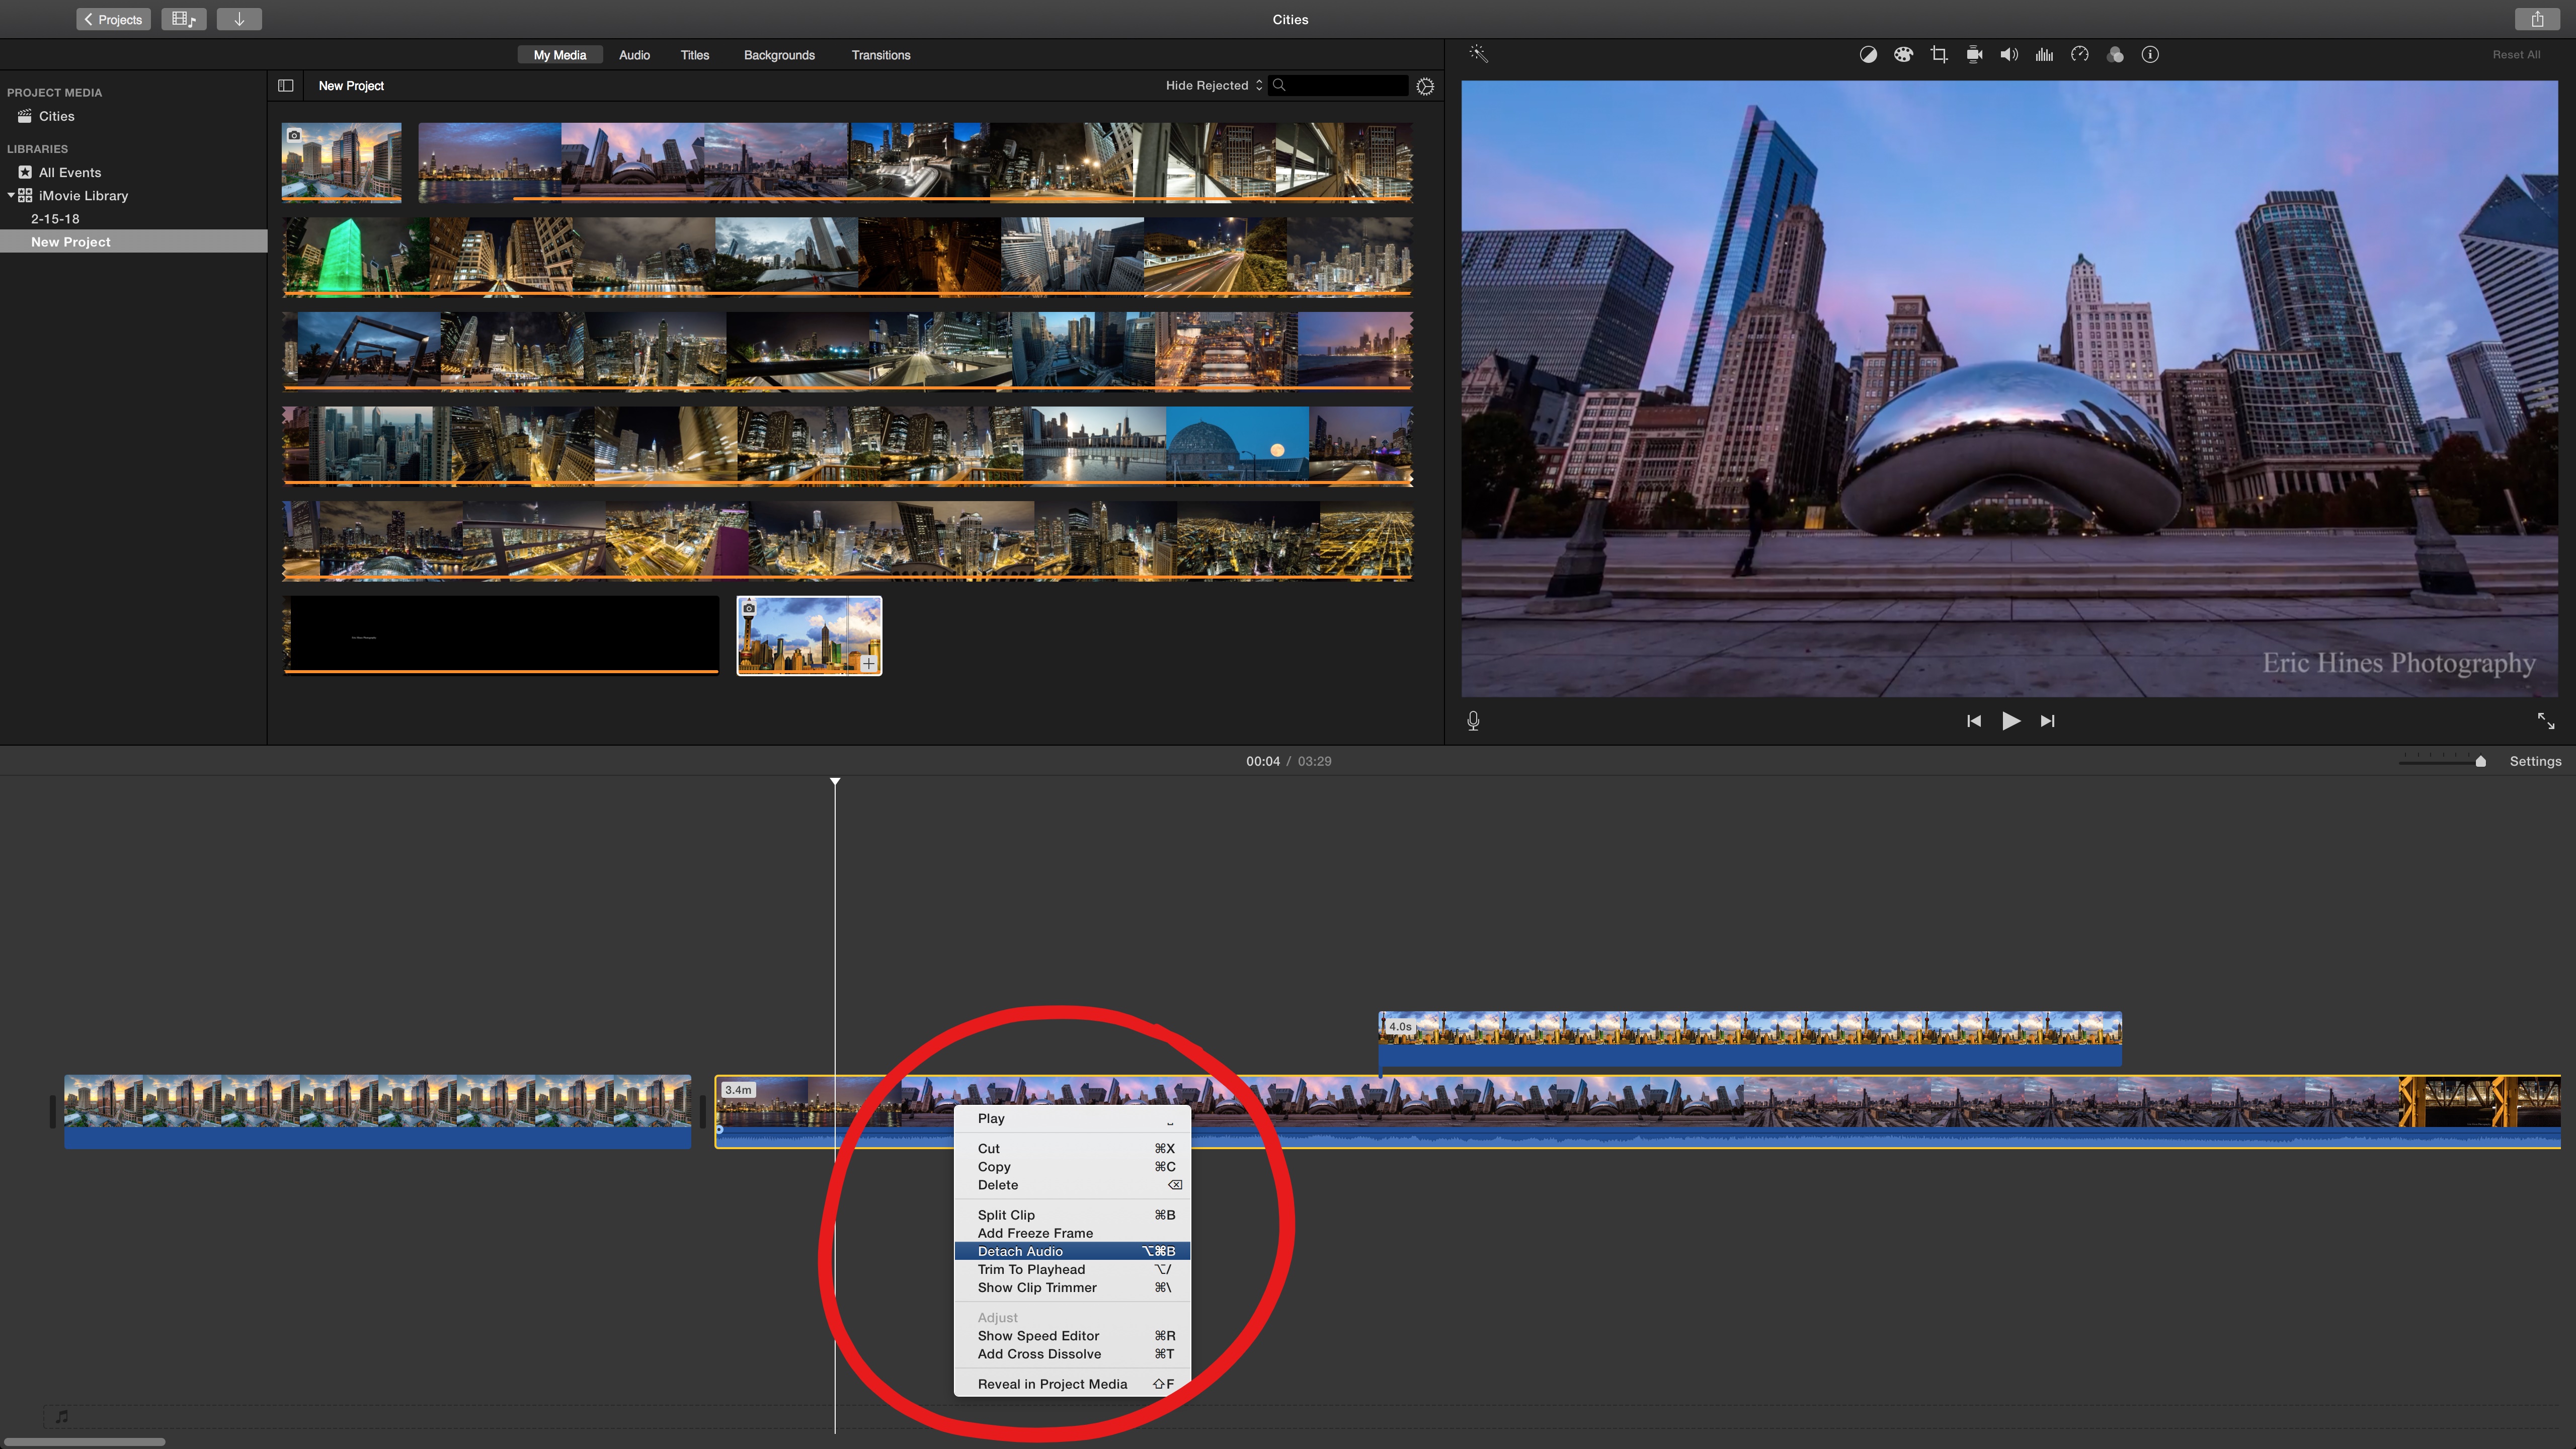
- If you have a video with audio, the audio will be automatically merged with the video. If you want to separate them, right-click on the clip and select Detach Audio. Now you’re video and audio will be independent of each other.

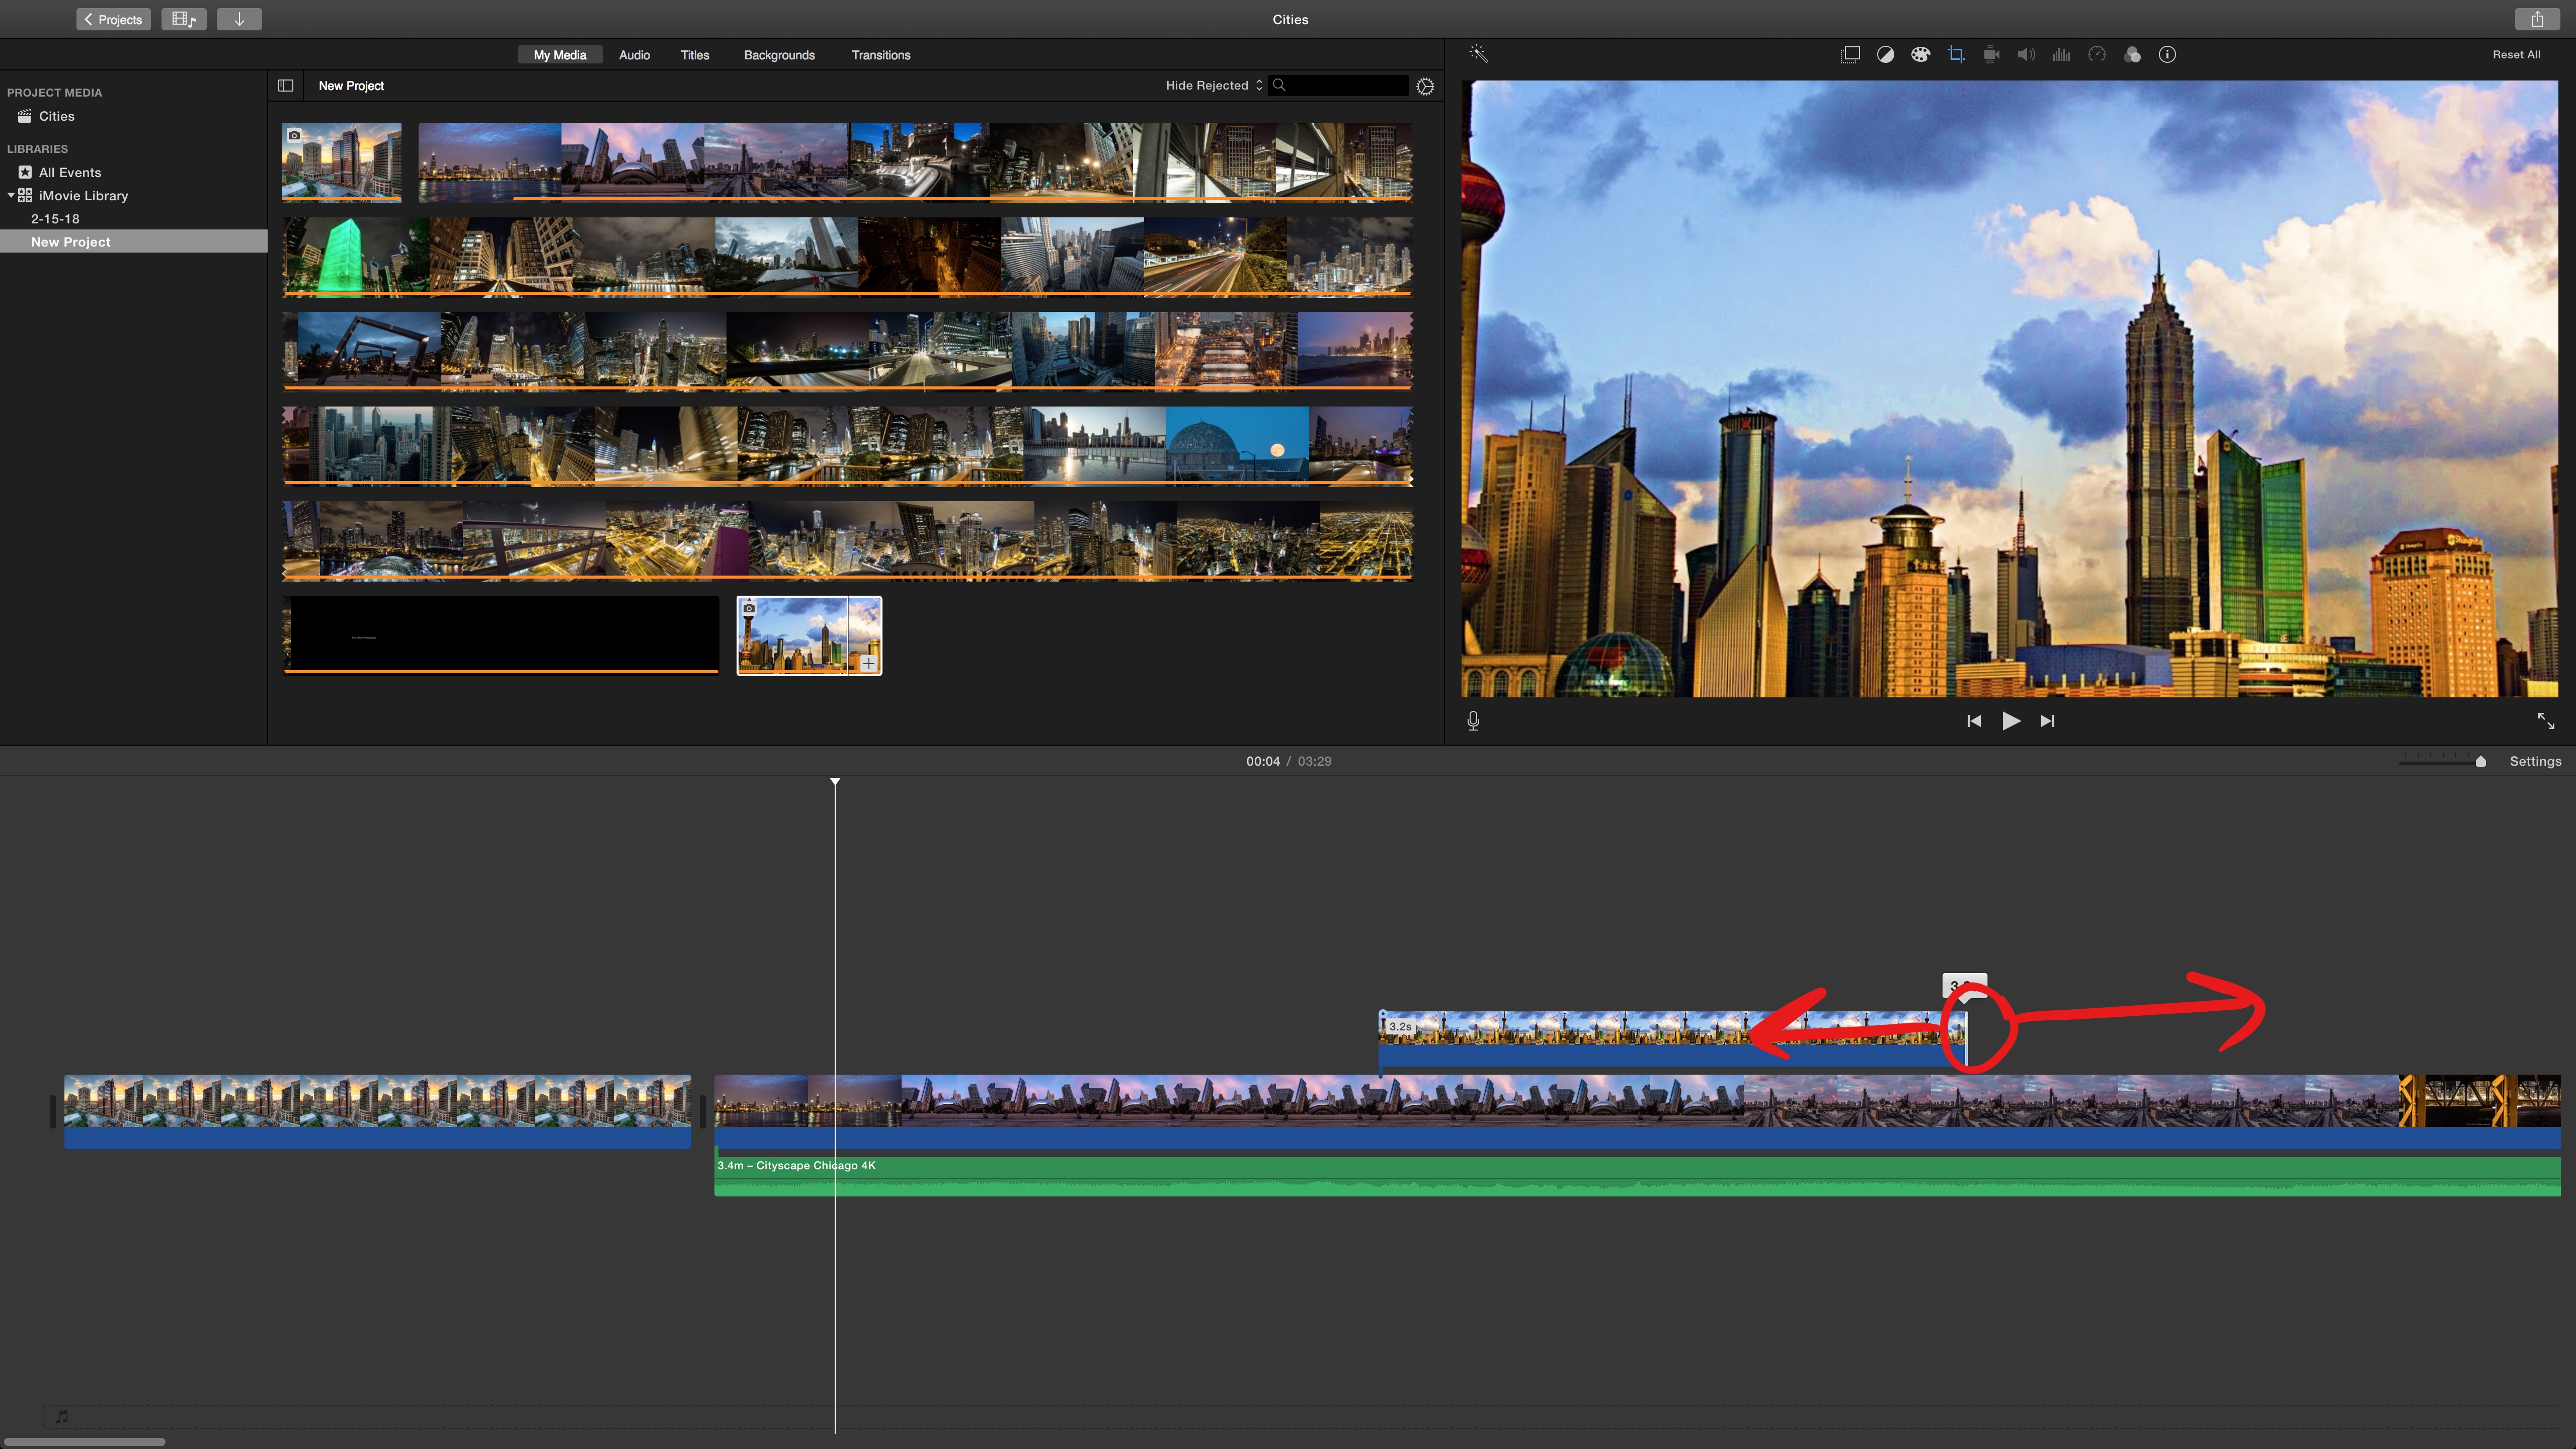
- To extend or shorten the time duration of a clip just click and drag from their far edges. This operation may cut some content from the video or audio clip.

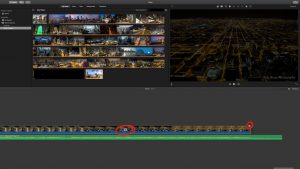
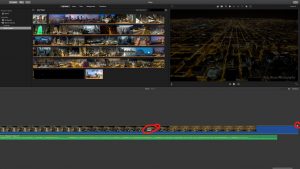
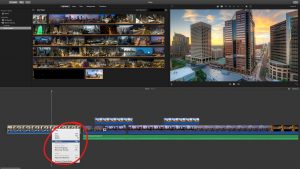
- To extend or shorten video clips without cutting or looping the content you must change the playback speed, right-click on the content and select Show Speed Editor.

- A thin black line appears right above the clip here. If you click and drag the marker to the left, the video will speed up to finish the video within the new timeframe. If you drag the marker to the right your video will slow down to fill the new timeframe. These are distinguished by the rabbit or turtle symbol.
- You can copy and paste any clip by using your key shortcuts like you would for any word document (Command + C and Command + V). When you paste your clip it’s placed where your cursor is on the Timeline.

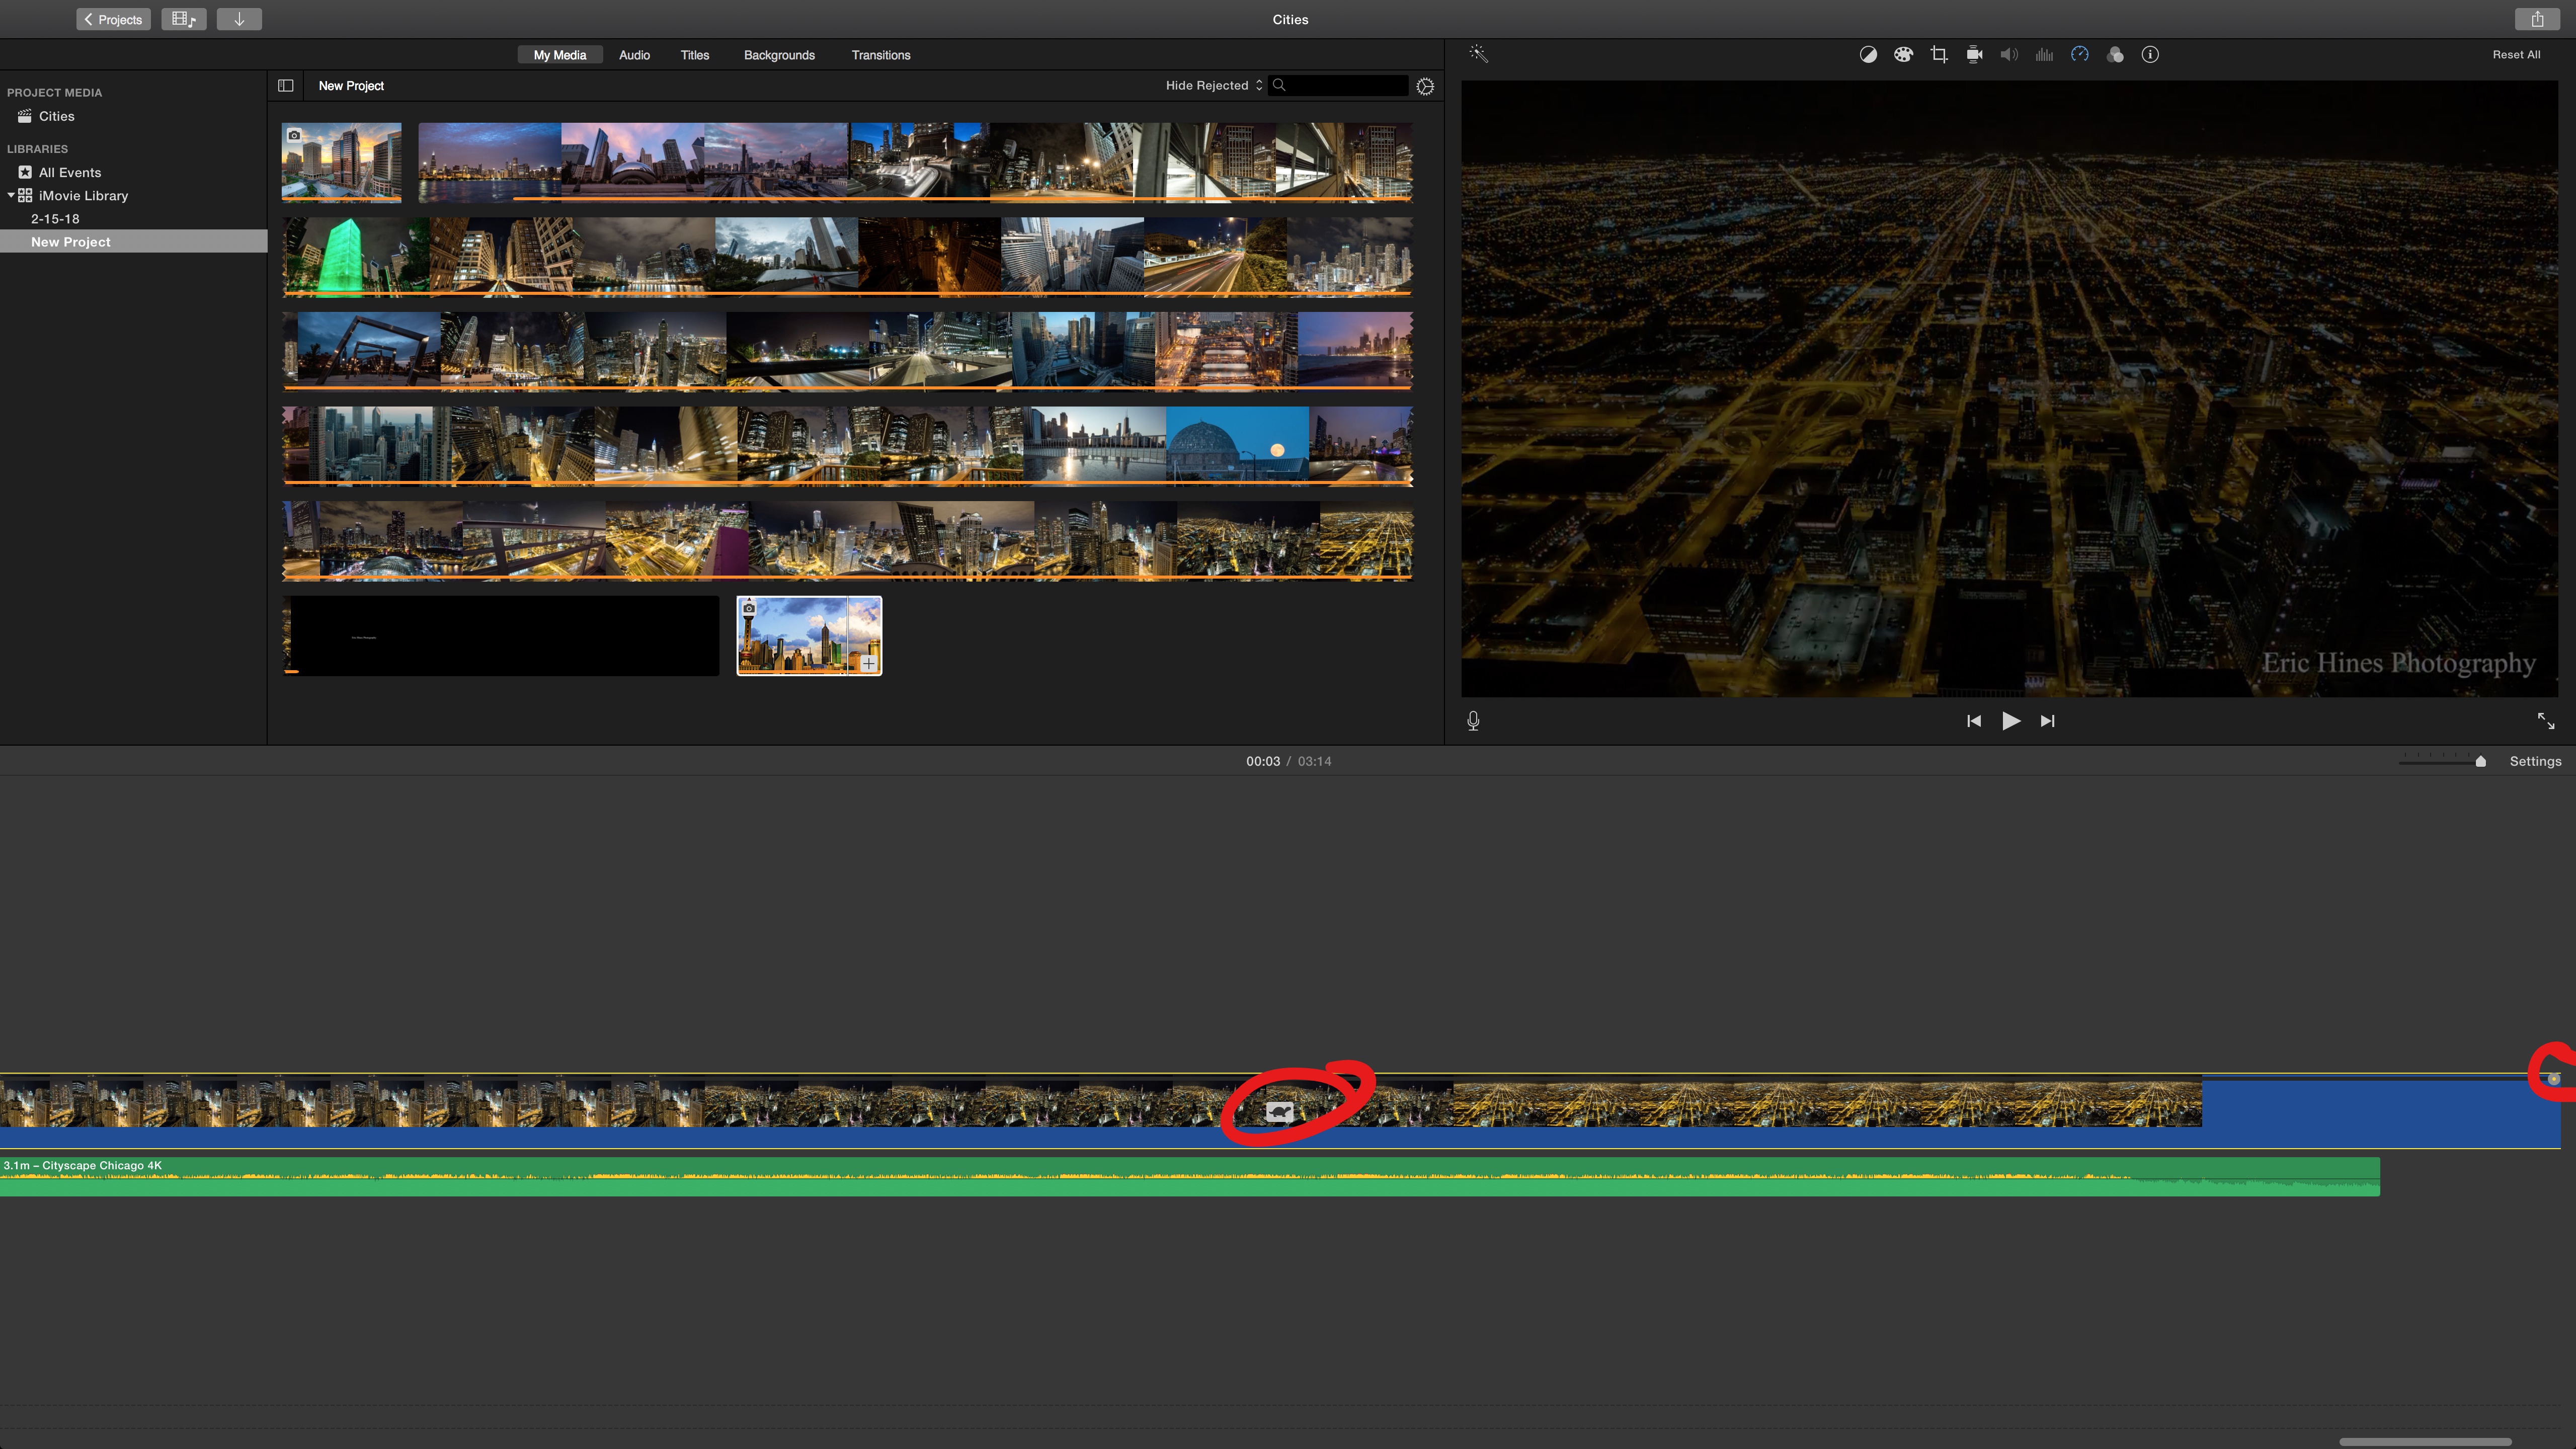
- If you just want to cut a part of your video just hold the R key on your keyboard and click and drag on the clip section you want to remove. Then use the cut shortcut on your keyboard (Command + X). When you cut, only the selected area will be affected.
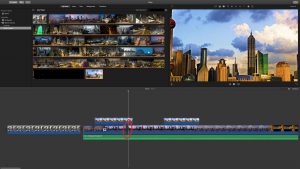
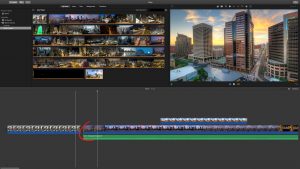
- You can split a clip by right-clicking the spot you want to split and selecting Split Clip. This will only affect clips on the Main track.
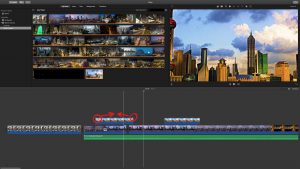
- To create a fade in/out in a clip hover over a visible clip until a marker appears on both edges of the clip. Click and drag this marker to create fade transitions. This can not be done on the Main track.
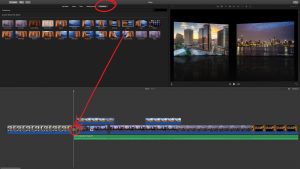
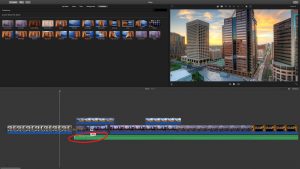
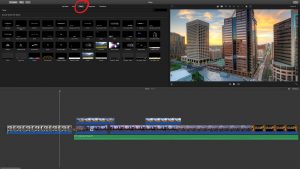
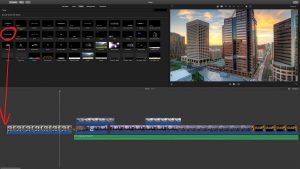
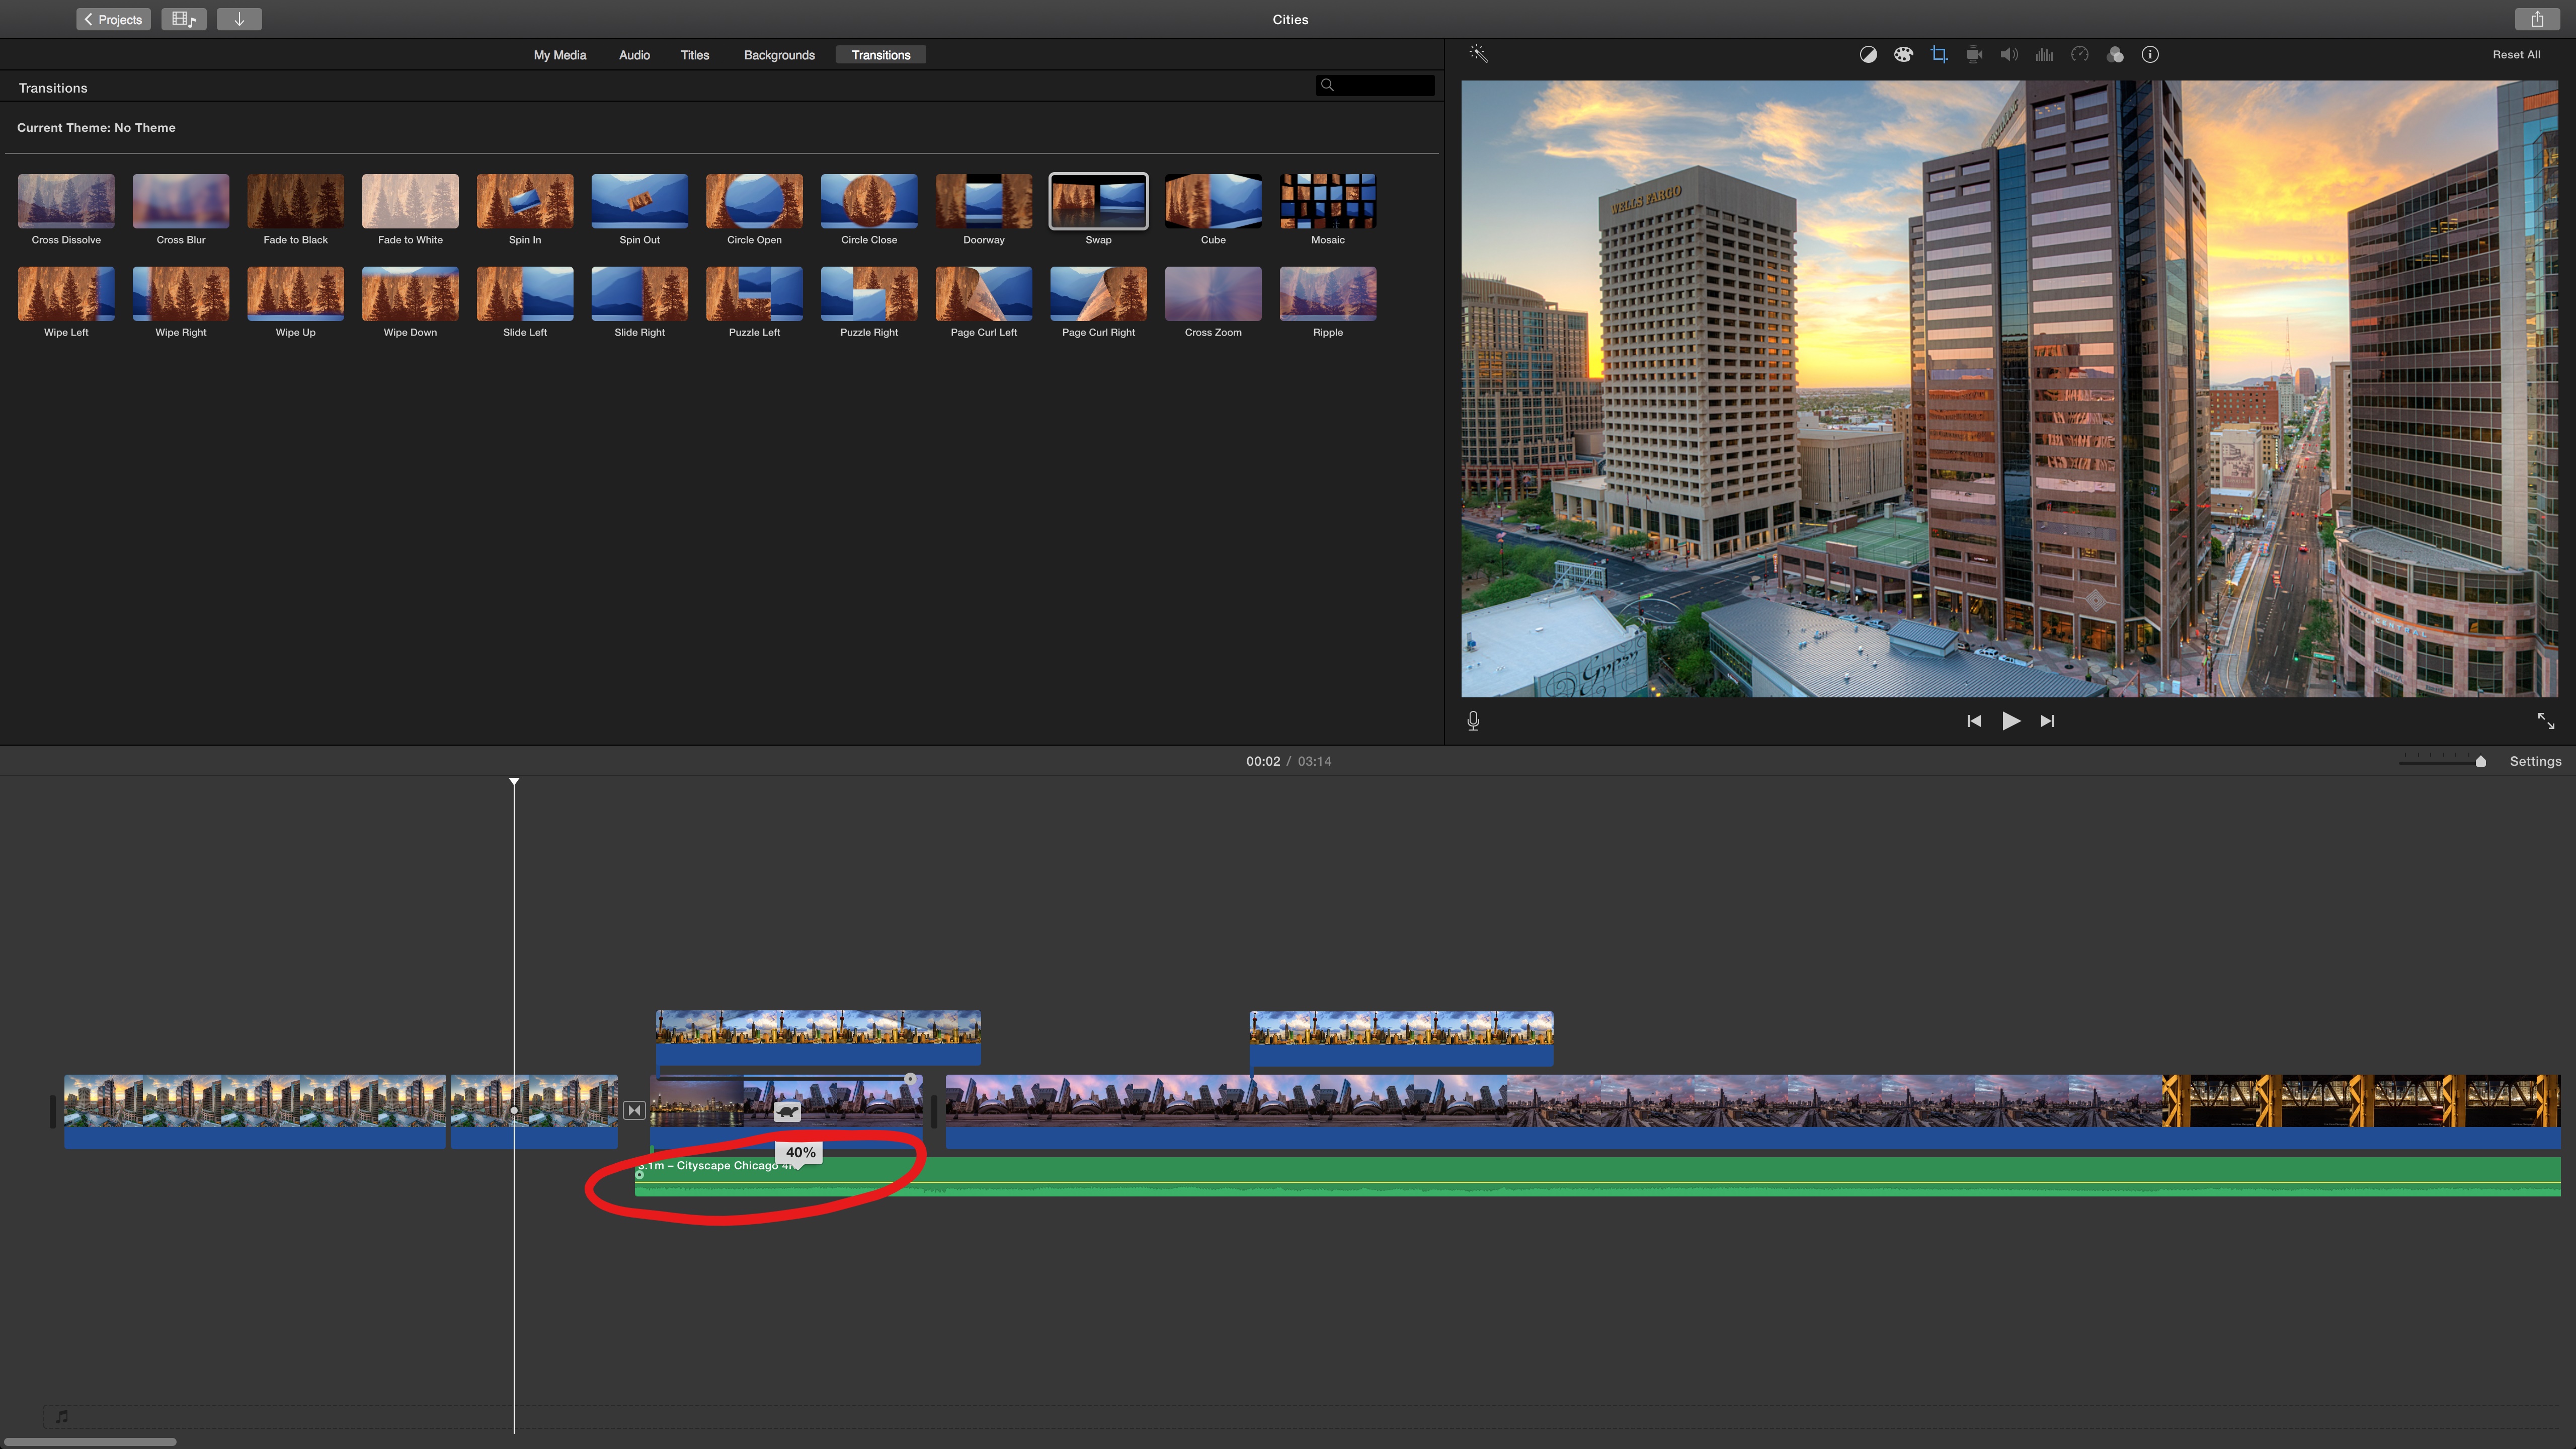
- To add transitions between clips on the Main track go to the Transitions tab in the Panels section. Choose the one you want to use and drag and drop it between two Main clips.
- Adjust the volume of audio by hovering over an audio clip and click and drag up or down to increase or decrease the volume uniformly.
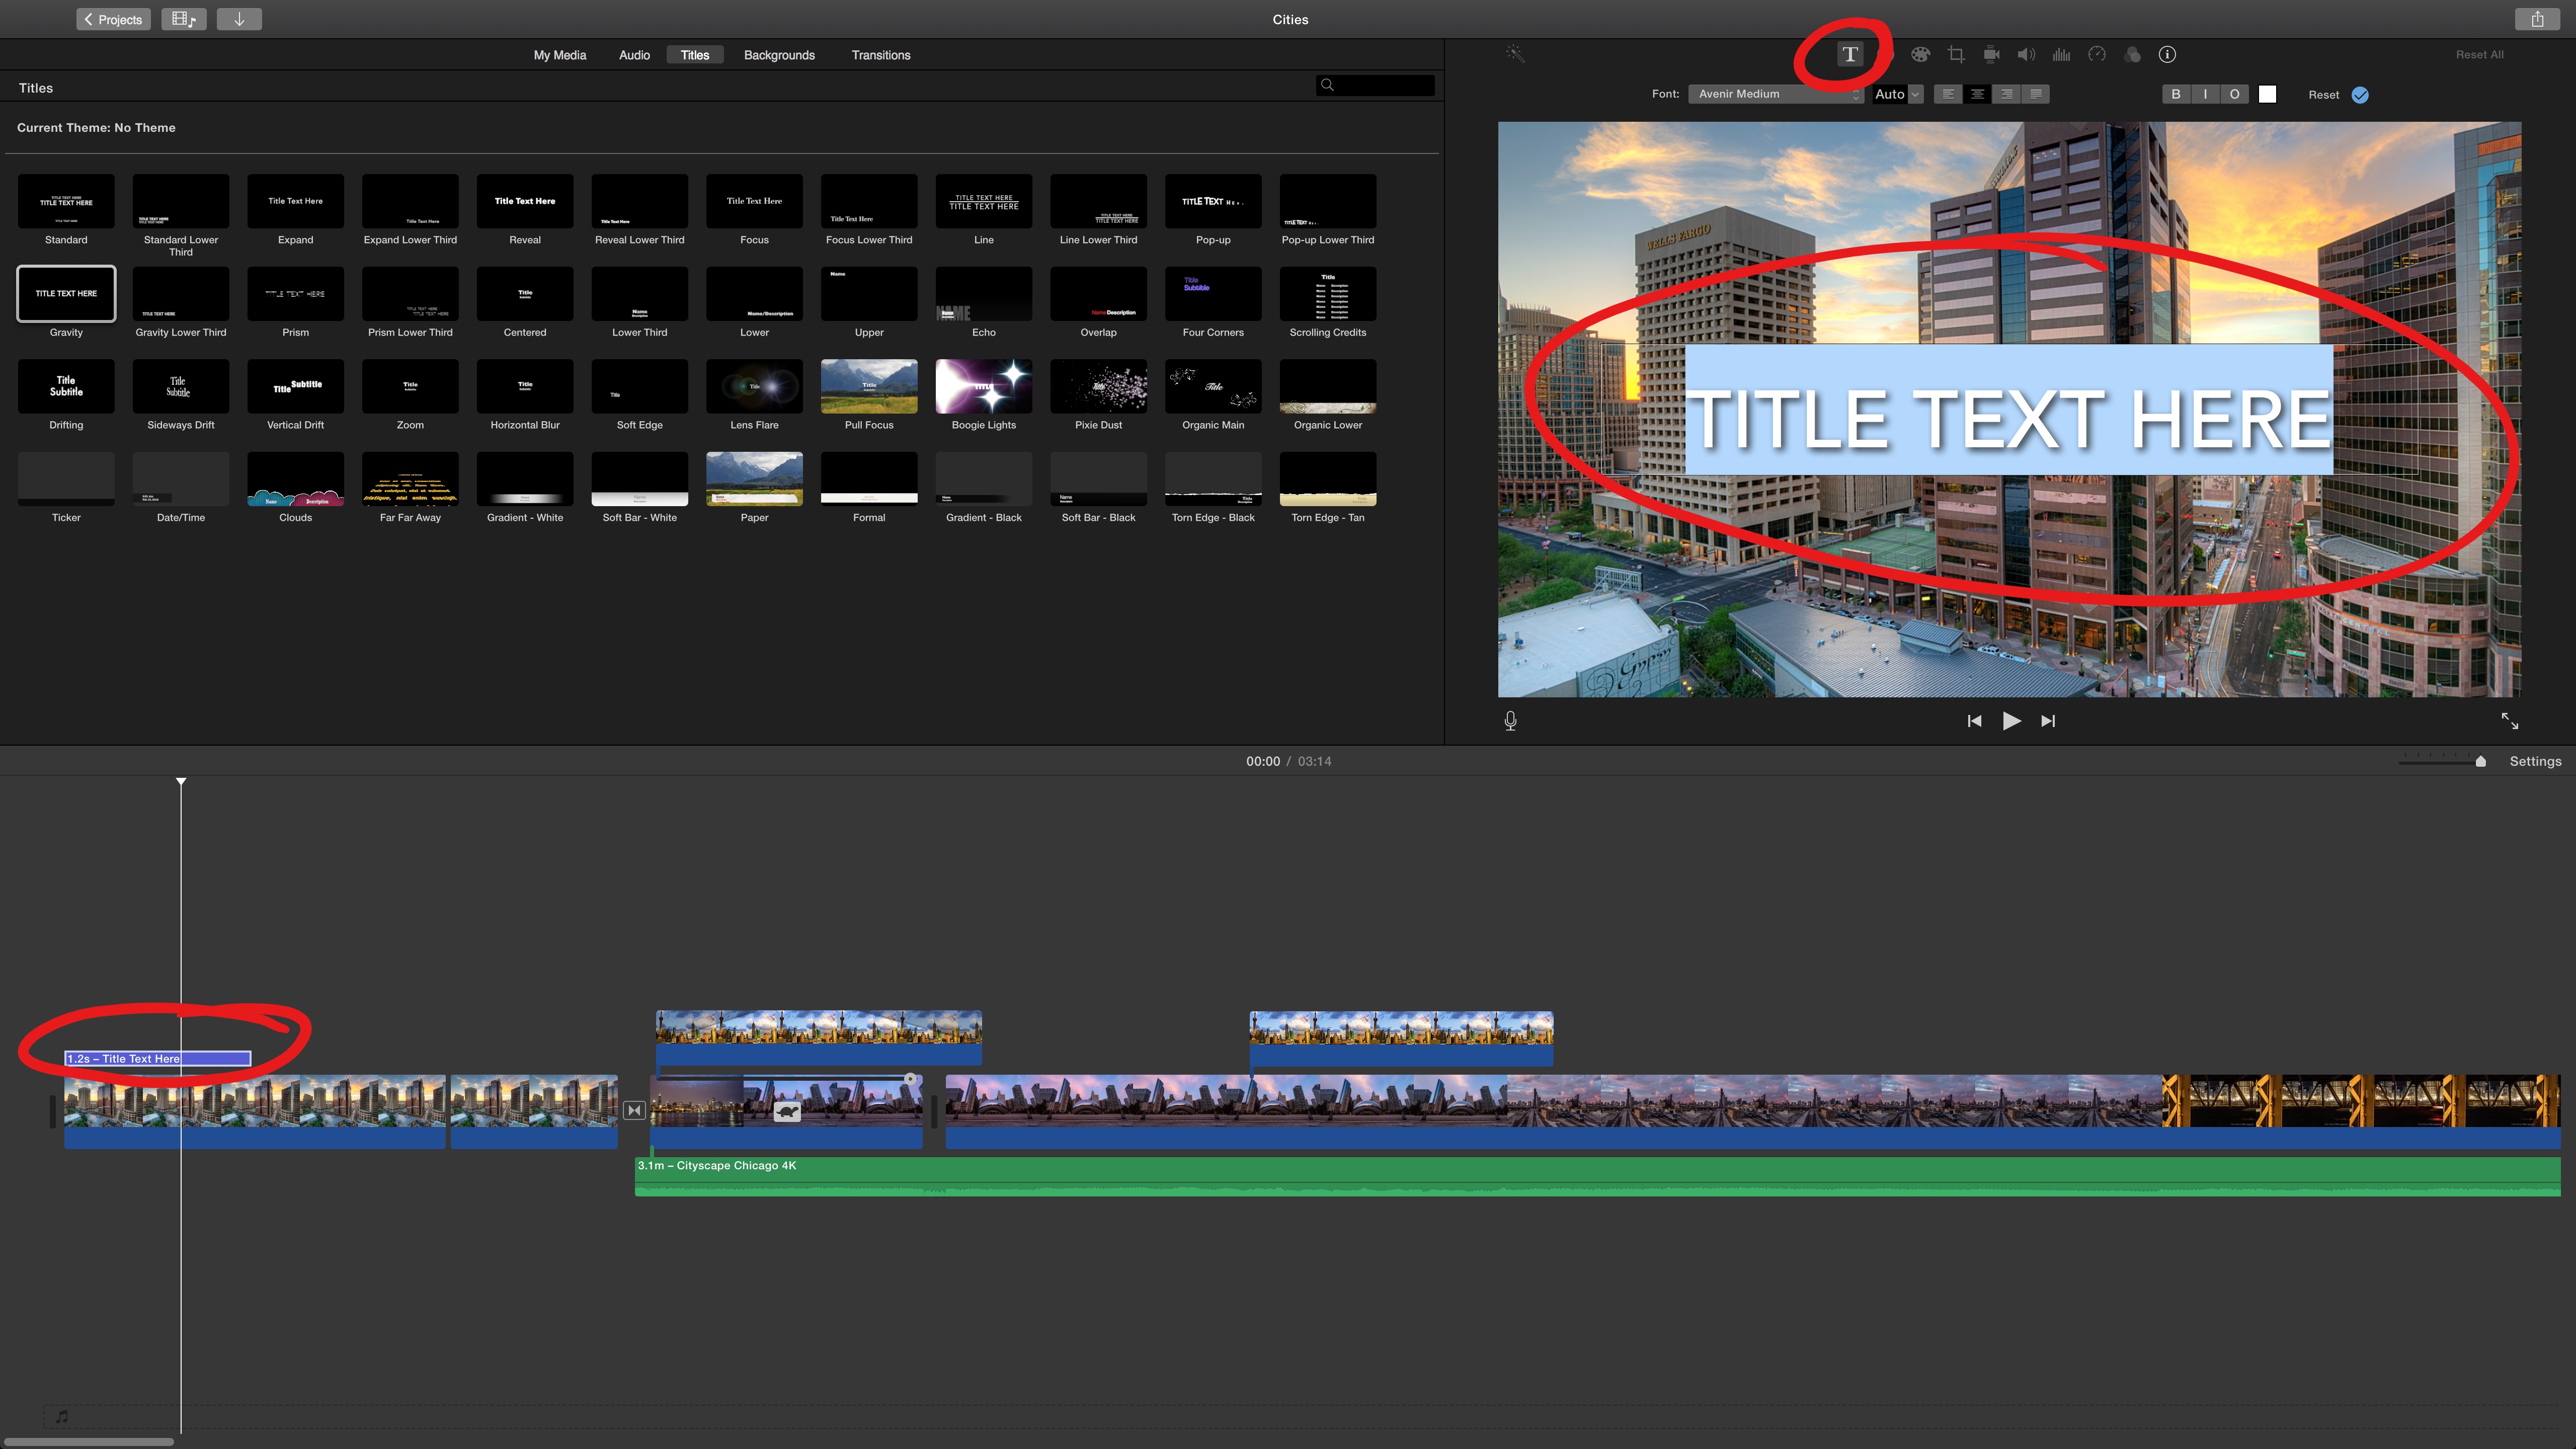
- You can add texts and titles by going to the Panels section and clicking on the Titles tab.
- Choose one of the Title options and drag and drop it onto your Timeline.
- Edit it by clicking on the Title clip in the Timeline and then select the edit tool in the Video Preview. Type in the text box on the preview to write in it and change aspects of it with the options above.

- That’s some basics on how to edit your video in iMovie. Next, we’ll talk about saving and producing your project.


Comments are Closed


You must be logged in to post a comment.