iMovie is a video editing software that can be used on an Apple computer. With iMovie, you can view, edit, and share movies on your Mac.
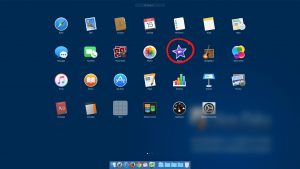
- To start, open up the iMovie from your applications, it’ll look like this.
- When iMovie opens you’ll immediately be in the Projects section. There are three sections which are located at the top of the screen: Media, Projects, and Theatre.

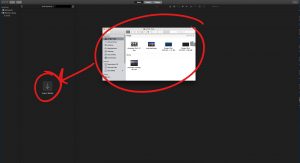
- The Media section is where you’ll import your pictures, videos, and audio files for the video project. Right-click on the empty space below iMovie Library to add a new library folder for your new project, name it whatever you’d like.

- Next, once you have a new library folder you’ll want to drag and drop your files into it from Finder.
- Once you’ve imported your files return to the Projects section and click on Create New.

- This small window will appear giving two options for a new project. You’ll want to click Movie.

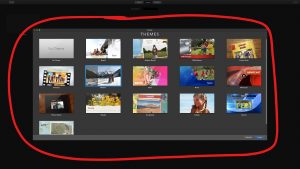
- A new screen will appear allowing you to select your theme for the Movie, we’ll be selecting No Theme.
- After you’ve selected your theme a new iMovie workspace will appear. It’s divided into three parts: Panels, the Video Preview, and the Timeline.
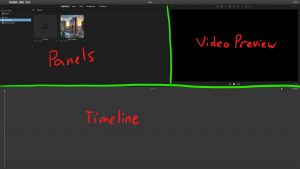
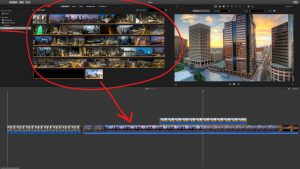
- In Panels, drag and drop your media files from your library, while under the My Media tab, to the Timeline below.
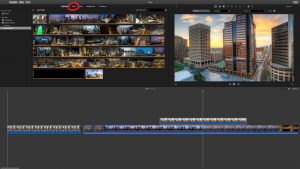
- You can also click on the Audio tab to browse from your own tracks from iTunes, GarageBand, and Sound Effects.
- Place all your files in the order you want and in our next blog post will be going over Editing.





You must be logged in to post a comment.