


EasiNote gives you the ability to draw, annotate, and write on top of your presentations or make new ones. Whether you need a simple whiteboard or want to annotate an existing lesson on the fly—EasiNote delivers all of the beautiful simplicity of an interactive panel or interactive whiteboard.
Getting Started
STEP 1: Basics
- Use the PC Input by pressing the setting button on the right corner of the frame, and select PC.
- Sign in with your normal school login.
- Open up the EasiNote application, located in the ClearTouch shortcuts folder on the Desktop. Select the Note folder and open the Note app.
- Basic tools are located on the bottom of the screen, including a Mouse,
 Pen, Eraser, Shapes, Grab tool, Text, and Page arrows. Touch and hold the tool to bring up more options for the following tools Pen, Eraser, Shape and Grab.
 - Each page is an infinite canvas and can be moved with the Grab tool.

- The Menu Bar, normally located on the bottom left, includes Menu, Desktop, Treasure Chest, Resources, and Browser.
- The Page Management Menu, normally located on the bottom right,
 includes Add page, Arrow to switch pages, and Page counter.
 - The two corner menus can switch sides by pressing the arrow on the outskirts of those menus.
STEP 2: Treasure Chest
![]()
- On the Menu bar, under Treasure Chest, there’s a section that has tools for specific subjects under the category Discipline tools. Some of the tools are listed below.
- Chemistry: Atomic Structure, Periodic table, Beakers, etc….
- Physics: Ammeter, Voltage meter, Slide rheostat, Resultant force, etc….
- Math: Recognition Math formula, Draw function, Compass, Rulers, etc….
- English: Four-wire grid
- Tap or drag and drop any of these tools onto the canvas to use them.
STEP 3: Pages
- View all your pages by tapping on the Page co
 unter.
 - Set them to linger on the side of the screen or be hidden completely while you work by pressing the top left icons, the rectangles or circles, on the top of the window.
STEP 4: Subject Mode Function
- EasiNote sets different subject modes featuring Math Mode, English
 Mode, Physics Mode, Chemistry Mode, and General Mode. Different subjects provide different teaching tools, located on the Basic Toolbar in each mode.
 - Tap on the small tab on the left side of the screen, to pop up the mode selection, select the mode you wish to use and the screen will change. Each mode has a different background and Basic Toolbar.
Teaching mode vs. Preparation mode
STEP 5: Teaching mode
- Select this mode by going to the Menu, located on the Menu bar, tapping on Mode and selecting Teaching Mode. The following are only available in this mode.
- If you write with the Text tool, double tap the written text with the Mouse tool and a text window will open; giving you more text options.
- To add a text box tap on Menu, located
 on the Menu bar, and select Import then Text edit. Now, anywhere you touch on the screen a new
  text box will appear. To write in it double tap on the new text box till a text window appears, on this will be a keyboard icon. Selecting this will bring up a keyboard.
 - If you’ve used the Pen tool to write, you can convert it to text by circling it
 using the Mouse tool. Select the written to text tool, on the small toolbar that appears, to convert it to text.

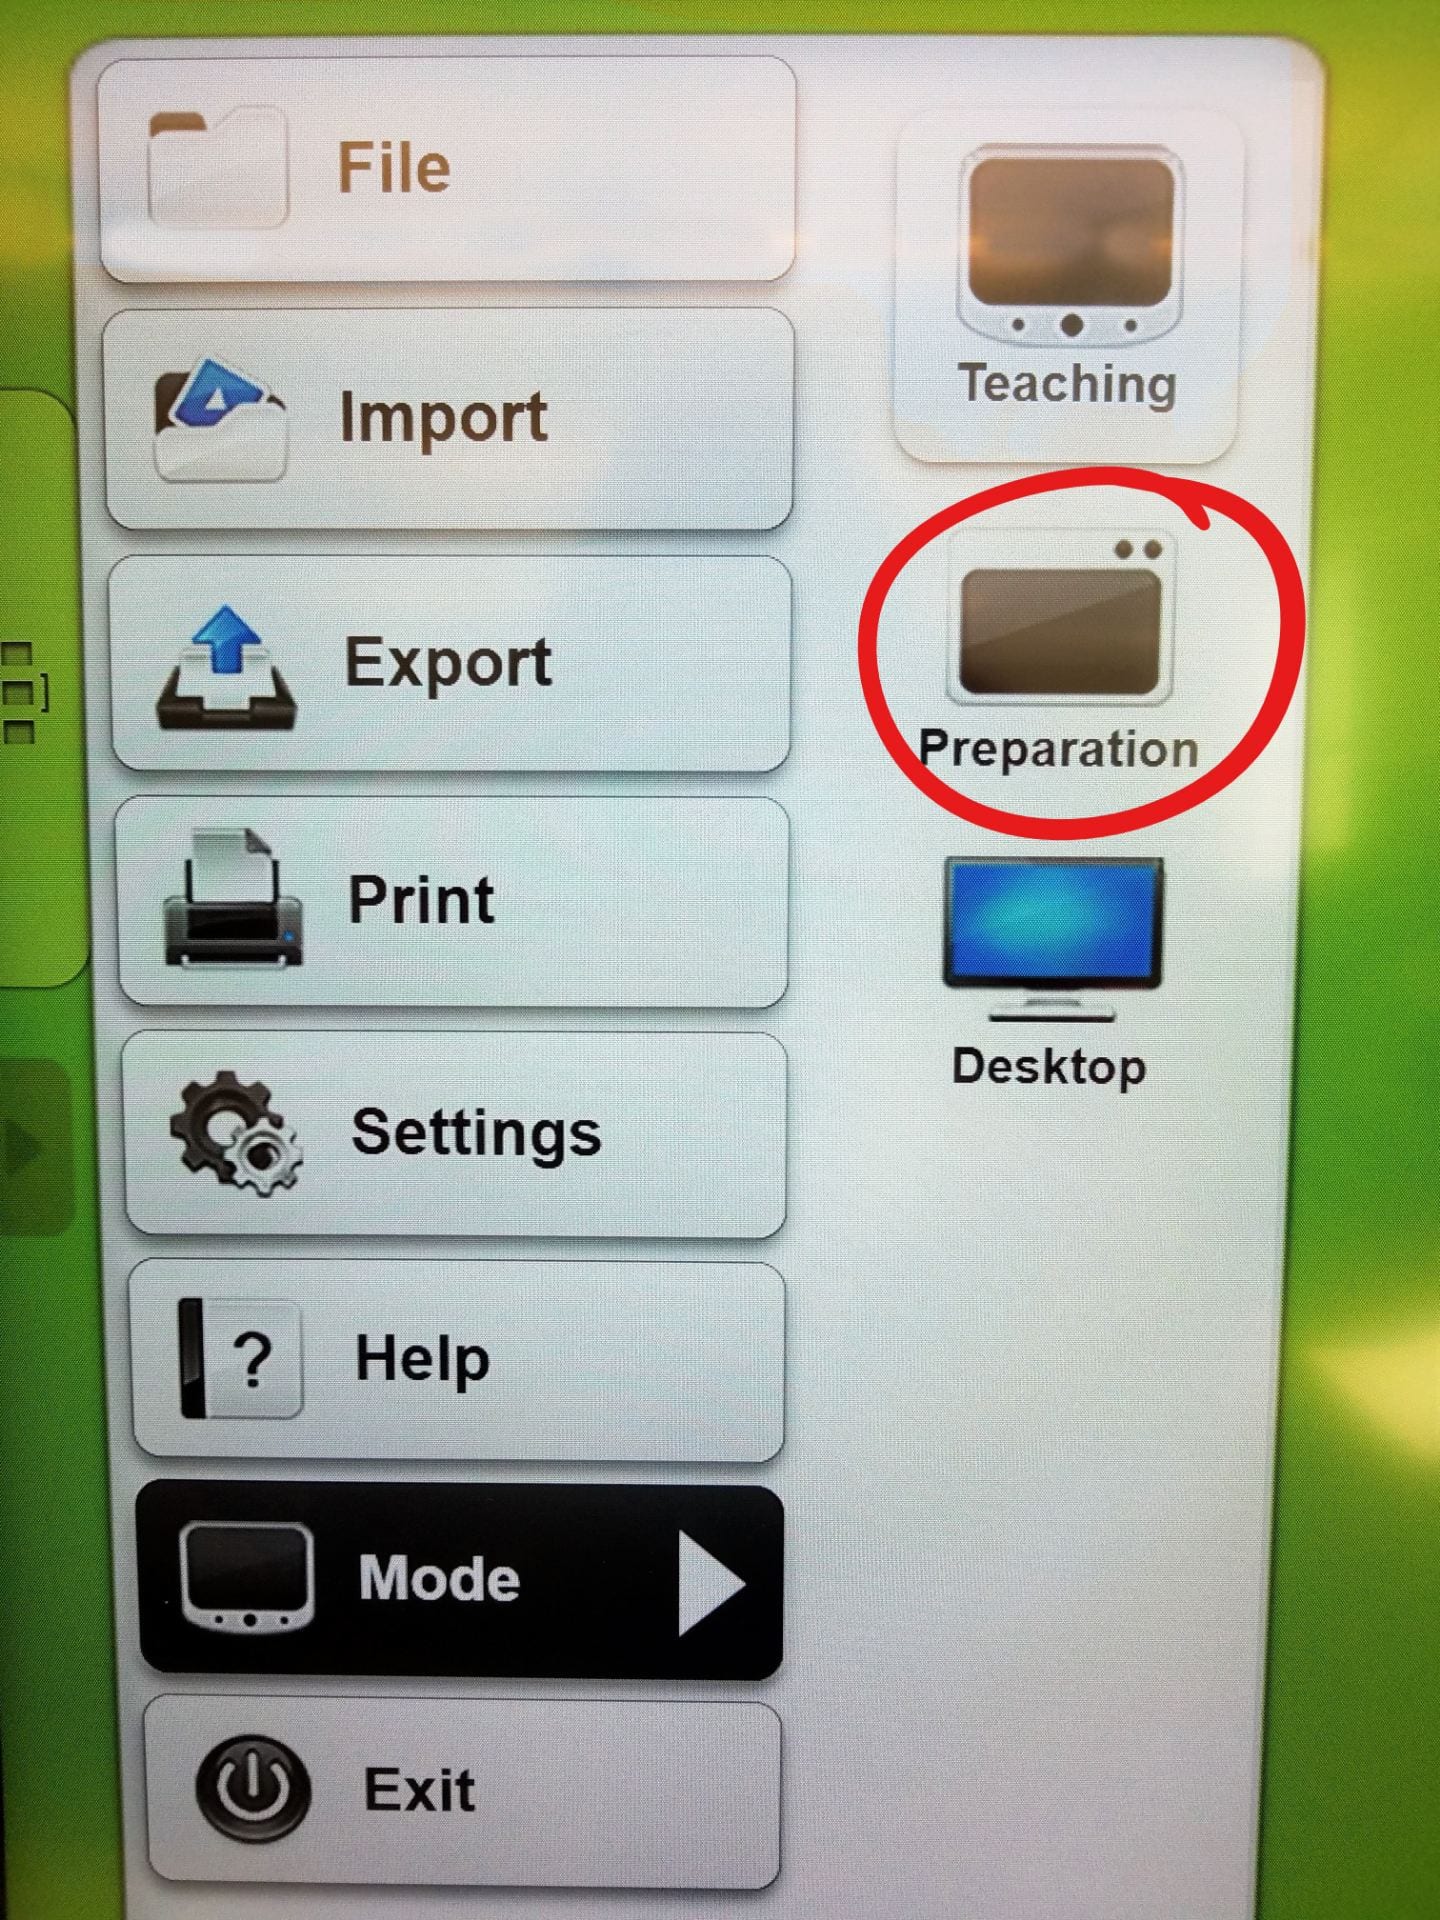
STEP 6: Preparation mode
- Select this mode by going to the Menu, located on the Menu bar, tapping
 on Mode and selecting Preparation Mode. The following are only available in this mode.
 - In Preparation mode, you have access to the computer’s icons at the bottom of the screen.
- Drag and drop files from File Explorer into EasiNote. Dropping in a multi-page PDF will automatically place each PDF page on a new EasiNote page in the lesson.
- The edge of the visible canvas can be seen on the screen, it is still an infinite canvas.
STEP 7: Saving & Exporting
- To save your EasiNote file go to the Menu Bar, tap on Menu, select File, and press Save. Select where you want to save it and tap Save. It only saves in enb. file format.
- To export your EasiNote file go to the Menu Bar, tap on Menu, select Export, and tap on which file type to export it in, either Word, PDF, Image, or PPT. Select where you want to export it and tap OK.
- The CMC Clear Touch Board wipes itself clean whenever it’s restarted or shutdown. Anything saved to the computer will have been deleted, be mindful of this when saving.


You must be logged in to post a comment.