Many Google sheets are too wide to properly fit into a WordPress page without overlapping onto your side widgets. One way to avoid this is by embedding the Google Sheet into your page/post.
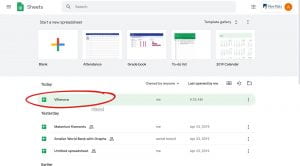
- First, select Google Sheets from your Google account.

- Open the Google Sheet you want to embed into your WordPress webpage by selecting it from the list below the templates.
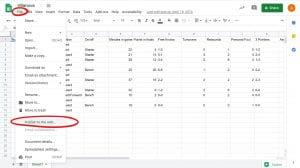
- On that Google sheets page, select File, on the toolbar, and then on the sub-tab option Publish to the web….
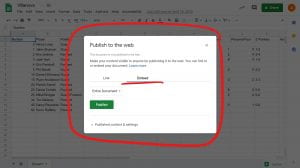
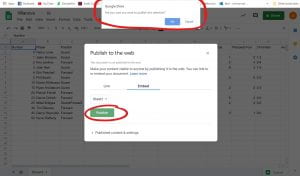
- The “Publish to the web” window opens the two options. They are Link and Embed, select Embed.
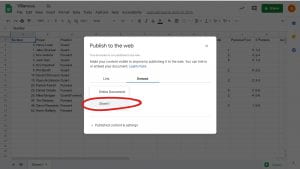
- On the drop-down menu, the current option being Entire Document, select the Sheet1 option or whatever sheet you intend to use.
- When done select the Publish button on the bottom of the window. A notification from Google Drive may appear on the top of the screen, asking “Are you sure you want to publish this selection?” Click OK.
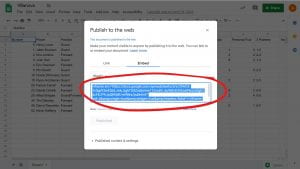
- Copy the code that has been created, located on the “Publish to the web” window.
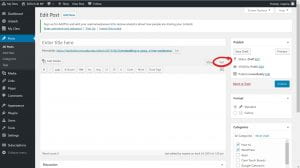
- Go to your WordPress page/post that you want your table to be in and select the Text tab located on the top right of the toolbar. This will be the coding side of the page/post.
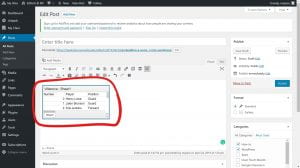
- Paste the code into the text area where you want it to be placed in your page/post.
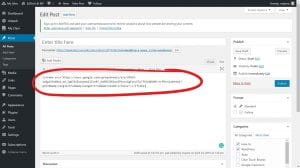
- Go back to the Visual tab to see where the table is currently located. Do not be mislead by its current size. It’ll actually be the size of the regular post/page area.
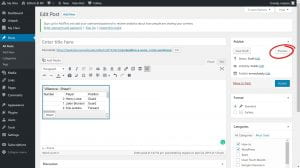
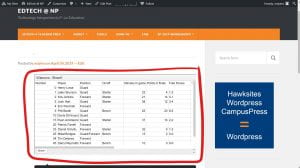
- Select the Preview button on the right of the webpage to view your table in it’s published form. Sliders are located on the right and/or bottom of the table, to scroll through the rest of the table that isn’t visible at first glance.


You must be logged in to post a comment.