YouTube automatically adds closed captioning in the video’s language, as marked on the advanced settings tab when you upload the file. If your video includes names of people or companies you might need to edit the closed captioning for correct spelling. The following instructions describe how to find and edit closed captions on your video.
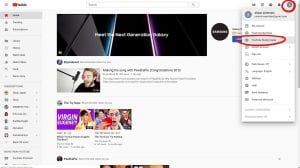
- Click on your YouTube icon, on the top right corner of your screen, select YouTube Studio (beta).
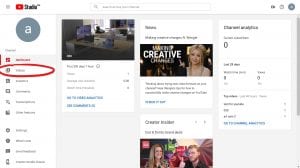
- Click on the Video tab on the left to view all your uploaded/drafted videos.
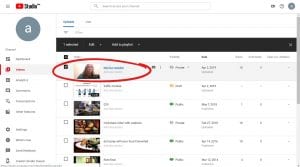
- Click on the video’s thumbnail or title to review/edit the closed captions for.
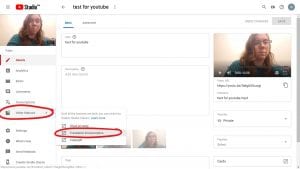
- Once on that video’s edit page, hover the cursor over Other Features and click on Translation & transcription.
- The automated Closed Captions that YouTube created for you will be present, English (Automatic), click on it to review and make changes.
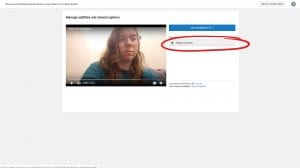
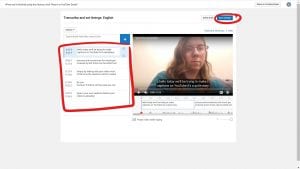
- The Closed Caption dialogue can be seen to the left of the video and a timeline underneath, showing when each captioning will appear in your video. To change any of this click on Edit.
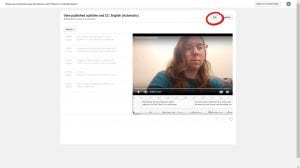
- Make any revisions to the text on the left or move the closed captioning on the timeline to change when it starts on the video. When you’re finished click on Save Changes.
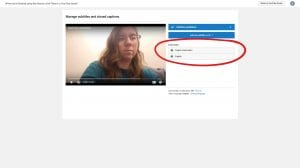
- Now two captions will be listed next to your video, the one with your edits and the automated one. The newest version will become the defaulted option when someone selects to see the Closed Captions on your video. No other actions need to be taken for these captions will automatically be added to the video.





You must be logged in to post a comment.