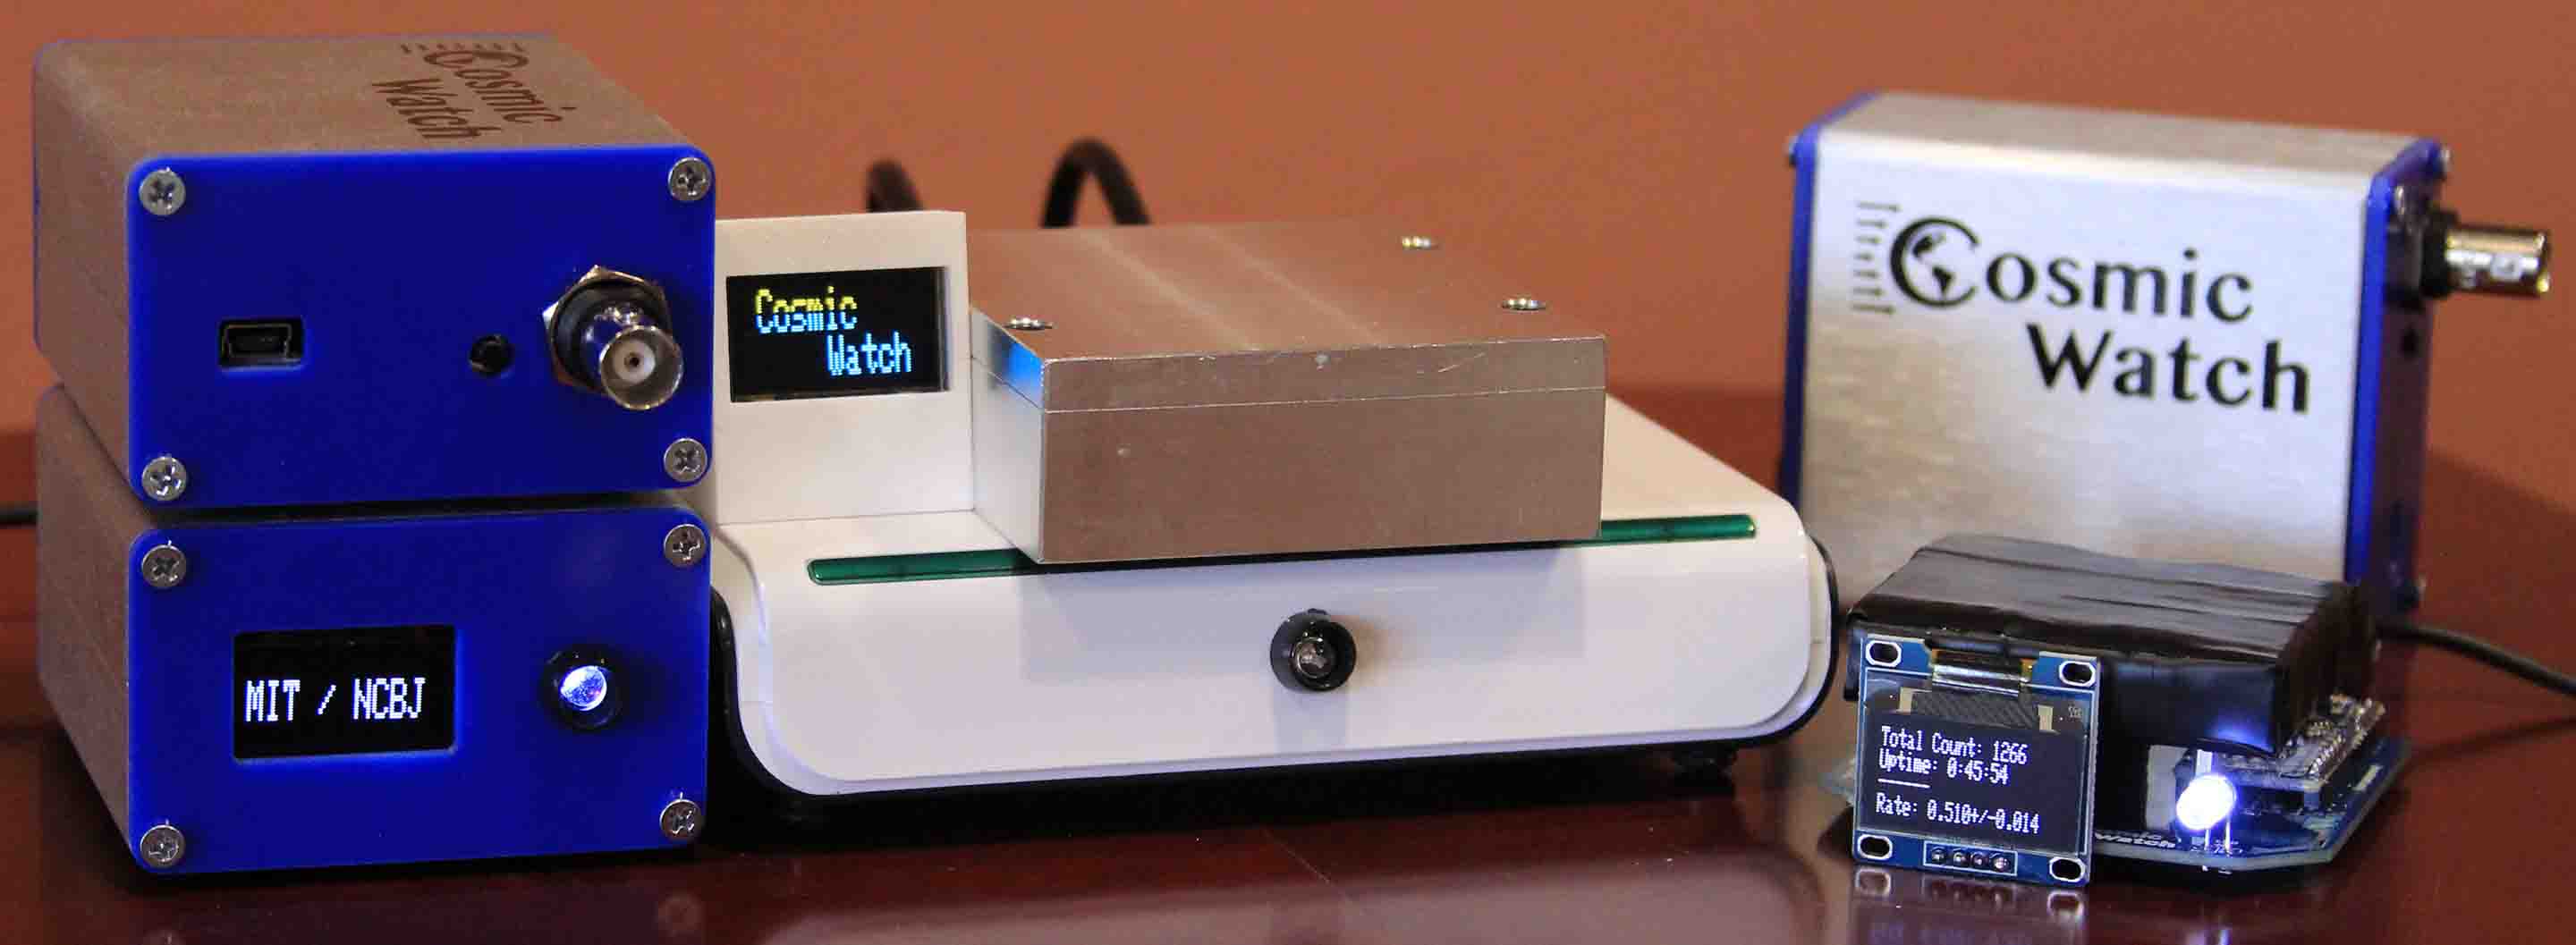
CosmicWatch is a small, inexpensive, home-built (or lab-built) cosmic ray detector designed by the Laboratory for Nuclear Science at MIT. I’ve set out to build one, and this is Episode 2 of the adventure.
The claim is that “single detector costs approximately 100 USD”,1 though I learned later that this estimate does not include the scintillator, because “we found that physics departments often have left over scintillator from previous experiments”. Well, our physics department does have some small pieces of scintillator, but they are not necessarily left over, and in any case I want to know the full cost of building the device from scratch. Although the designers of CosmicWatch are targeting college physics departments, I’m interested in seeing if it is affordable and practical for high schools too, in comparison to Fermilab’s QuarkNet project.2
I’ve been skeptical of the price claim, even though it’s clear that the device will be much less expensive than other student detector projects. And as you will see below, my skepticism is well founded. It does cost more than $100 to build the thing. But I have to say, this looks like a well organized project, because they even provide an Excel spreadsheet listing all the parts needed, including vendors and part numbers. Nice!
So I sat down for an hour or so visiting those vendor sites and recording prices (in an expanded Excel spreadsheet, which I’ll publish when it’s in final form). The result is, first, to clearly disprove the $100 price point. The key element of the detector is a Silicon Photomultiplier (SPM) chip, which replaces the traditional (and very expensive) Photomultipier Tube (PMT). The cost of the SPM chip alone was $119. So the $100 budget is totally blown by that single key component.
The component I thought would be the most expensive and/or the most difficult to obtain was the scintillator. This is basically a piece of clear plastic, with some additional elements added which produce light (“scintillate”) when a cosmic ray passes through. The good news is that one can purchase a piece of scintillating plastic of exactly the size called for on eBay for only $30.3 So no worries there.
Another happy discovery is how easy it is to price and collect electronic components on DigiKey.com.
Although some parts can be purchased individually, it quickly became clear that other parts would have to be purchased in groups or lots. For example, the OLED display (the status panel on the device) come in a package of two for $17. To build one device I still have to pay $17. Similarly, the power jacks come in lots of 50, for $7.19, even though I only need one of them. Even if I have some of the parts on-hand, I wanted to determine the cost for someone (eg. a high school) to build the device from scratch. So the cost to build just one of these is $7.19 for that part.
But there’s another way to look at it. If we decide to build more of them, we’ll have many of the parts already available. That will cut the cost for those parts.
In the end, I decided to compute to kinds of costs. What would it cost to build just one device, from scratch? That ended up being $236.98. That’s a lot more than $100, but it’s also a lot less than $2000.
The other cost is per-unit is we build many of them and look at just the cost for parts for one. That power jack is only $7.19/50 = $0.14, or 14 cents per device. That brings the overall cost per unit down to $185.33. Again, more than $100, but now less than $200.
One final thing to remember is that this is just an estimate. It neglects the aluminum case and faceplates (I plan to have the device open to view). It also neglects an actual power supply (it wasn’t on the list). And perhaps most important of all, these prices do not include shipping for the parts, which will have to be included in an overall cost analysis (when all is said and done).
References
- Cosmic Watch – detector, https://web.archive.org/web/20171222123454/http://cosmicwatch.lns.mit.edu/detector#section0, and this was the newest version of this page as of 28 June 2018. ↩
- Cosmic Ray e-Lab, https://www.i2u2.org/elab/cosmic/home/project.jsp ↩
- link directly to it ↩