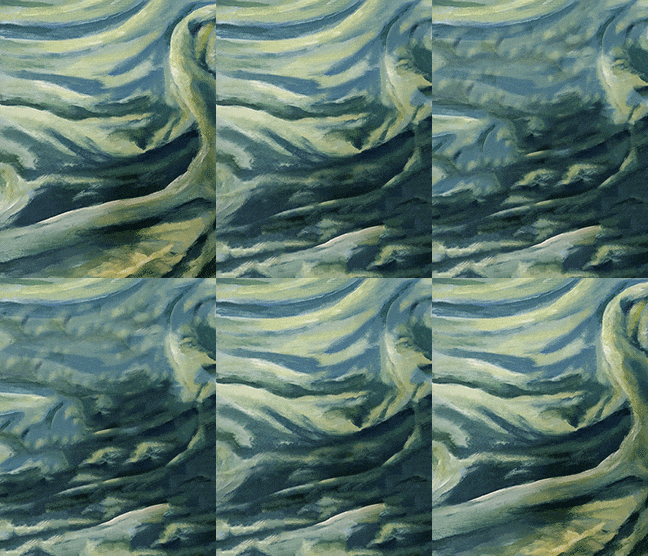
I learned how to transform my artwork into another type of visual experience. Adding movement, changing angles, or altering aspects of my already existing artworks enabled me to see the works as something new and re-create meaning. For example, in the “Cool Folds” GIF I rotated the image in a direction that mimicked ripples in water. Changing what once seemed familiar into almost rock/pebble like forms connects back to skipping a stone in water and the effect doing so creates. The process of creating a GIF reminded me that sometimes artists find meaning after their work is created as I did not plan for these folds to turn into forms that resemble rocks. The timing of the GIF also adds to the calmness of the movement of “water.” However, I believe that the “Morning Reading” GIF is my most successful GIF as I pushed the surreal aspect of my piece. Having the bubble gum pink puffed folds and hair be altered or disappeared captures, yet soothes me with enough time/frames to see the transformation.
I began the process using Photoshop figuring out what tools worked best for my needs or visions. In the end, I found my favorite tool for creating a GIF…the spot healing brush tool! This enabled me to think about my work as layers, similar to the process of painting, and how I could remove (some of) those layers. What was most challenging for me was trying to re-learn the different tools and how to use the layers to my advantage. Knowing when to put layers on lock and the order of using the three buttons (add, lock, and see frame) became key when inserting the desired images/frames into the timeline. I did not even know that I could create a GIF on Photoshop prior to this course/experience. I never used the timeline feature before which is why I saw Photoshop as a tool for only editing or (re)creating (a) still image(s). I wish I had the knowledge and opportunity to create a moving image during middle or high school. Despite this, I really enjoyed playing with the duration of all of the frames and whether or not to add new frames in-between the existing layers. I think this engaging activity would work well as an introduction to a high school photography class as one could create a GIF fairly simply or in an advanced manner. This would enable each student to work at his/her own pace as they learn or revisit how to use the tools and layers. The purpose of the assignment would not really be about the end result, but rather the process. Students would focus on movement, light, transformation/visual special effects, time, etc in relation to capturing or editing a still image/frame.
This ties into design thinking as there is always more investigating, experimenting, and improvements to be made with a prototype or, in this case, GIF. If I were to experiment more I would try to have different layers set at various durations (within the same GIF) to see if that adds or detracts to my visions. The two attempts at the “Warm Folds” GIFs document the similarities to the design thinking process. On the right I did not add frames in-between my layers and on the left I did in order to make the transition smoother. Creating another “prototype” (possibly adding more frames before the specific “problem” area) using my second attempt as the base may help to ease the abrupt motion towards the end/middle of the GIF.-Or maybe I would have to go back even further and add another layer in-between?


