This was my first time data-bending or using a tool that mimics the effect of glitch art (due to working on a PC). The glitch style reminds me of an image loading/emerging or vanishing. I was waiting for this course for me to put down my paint brushes and utilize some images in my camera roll. I have not been taught or been given the opportunity to experiment with data-bending in the past. The process itself is far from creating a painting or drawing and more closely related to photography. However, instead of capturing an image it seems that we are intentionally disrupting a pre-existing image in a captivating manner. I am very grateful that my peer shared a link (https://snorpey.github.io/jpg-glitch/) for those like me who could not view their photo in another application after altering the code. Although I could tell that using this alternative creates some different results than if I were able to properly data-bend, I am overall impressed with the results. I enjoyed moving the four control bars (amount, seed, iterations, quality) leaving me enough room for surprises.
Glitch art is similar to design thinking in that there is a lot of trial and error. Once you find what types of images work well to alter then you can proceed to take new photos (if necessary) in that fashion to use. I edited various photos multiple times in order to gather a group that engaged me. The most challenging part for me was actually selecting which images to share as the tool made it easy to save as I made a few changes each time. I arranged the two main series “Charcoal Heart” and “Falling” so that within they would transition smoothly into the next. I realized that the photo itself really does matter if you want to create an interesting dynamic between the subject matter/position/lighting and the distortion. Starting off with a dramatic photo can make a huge difference. The image that I used to create the “Charcoal Heart” series (as seen on the cover post) was from a high exposure photo. An old friend startled me as he turned off the lights and took this photo in flash. He captured the charcoal smudged on my face after being consumed by charcoal powder from working on a large-scale project all night in Smiley. The brightness of the image allowed room for my face to become ghostly or be full of color forming different effects throughout. I enjoy how bug-like I look in the first photo as the bright strip highlights my eyes and the distortion appears to make that portion magnified. The “Charcoal Heart” as seen on the cover post reminds me of an album cover which is comforting to me as music sends me to another place.
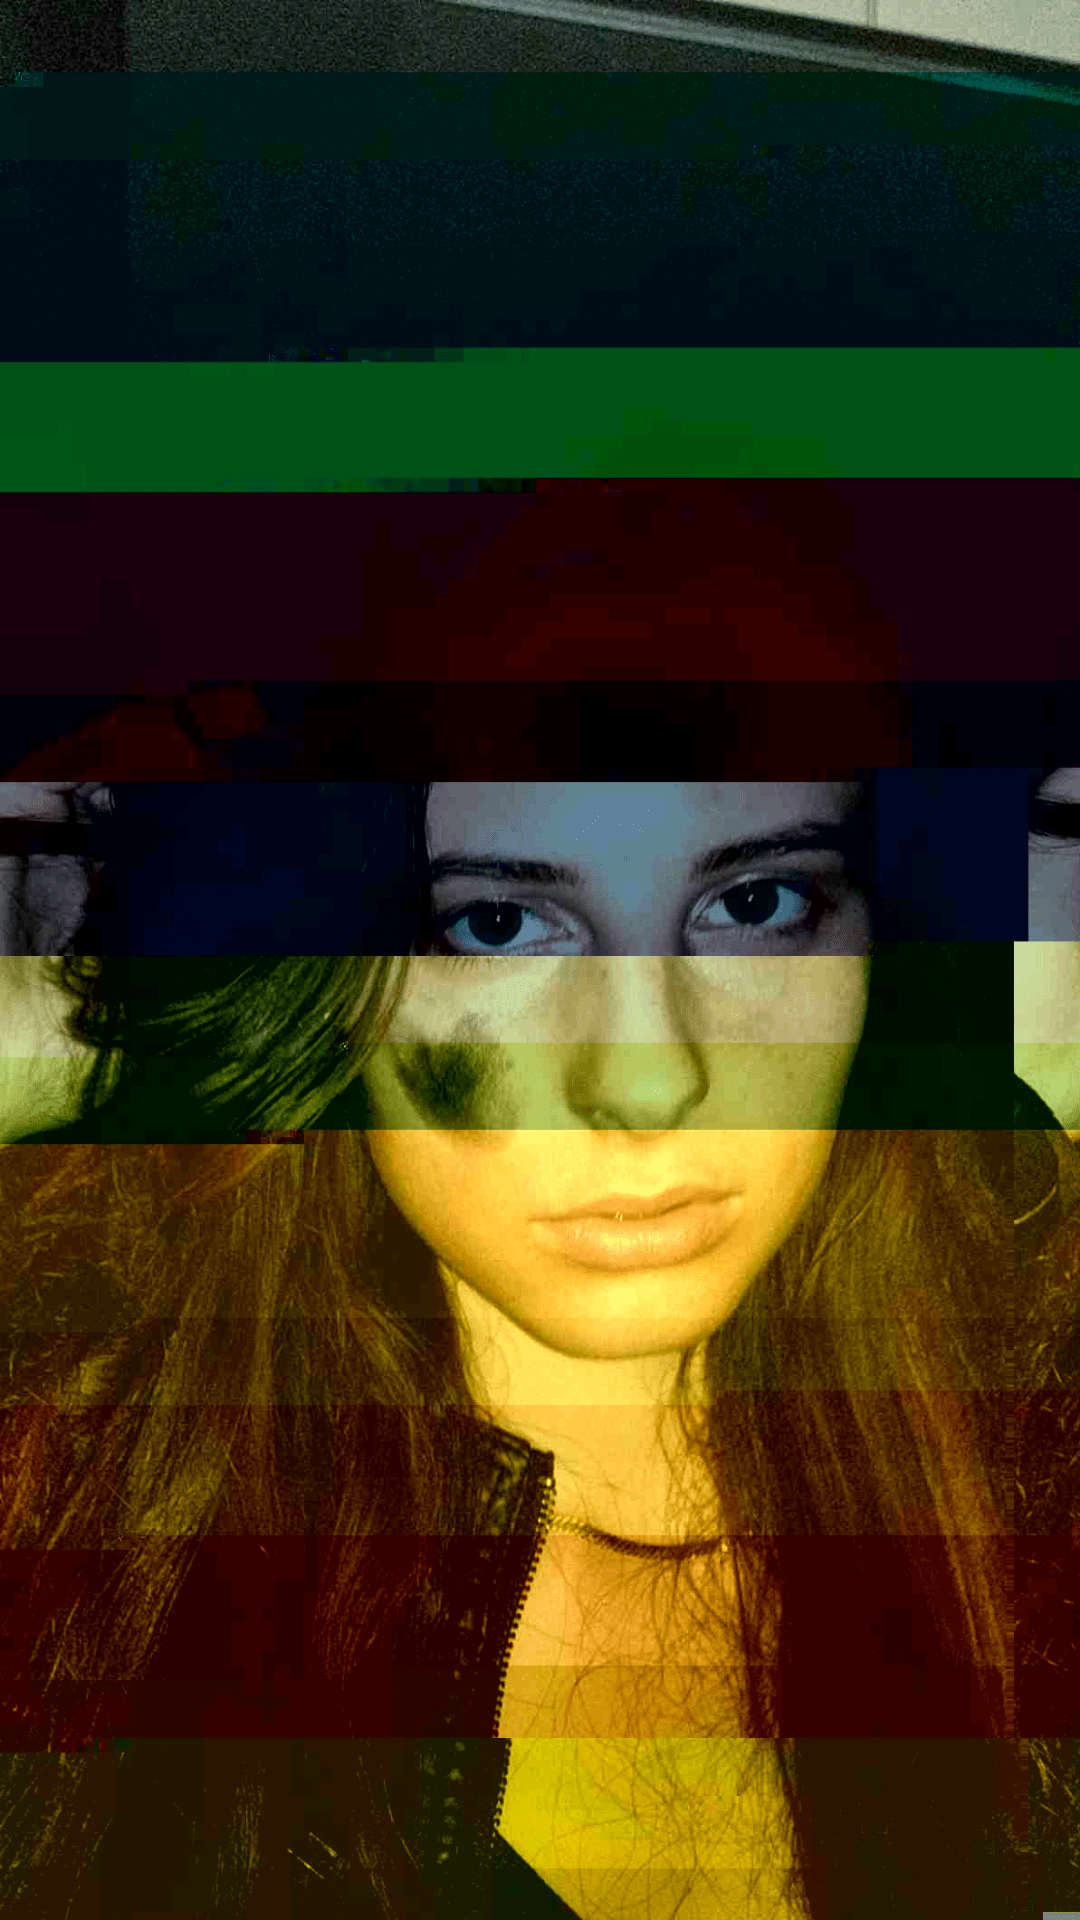
As seen in my “Falling” series, having some angles in the composition leaves room for a lot of mystery and interesting fragmentation in the end. I cropped one of the “Falling” images to make one question what “she” is “falling” into (though clearly nothing terrifying if one was to look at my other images). Perhaps I should have cropped all of them in this series? Though if one was to look closer, he/she would realize the small chunk on the bottom left is part of the ground. Hopefully this would make the viewer wonder how far down the drop is and if “she” will be able to fall safely or not. Meanwhile, the last two photos including “Facial Feature Fragments” were created putting two already “glitched” images side by side in Photoshop and then “re-glitching” it. This makes it very apparent that this process can go on continuously. If I were to experiment more I would definitely try to fade two untouched images into each other in Photoshop and then use the glitch tool. I was not expecting to capture each facial feature or jewelry piece in separate rectangles.
I believe that properly data bending photos would be a great introduction lesson to a high school photography course. It may help to spark some ideas for future projects. Including distortions, blurred/blocked out portions and/or overlapping images may better students’ execution of their ideas and set the intended mood. Meanwhile, the glitch tool I used would work well for middle school students to demonstrate how the cropping of an image may enhance the photo/ piece which they can keep in mind for their future (drawing…) projects.
Please remember that my suggestions or opinions about using the glitch tool may not work as well for data-bending traditionally.