


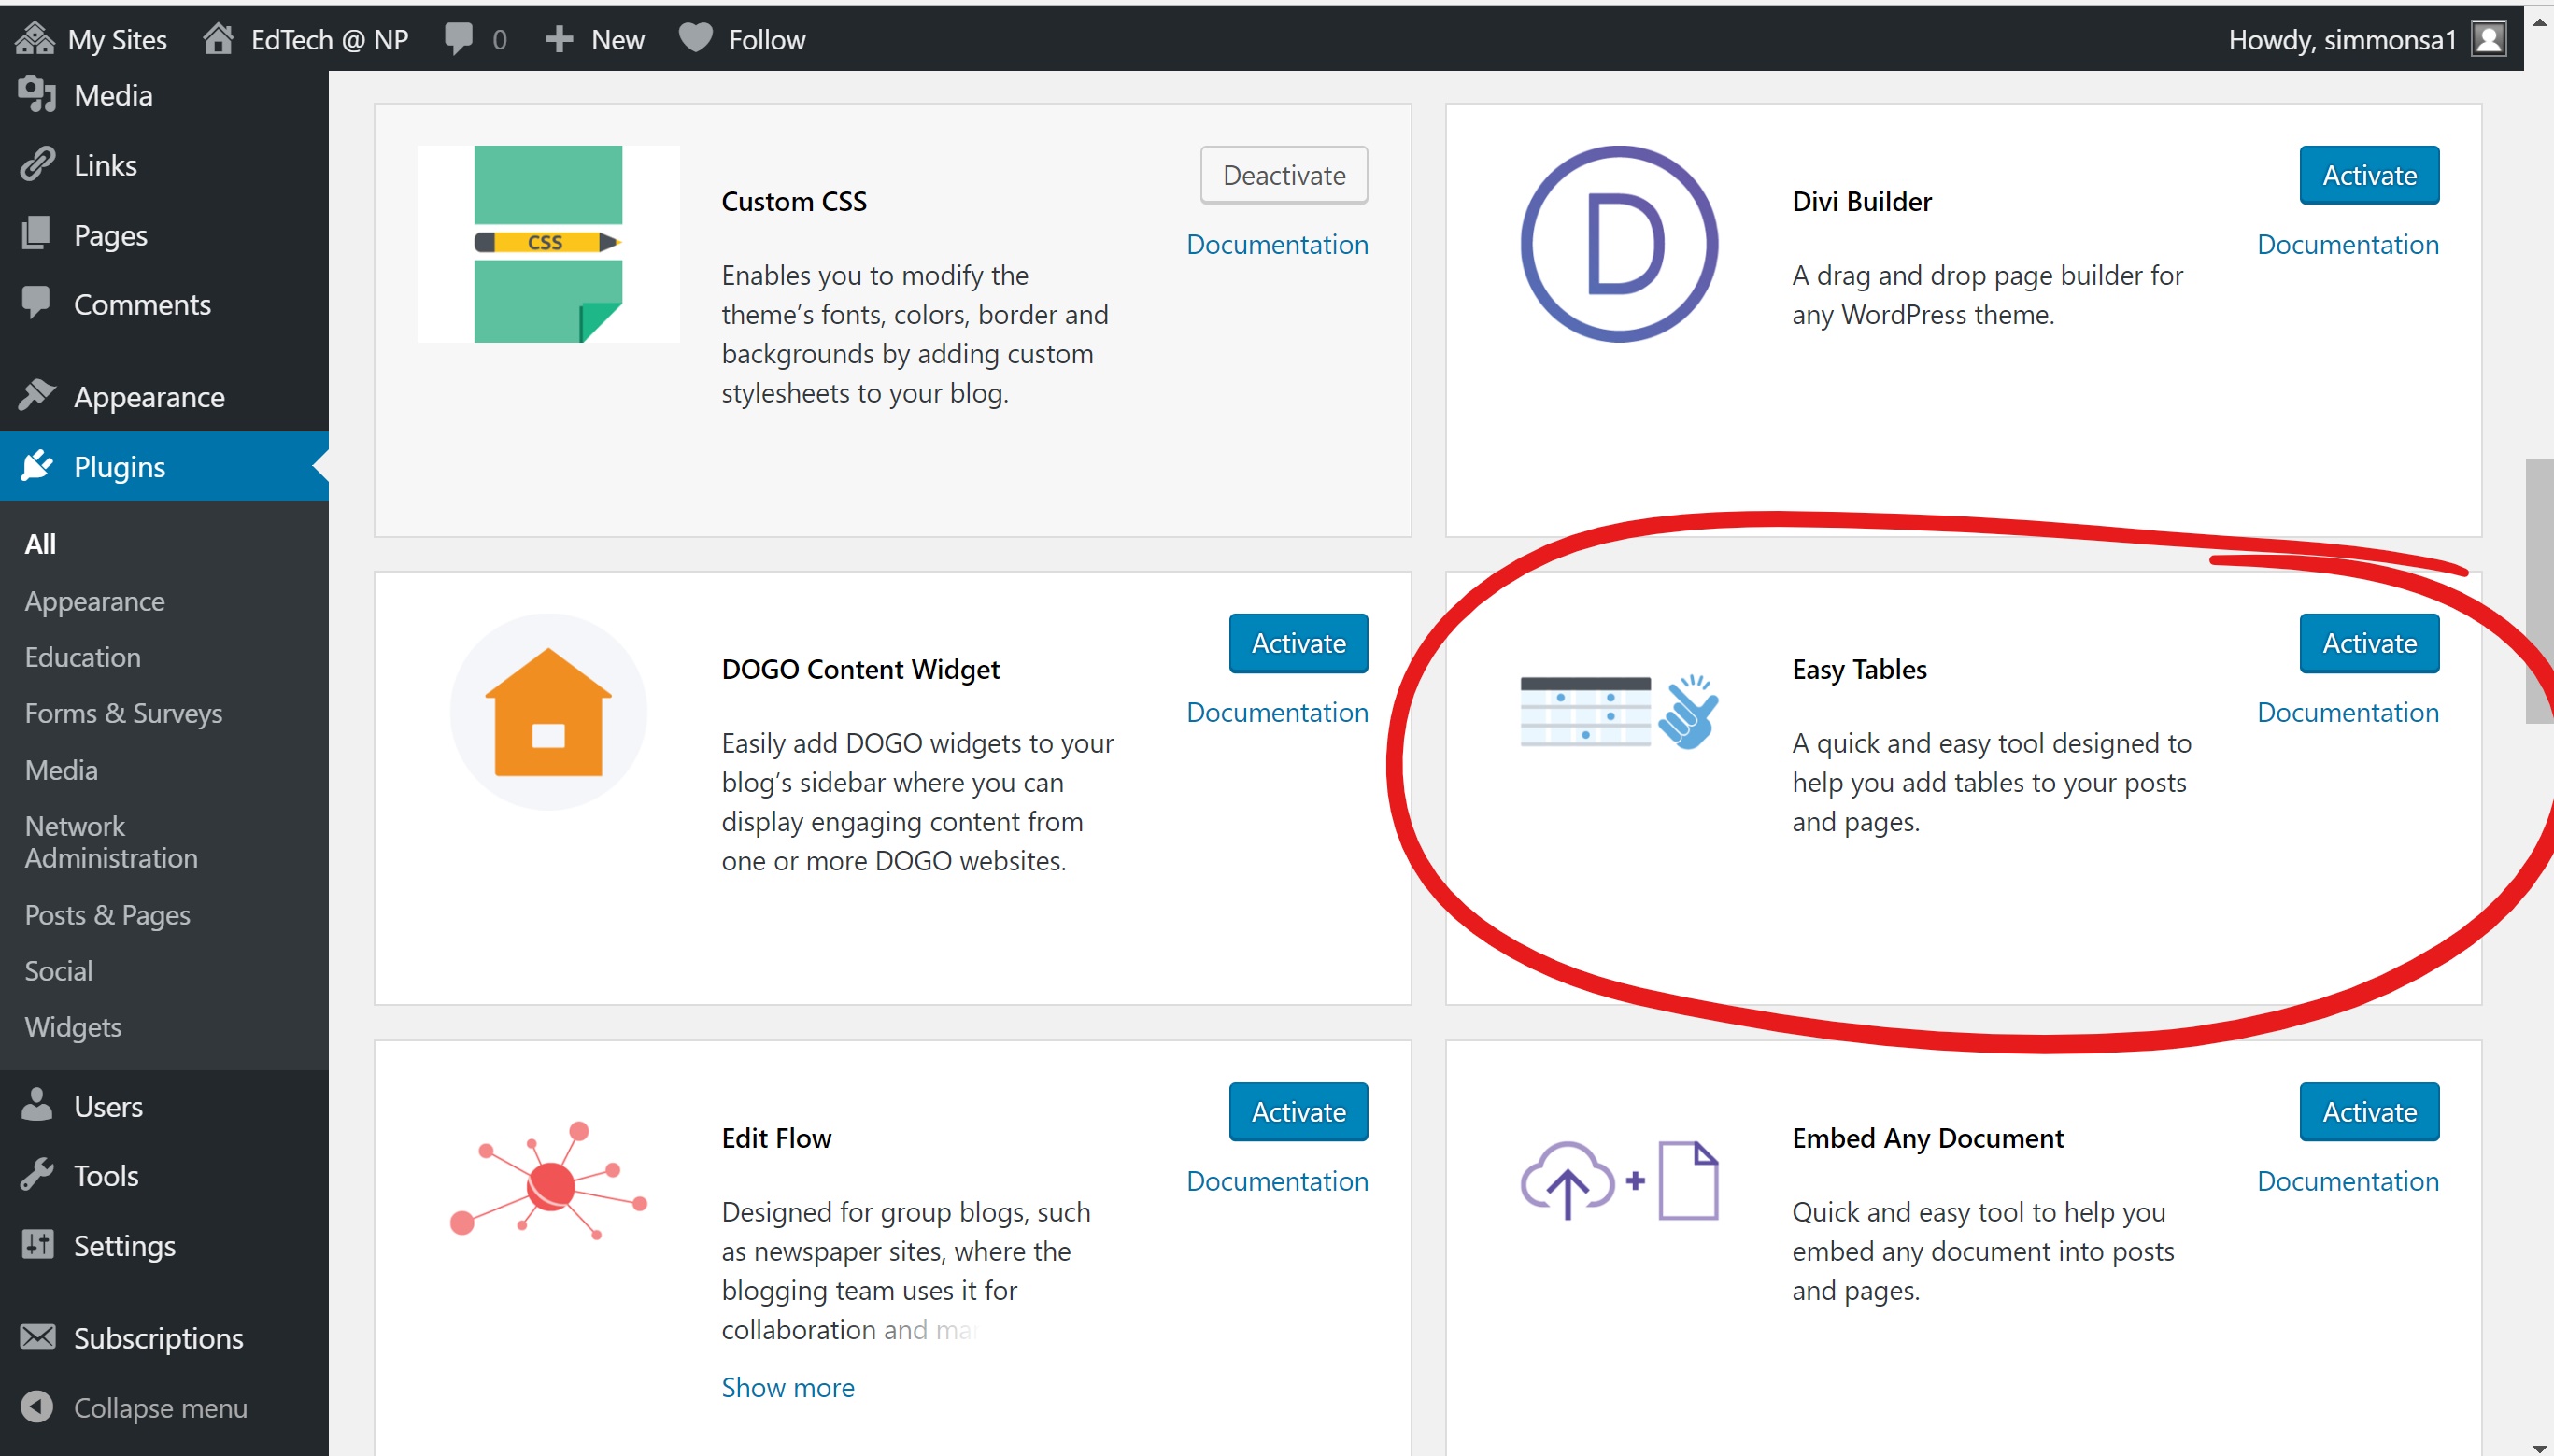
- One way you can put tables into a WordPress page/post is by using Easy Table. Easy Table is a Plugin that you can add to your Toolbar in WordPress. You might have to activate this plugin by clicking Plugins.
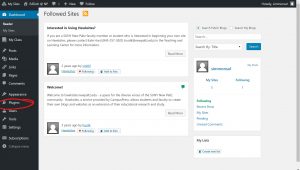
- Scroll through the list of plugins til you reach the one called Easy Table. Click on Activate.

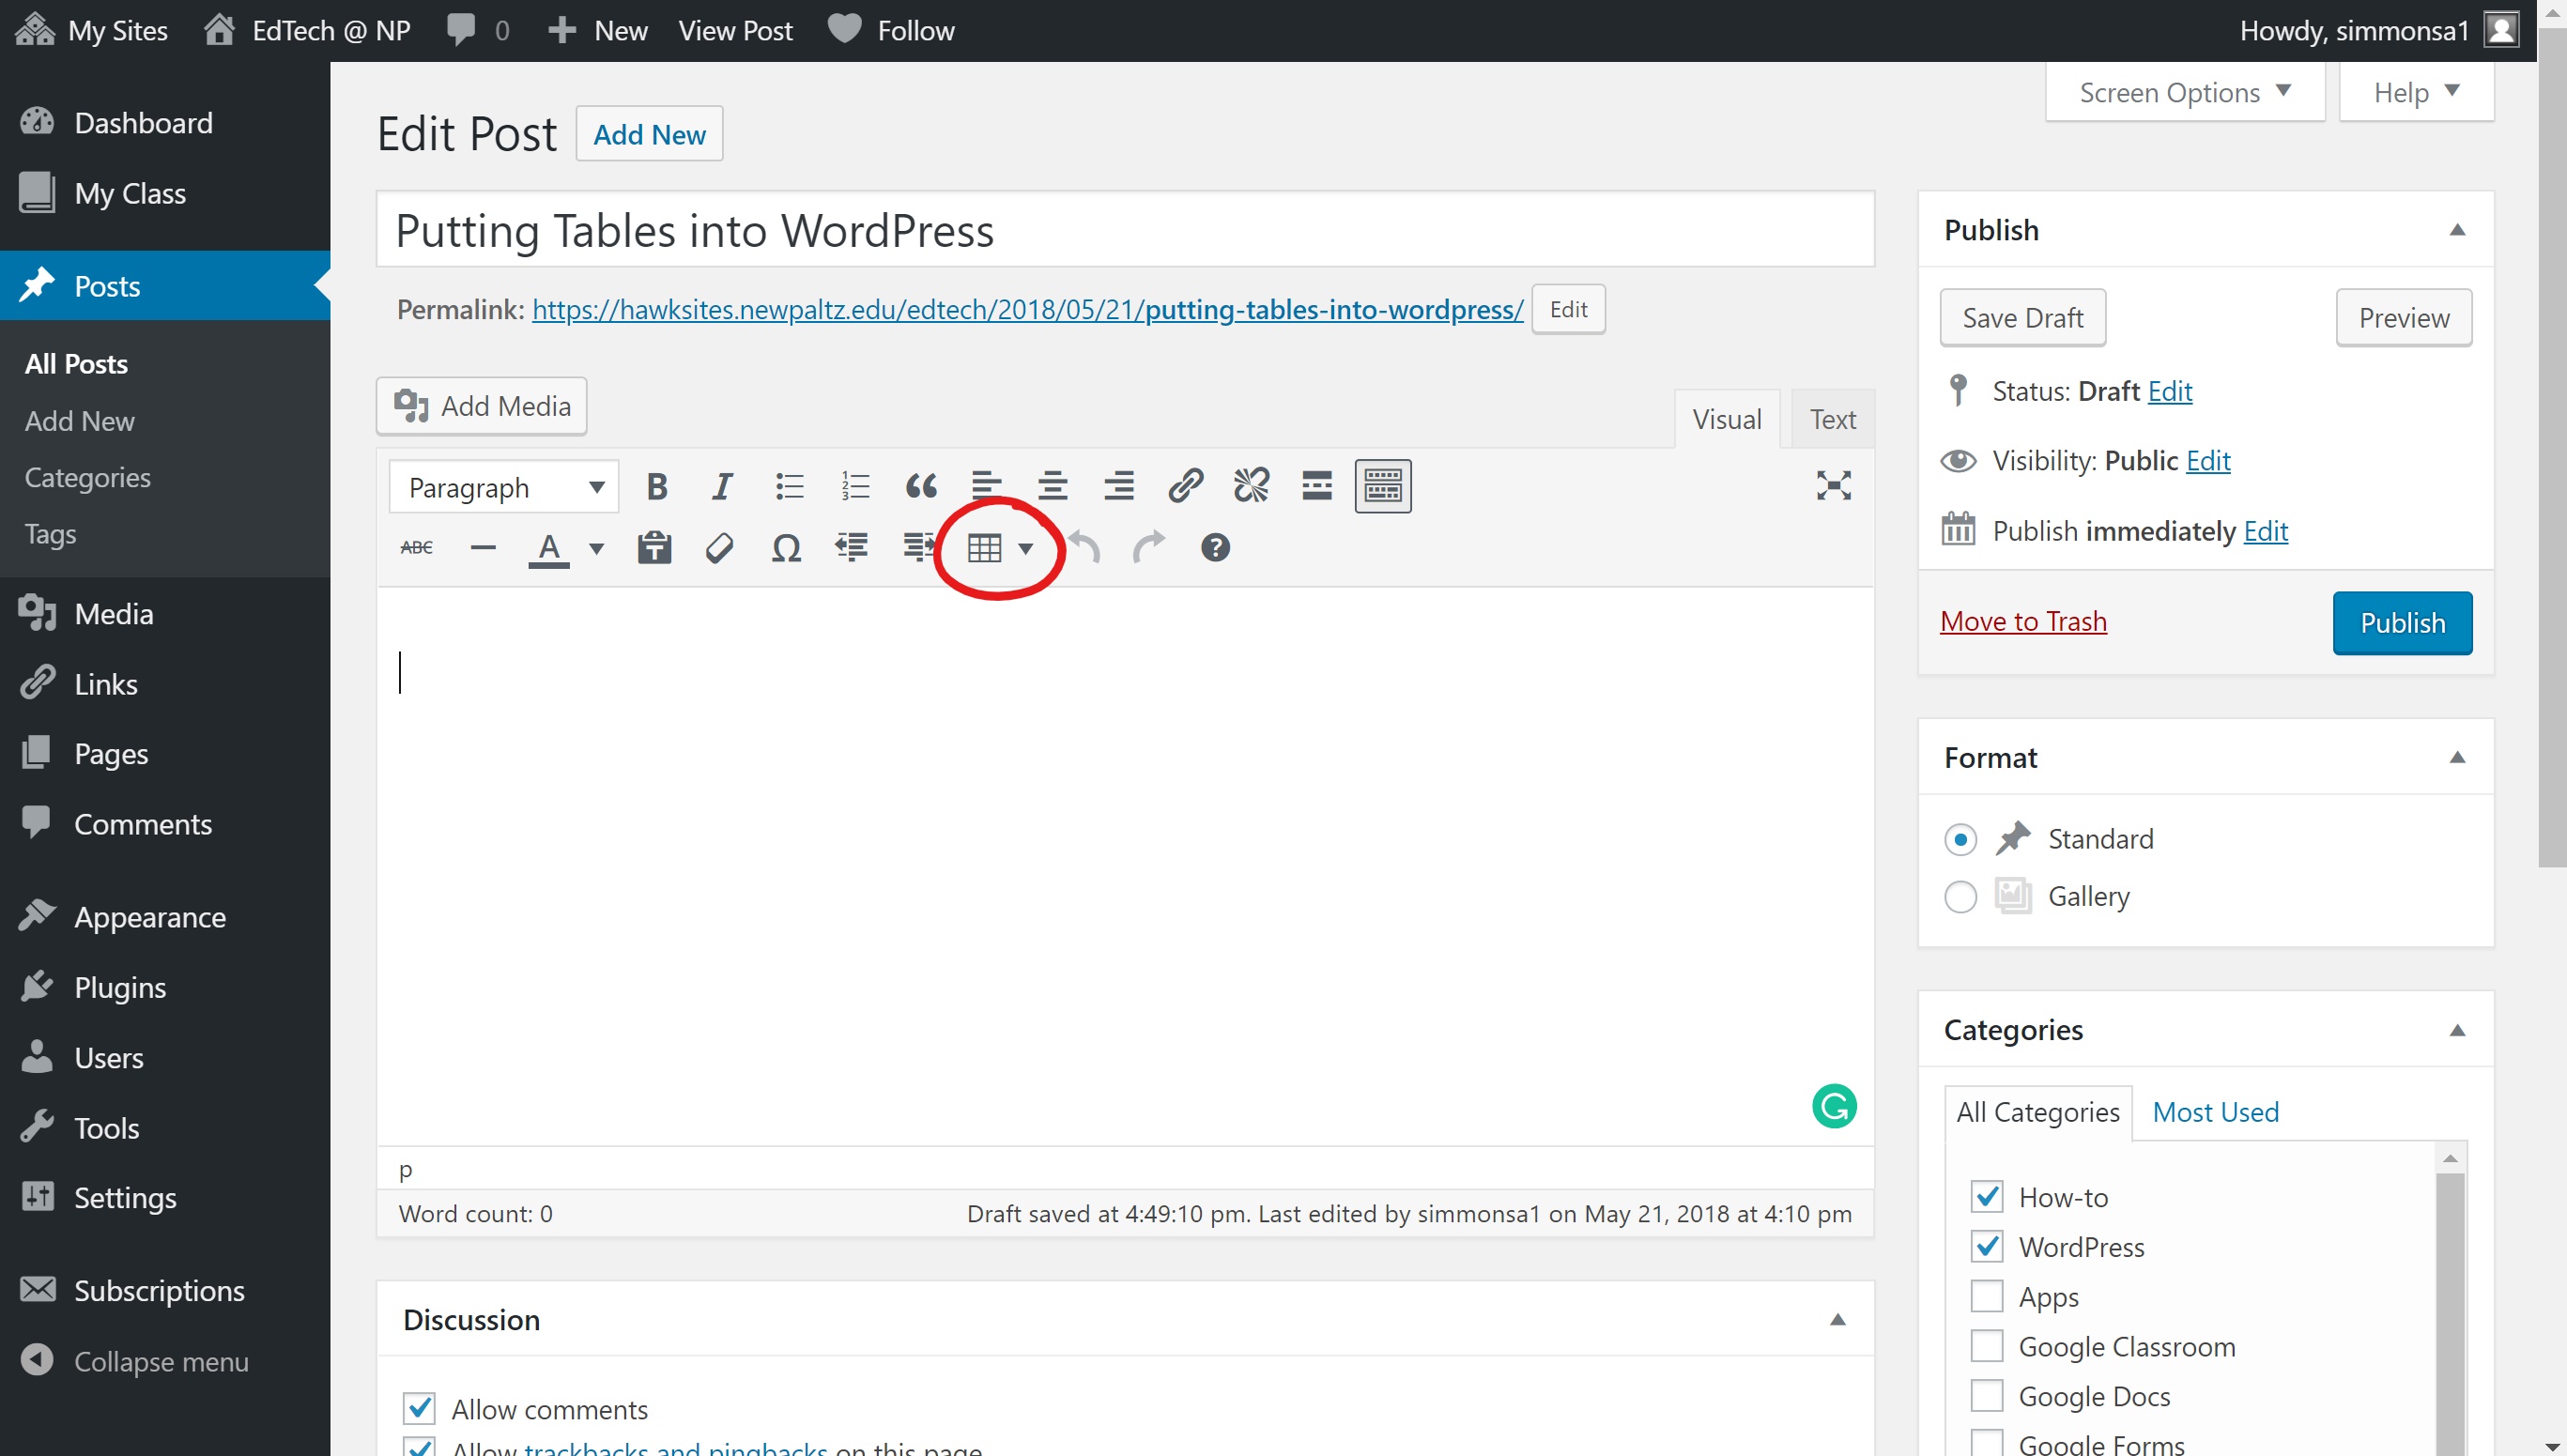
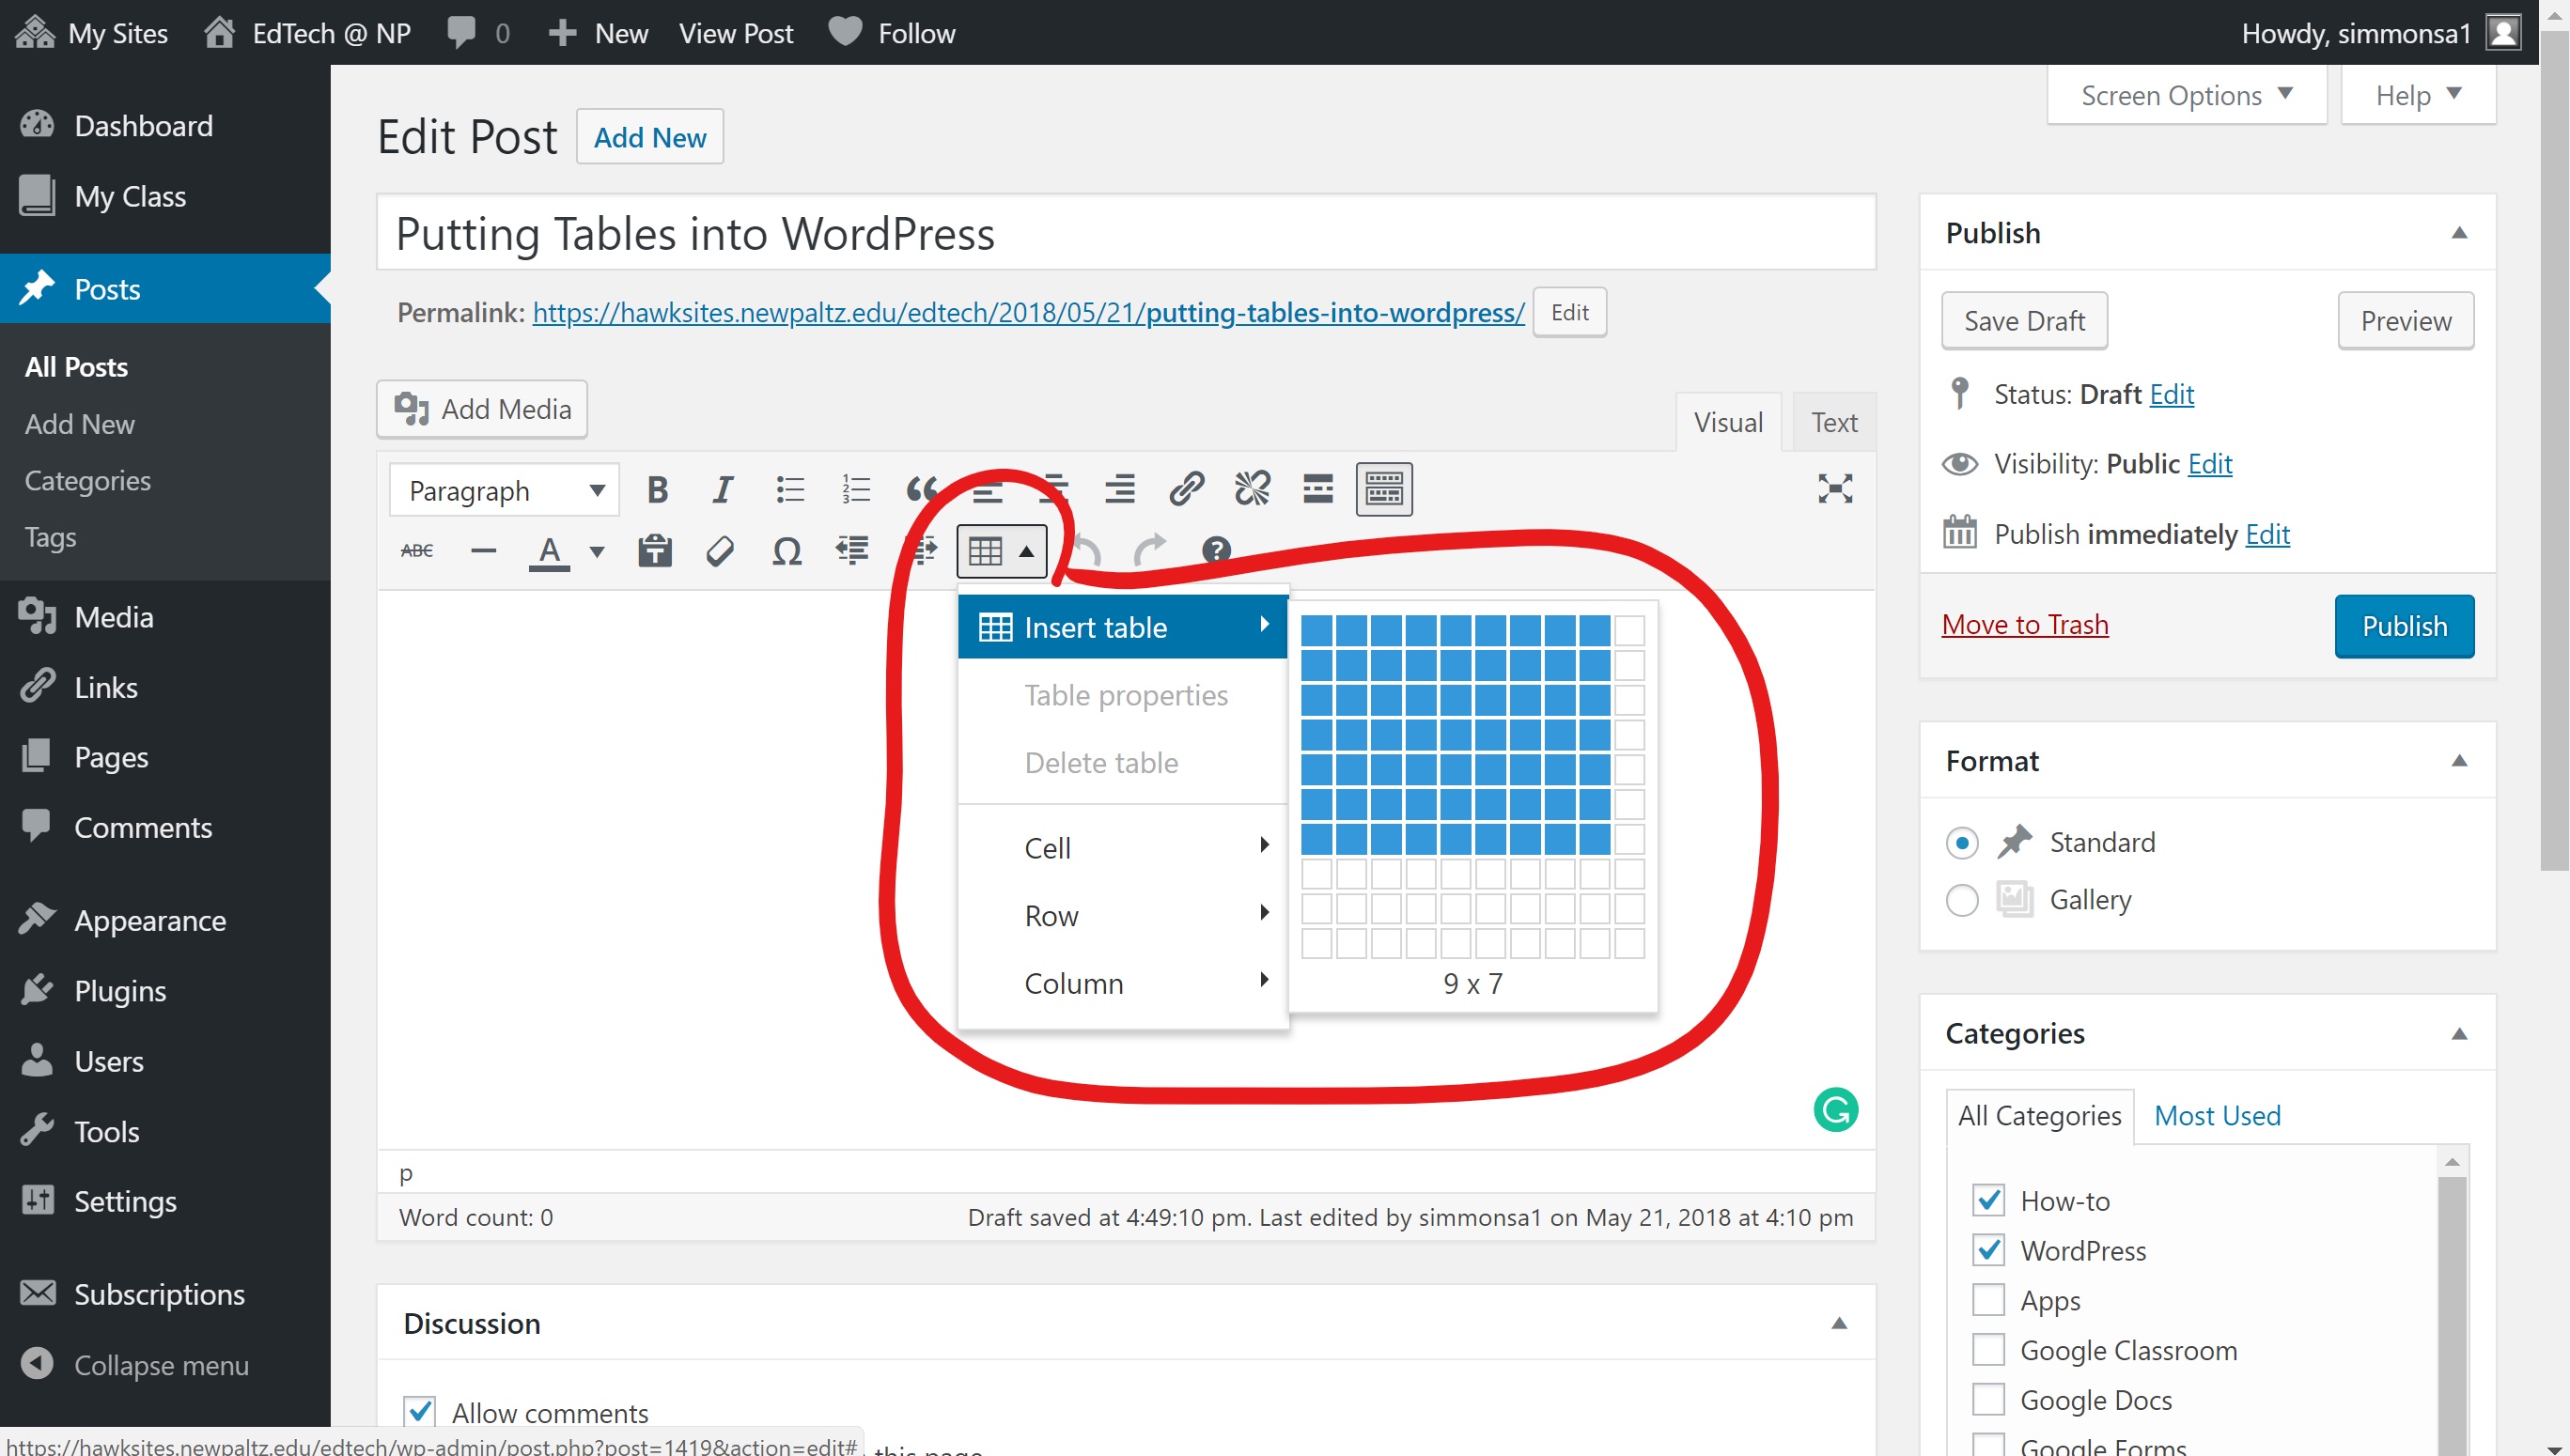
- Now go back to the page/post you would like to add a table to and click on the Toolbar Toggle to see more options.
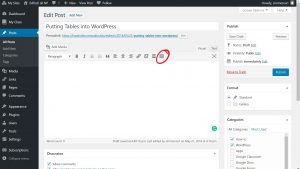
- Click on the Table Icon to access the Easy Table options.

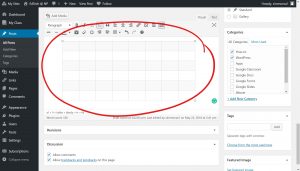
- Create a Table by hovering over Insert Table and select how many rows and columns you’d like by hovering and clicking on the grid.

- Once you select your size that table it will appear.
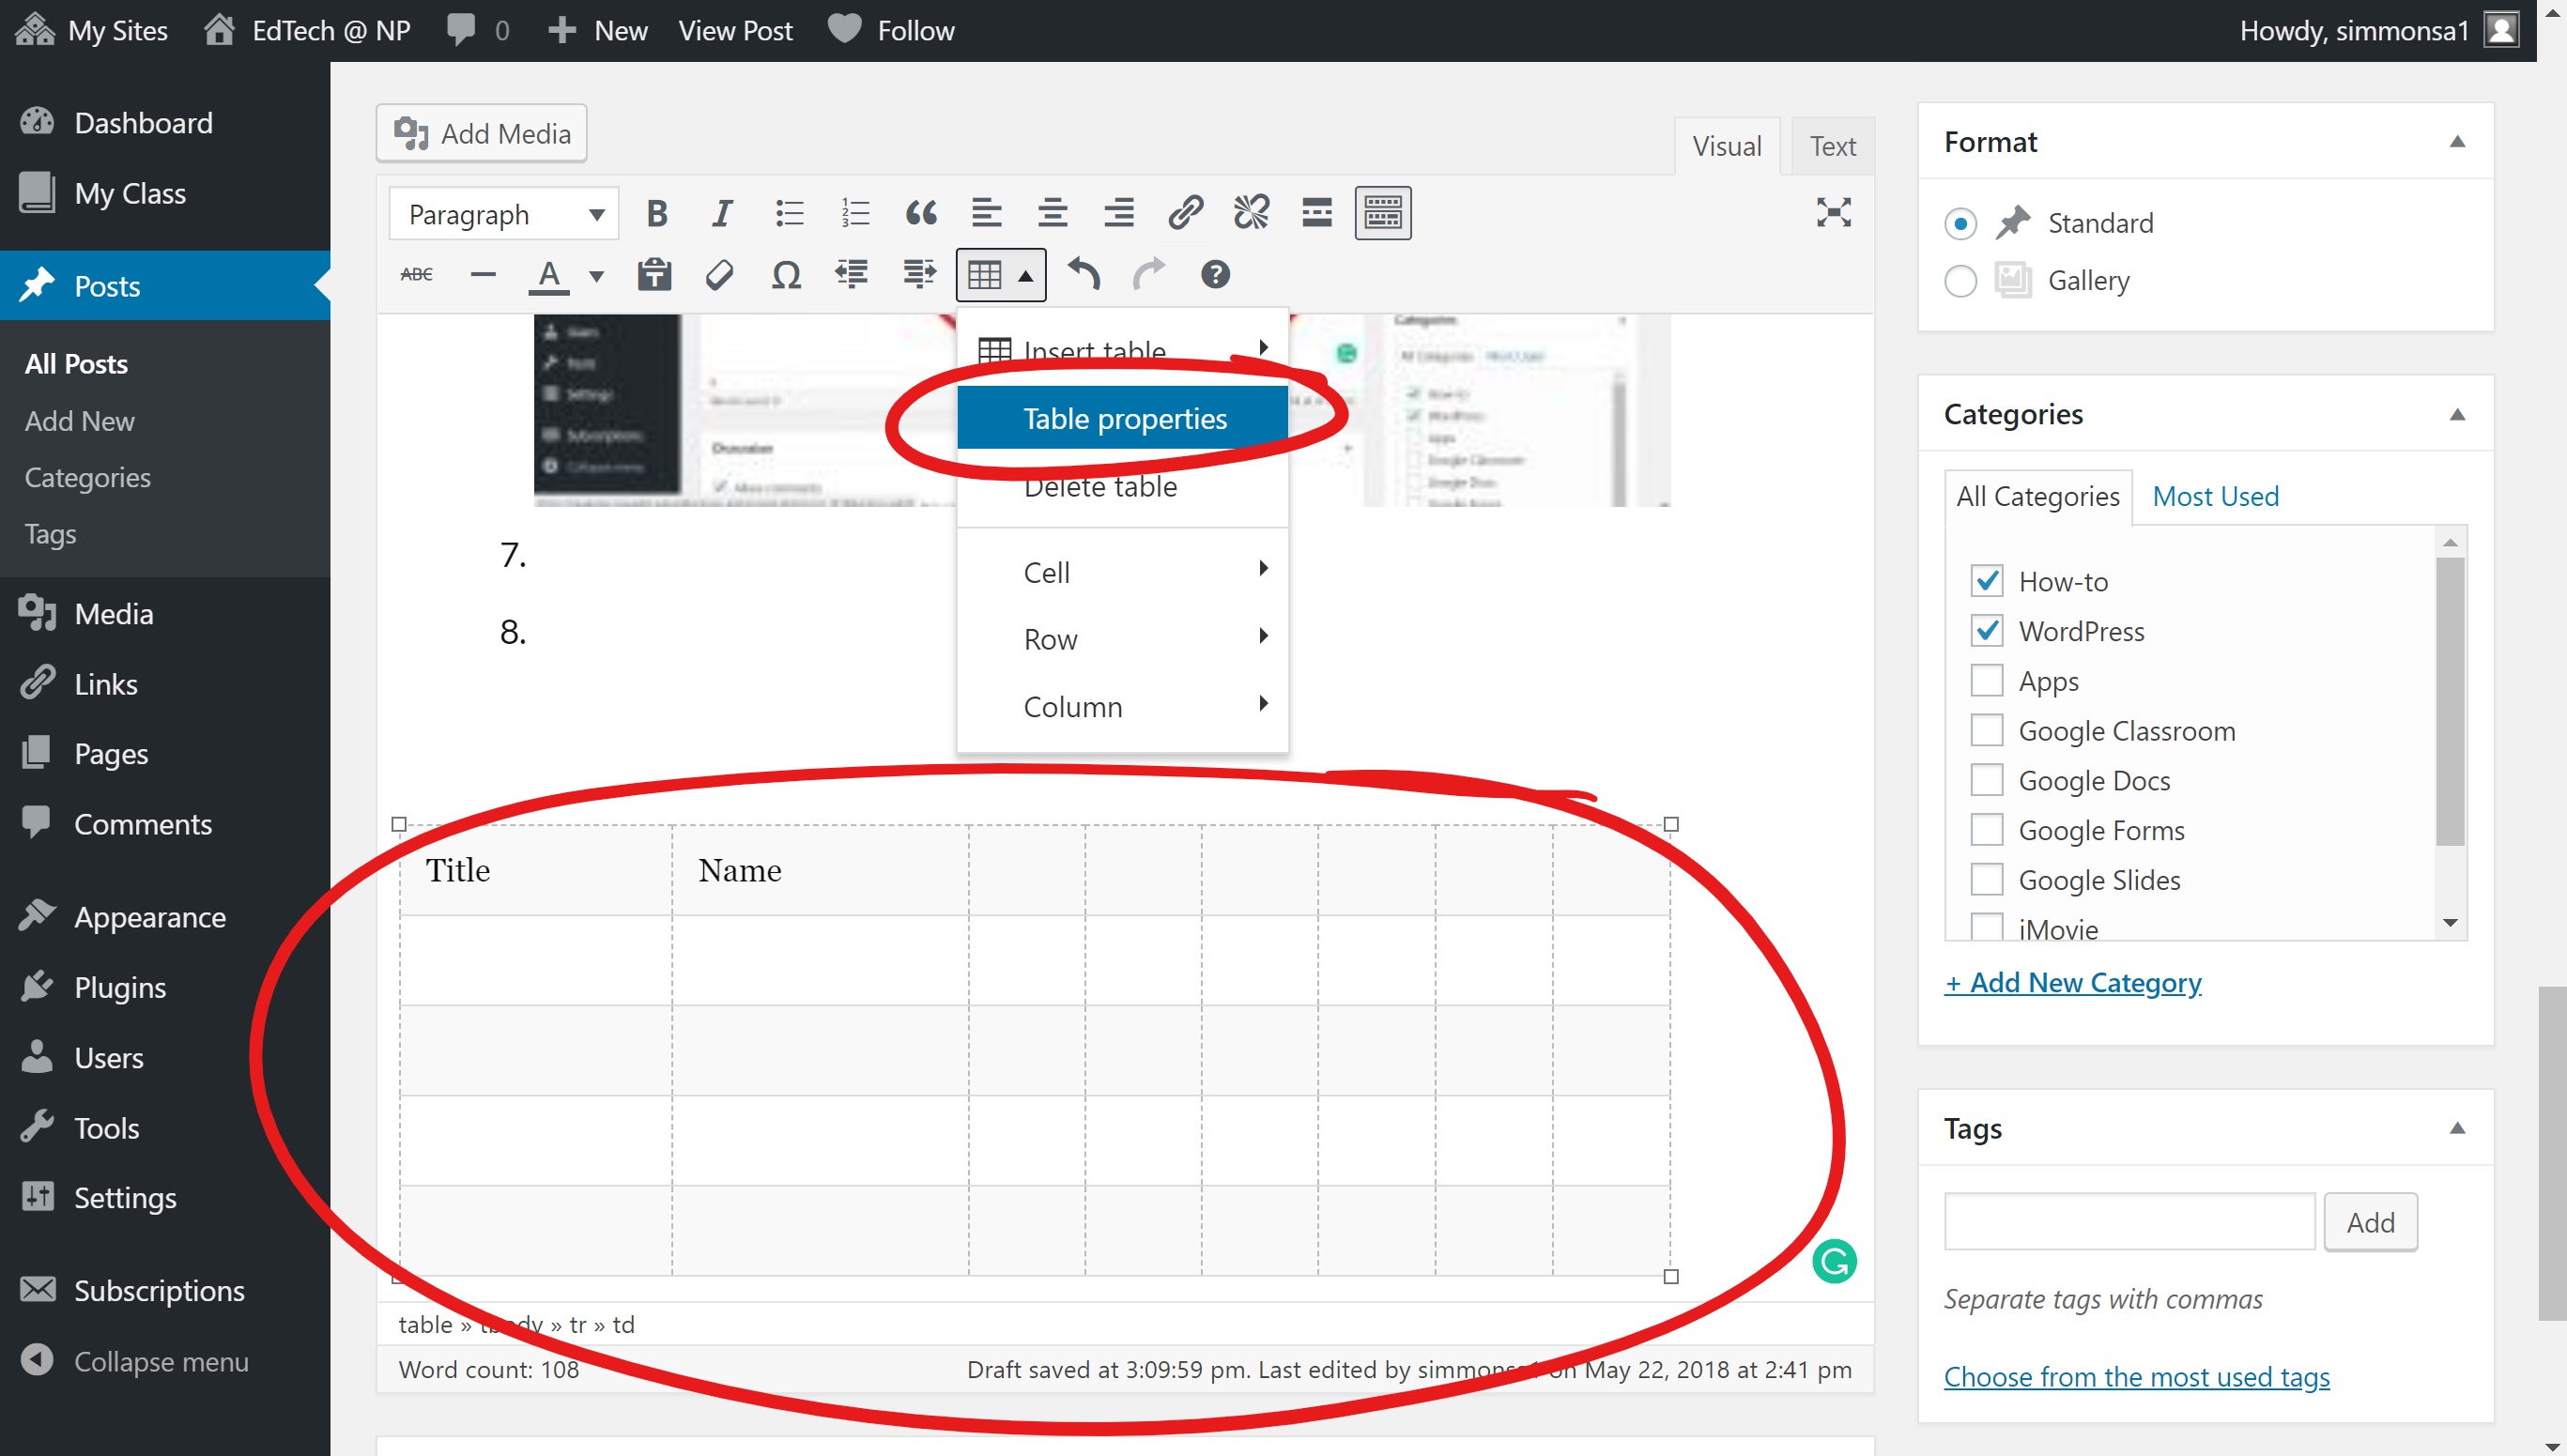
- Make edits by clicking first on your table then going to the Table icon and selecting Table Properties.
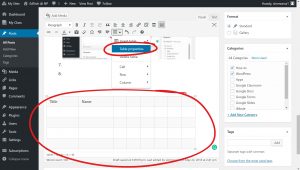
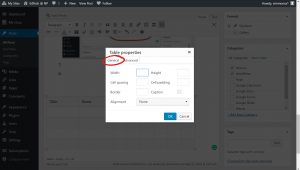
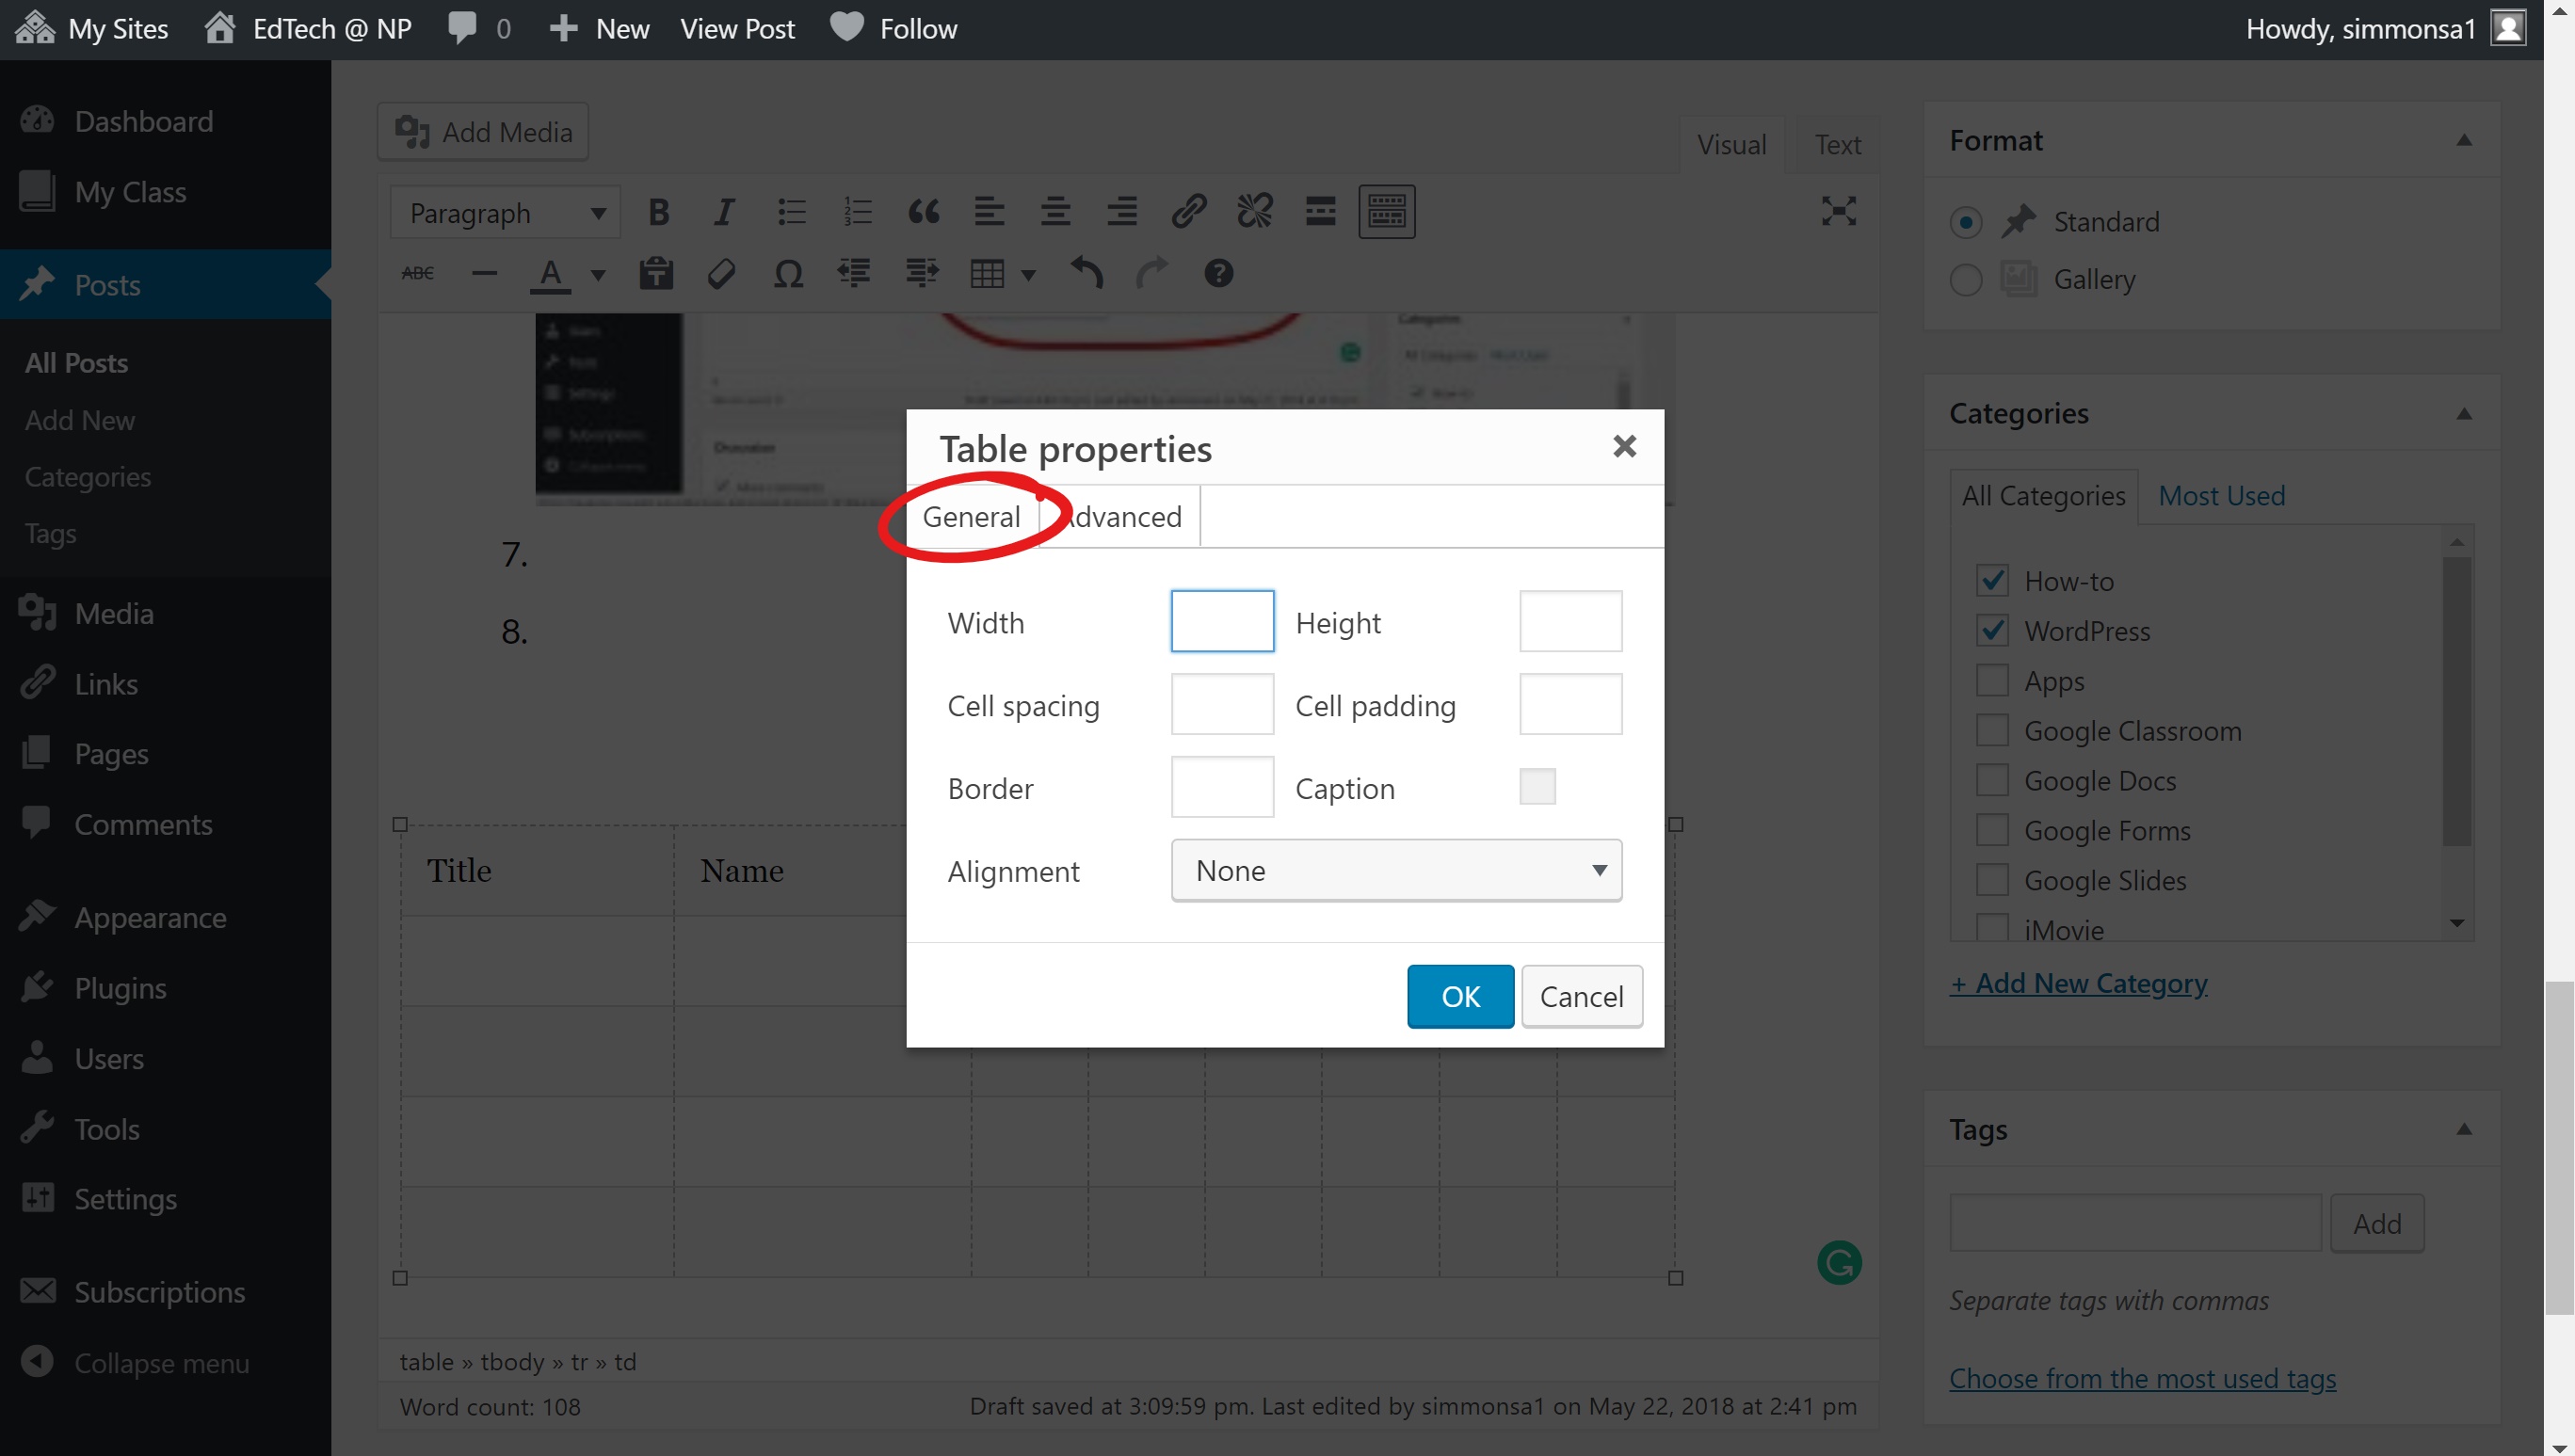
- This small window will appear allowing you to adjust the table structure. Including width, height, cell spacing, cell padding, border, caption, and alignment.
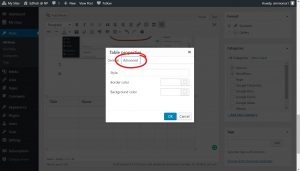
- The Advanced option allows you to change the colors and style of your table.
- To fill in your information just click on a box within the table to write in what you’d like.
Name: Date: Time: John 12/15/18 1:30 pm Lisa 12/20/18 2:23 pm


You must be logged in to post a comment.